
This article explains how to configure Yubico’s YubiKey, a hardware security token, and Fedora Linux Workstation for typical use-cases such as logging into GDM, authentication for the sudo command, OpenSSH authentication and key management, or as a second-factor on the web.
Motivation
In times of sophisticated malware and always-and-everything-on(line), software based storage of credentials becomes at least unsettling. Hardware security tokens are a physical, cryptographically secured storage for secrets. Such a token and its secrets can not be copied by large malware attacks.
Applications and services that have to authenticate your access can use a physical token as a factor of ownership and identification. These tokens require extreme dedication, time and money to forge or maliciously acquire.
Nowadays hardware security tokens are quite versatile and can be used for a variety of interesting things. Use-cases are roughly divided into two categories: convenience and added security. Convenience covers anything from using the hardware token to unlock your LUKS encrypted disk to logging in to your Fedora Workstation with the press of a button. Added security on the other hand covers multi-factor authentication (MFA) scenarios as well as storing private credentials.
Always setup a backup key
As soon as you start working with security tokens you have to account for the potential to lock yourself out of accounts tied to these tokens. As hardware security tokens are unique and designed to be extremely hard to copy you can’t just make a backup of it as with software vaults like Keepass or AndOTP. All registrations you do with a primary key you should do with a second backup key which you store in a secure location like a safe or at least leave at home.
In practice you register both hardware tokens with your linux and web accounts, generate private keys on both keys, and configure their public keys at remote services.
Security considerations
Most features of the key can be used either with button press only or require entering an additional PIN. Keep in mind that without a PIN YubiKey authentication is only a button press away. This means that presence is required but is also enough. For example if configured to work as an alternative login factor it is enough to be in front of the machine with the key slotted to login.
YubiKey models and features
Yubico offers multiple models of the YubiKey with different connectors (USB A/C, NFC) and supported features. Depending on the model, the device can be used for a variety of things.
With OTP (One Time Password) you can:
- Log into the system via terminal
- Log into GDM
- Use sudo
The OATH TOTP (Time-based One-Time Passwords) feature is an alternative to Google Authenticator (or andOTP). OATH (Open Authorization) is an organization that specifies two open authentication standards: TOTP and HOTP (HMAC- or Hash-based Message Authentication Code One-Time Password).
The PIV (Personal Identity Verification) module let’s you:
- Store OpenSSL certificates and private keys
- Store OpenSSH private keys
With FIDO U2F (Fast IDentity Alliance Universal 2nd Factor) you can use the key as second-factor in web browser authentication flows. The web page, or more specifically the browser, will ask you to insert the key and press the button on login if you configured the key as second-factor. This is an alternative to OTP that does not require you to lookup a 6-digit code in an Authenticator-App.
In the FIDO2 / WebAuthn module you can store ssh public keys or register your smart card as a password-less authentication method at supporting services, as opposed to it being “just” a second factor alongside a password. FIDO2 is a combined standard consisting of WebAuthn and CTAP2 (Client to Authenticator Protocol 2).
In general the YubiKey can act as either an alternative or second factor. The difference is that an alternative factor may make the input of another factor like a passphrase obsolete while a second factor is required in addition to, for example, a passphrase or a fingerprint.
Storage limitations
For some features, private keys and other secrets are stored on the YubiKey. Each feature has its own storage space and hence maximum number of credential slots:
- OTP – Unlimited, as only one secret per key is required
- FIDO U2F – Unlimited, as only one secret per key is required
- FIDO2 – 25 credentials / identities
- OATH – 32 credentials
- PIV – 24 X.509 certificates and their respective private keys
- OpenPGP – 3 keys; one for encryption, signing and authentication each
Prerequisites
First, install the management applications to configure the YubiKey. With these you can disable or reconfigure features, set PINs, PUKs, and other management passphrases.
sudo dnf install -y yubikey-manager yubikey-manager-qt
For System Authentication install the yubico PAM module:
sudo dnf install -y pam_yubico
The OpenSSH agent and client support YubiKey without further changes.
For OATH you need the yubioath-desktop application and/or a mobile client:
sudo dnf install -y yubioath-desktop
Configuration of the YubiKey
A YubiKey comes pre-configured for Yubico OTP and uses public default PINs for all other modules which you are strongly advised to change. Use either the yubikey-manager CLI or yubikey-manager GUI application to configure the YubiKey.
Select the Applications button in the YubiKey Manager and a drop-down will appear to navigate to the single module configuration pages. Via the Interfaces button you open a page full of check-boxes where you can activate/deactivate single features on a per physical connector basis (e.g., USB C or NFC).
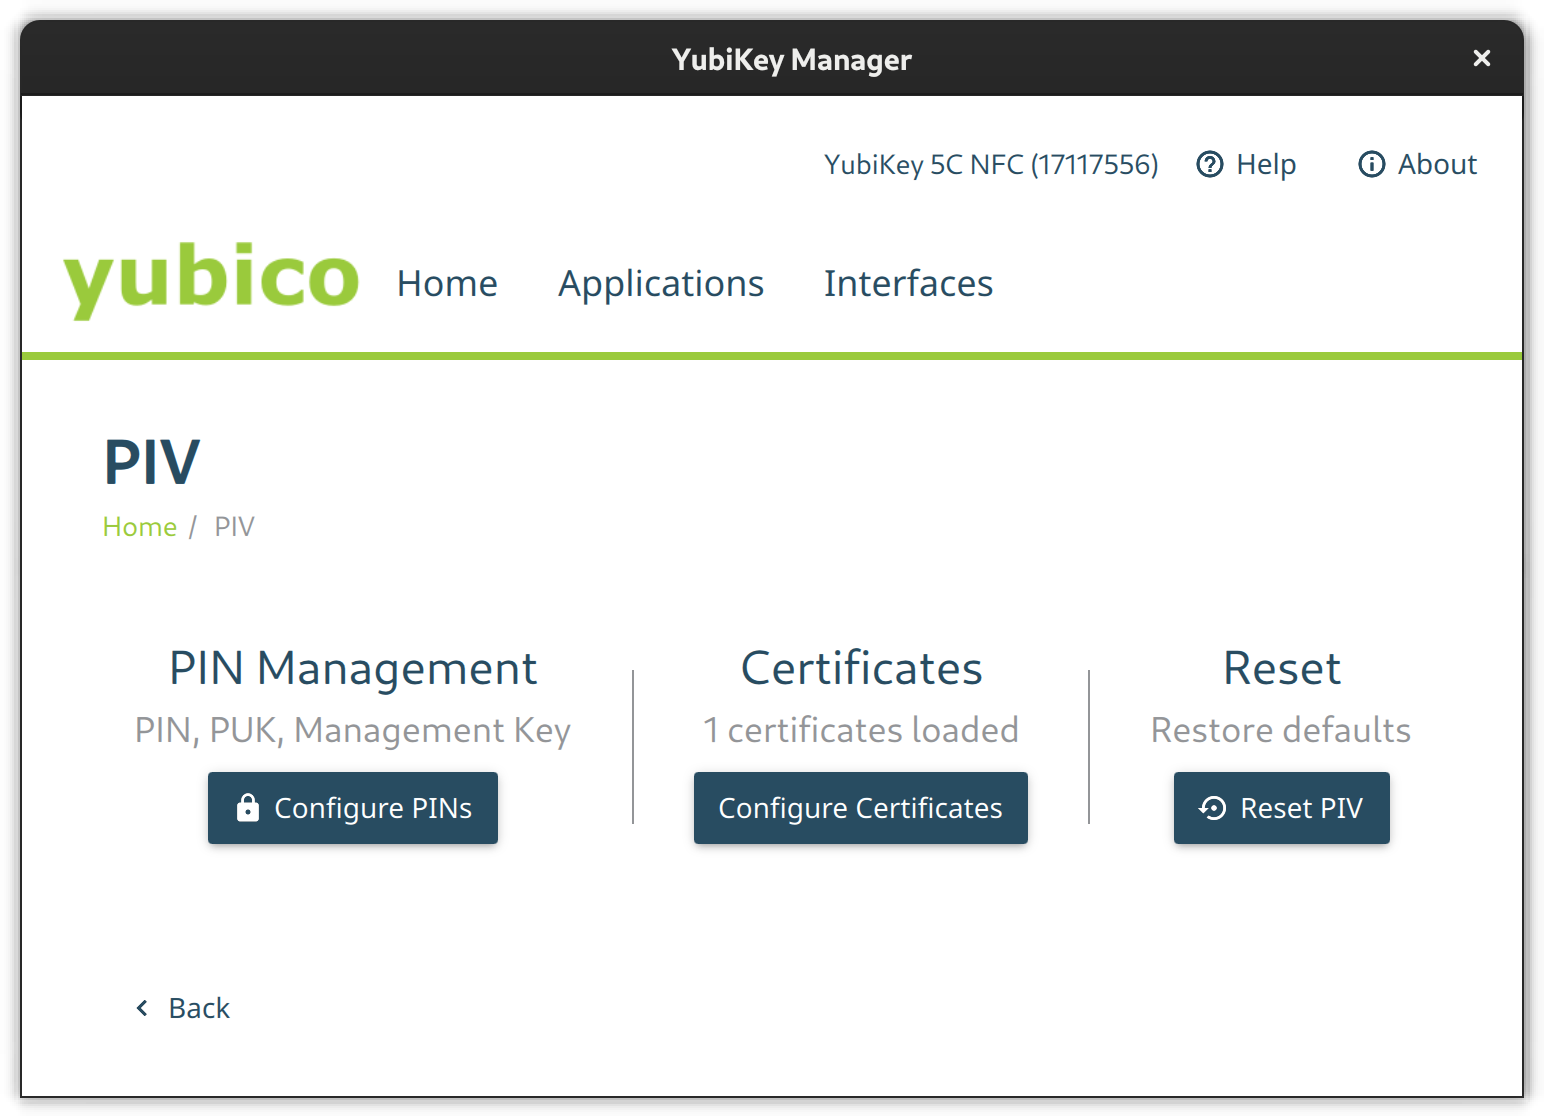
PIV
Go to the PIV configuration page and configure PIN and PUK. Their default values are 123456 and 12345678 respectively. Then set a new management key protected by your previously set pin.
Using the CLI tool change the default PIN like so:
$ ykman piv access change-pin
Enter the current PIN: 123456
Enter the new PIN: ********
Repeat for confirmation: ********
New PIN set.
Change the default PUK:
$ ykman piv access change-puk
Enter the current PUK: 12345678
Enter the new PUK: ********
Repeat for confirmation: ********
New PUK set.
Generate a new random management key, protect it with our previously set PIN, and replace the default key:
$ ykman piv access change-management-key --generate --protect
Enter the current management key [blank to use default key]:
Enter PIN: ********
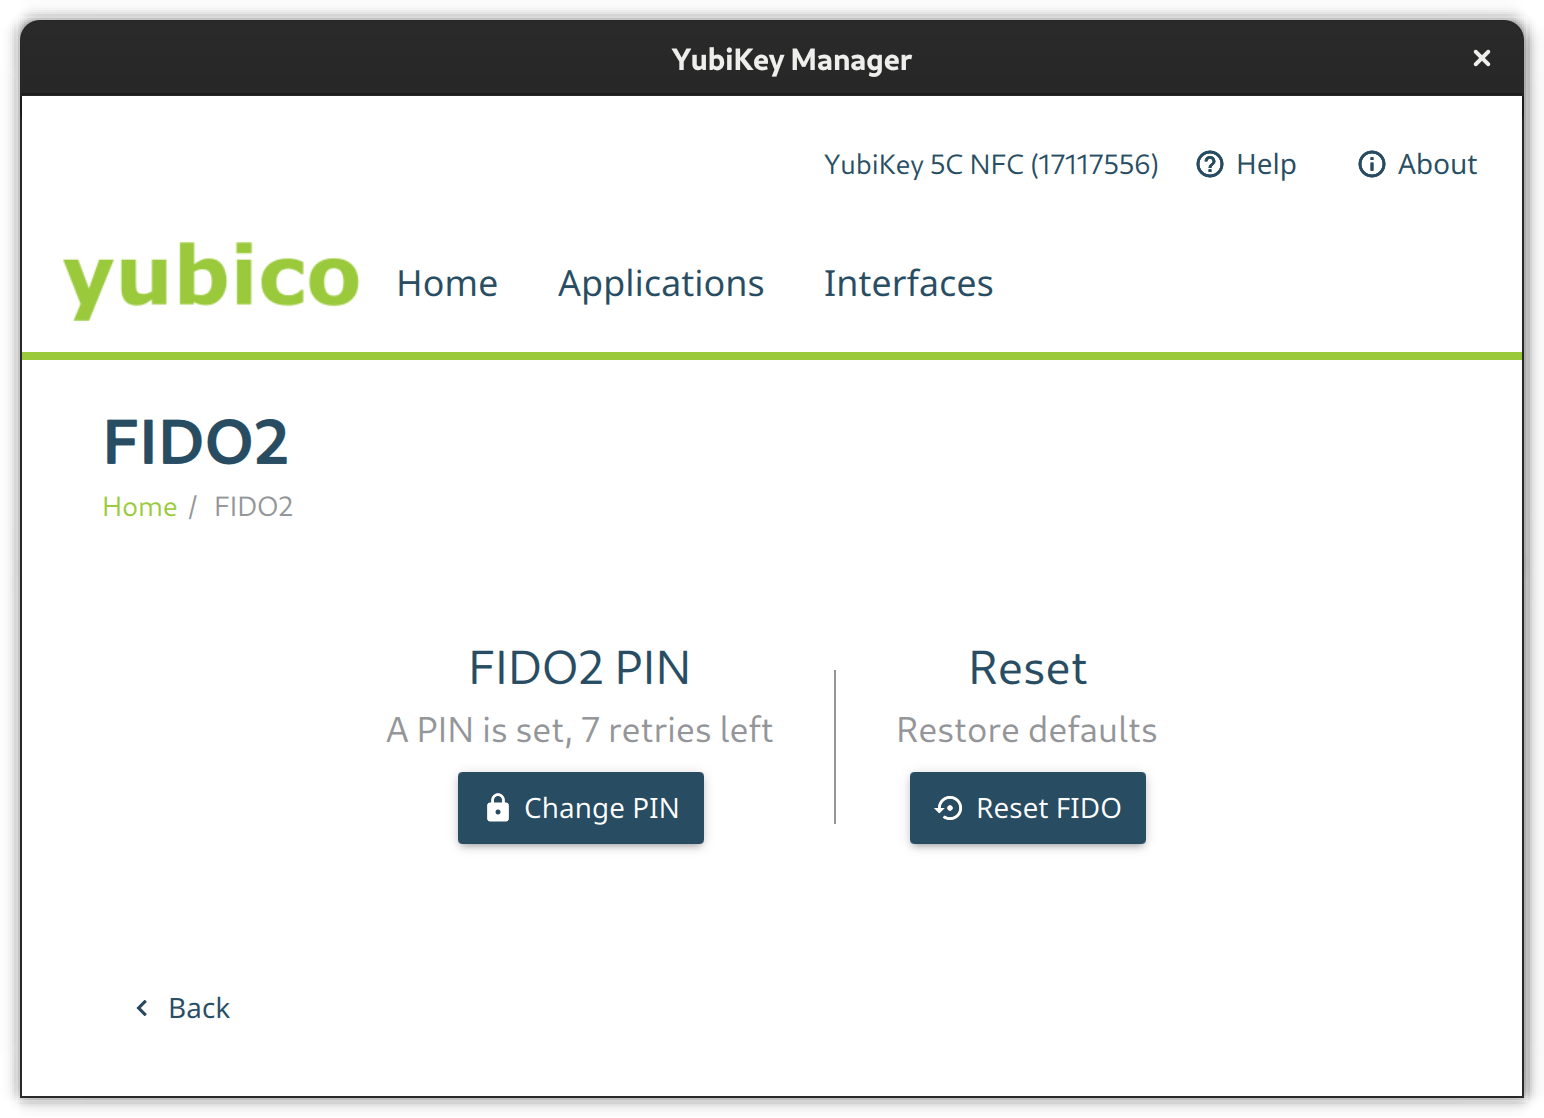
FIDO2
Go to the FIDO2 page and set a pin.
Set the FIDO2 pin on a terminal like this:
$ ykman fido access change-pin
Enter the current PIN: 123456
Enter the new PIN: ********
Repeat for confirmation: ********
New PIN set.
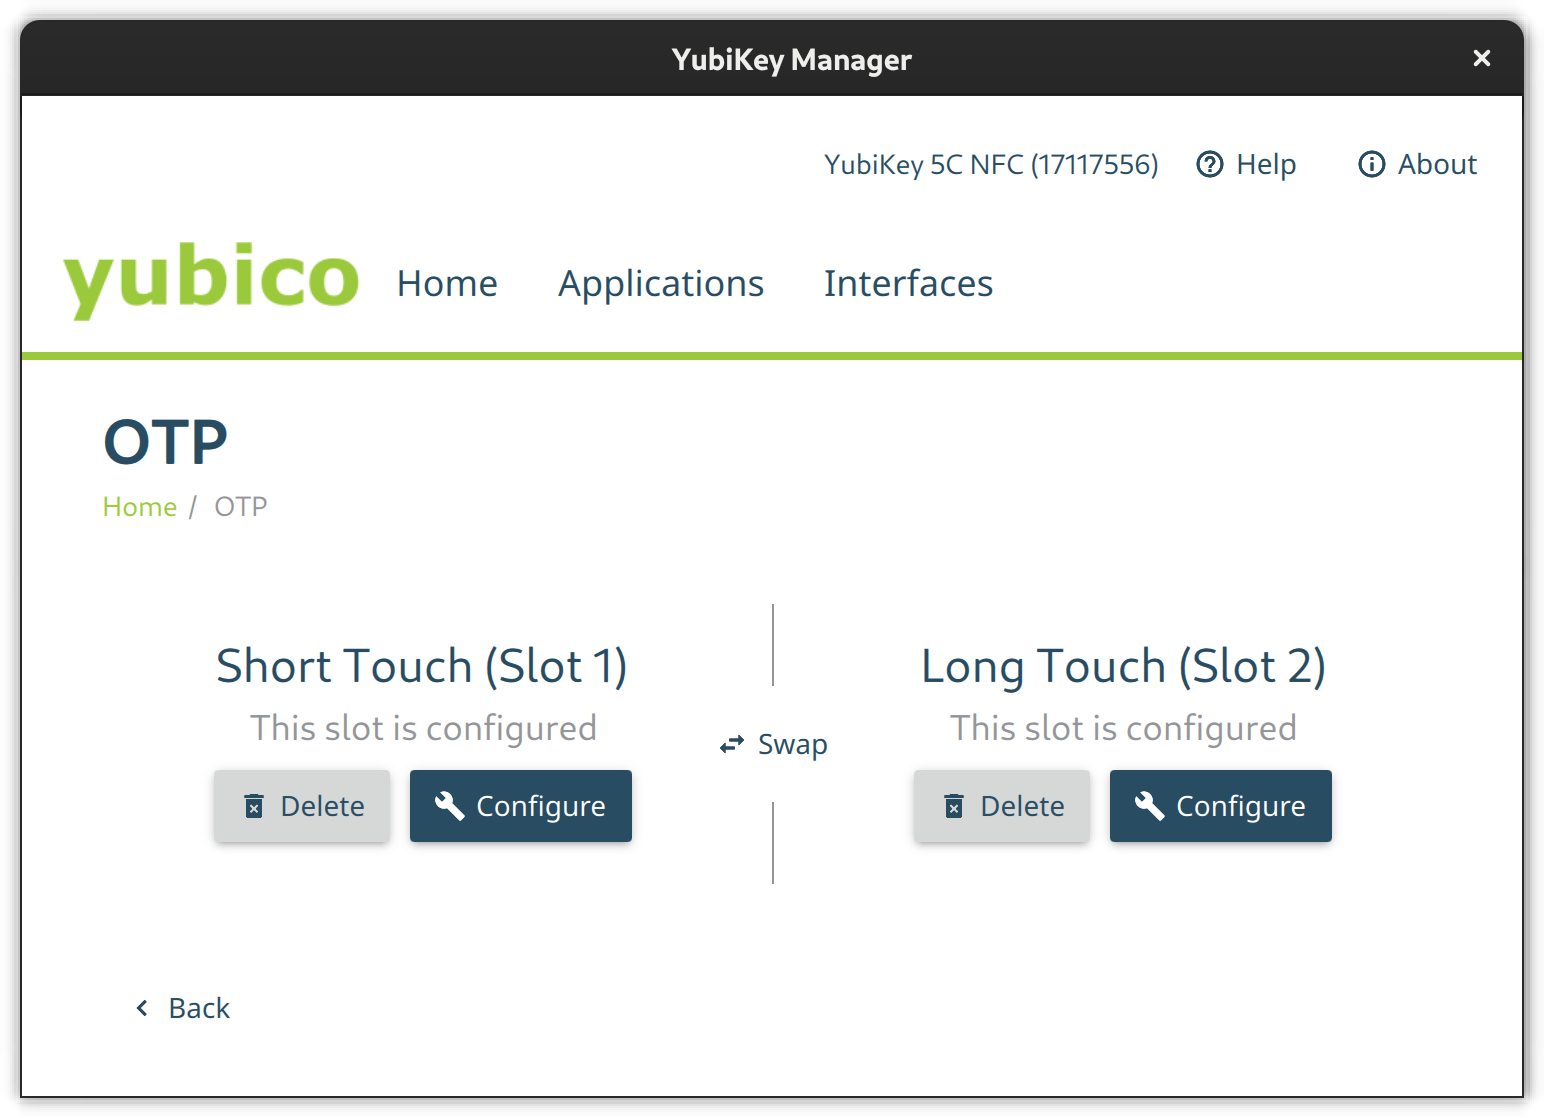
OTP
The OTP feature is configured out-of-the-box. There is nothing to do here except to configure Slot 2 if you like. Slot 1 is used for challenge-response by default. Slot 2, however, is empty at first. You can configure it to output a static key of your liking on a long touch of the YubiKey’s button (approximately 2.5 seconds).
If you like, set the second slot from a terminal via ykman otp static like this:
ykman otp static --keyboard-layout US 2 u25bohg87bmtj247ts725v5f
OATH
Use the OATH module to store TOTP codes. By default, this module does not have a passphrase. But you can assign one. Without a passphrase you can query all stored credentials and get TOTP codes without additional authentication.
The GUI does not have the means to change the passphrase so the CLI is required.
ykman oath access change
You can configure your device to remember the YubiKey so you only have to enter the passphrase once.
ykman oath access remember
In the same way, let your device forget the YubiKey OATH credential.
ykman oath access forget
Local (PAM) authentication via OTP
Add the YubiKey to local system authentication through PAM (Pluggable Authentication Modules). You can either do this using the default online or an alternative offline method. The online method uses the Yubico servers to validate the OTP tokens and thus requires an online connection while the offline method uses challenge-response.
Create base configuration files
Create two base configuration files using the pam_yubico module. One which instructs PAM to consider the YubiKey an alternative factor and one so PAM requires the key as an additional factor.
For the online YubiCloud method use the appropriate command shown here:
/etc/pam.d/yubikey-required
#%PAM-1.0
auth required pam_yubico.so id=[Your API Client ID] key=[Your API Client Key] /etc/pam.d/yubikey-sufficient
#%PAM-1.0
auth sufficient pam_yubico.so id=[Your API Client ID] key=[Your API Client Key]
You need to register your YubiKey at YubiCloud and obtain an API key. The module will work without an API key but then the client will not verify OpenSSL certificates and be susceptible to MitM (Man in the Middle) Attacks.
Note: This authentication method will not work if your device is offline or it cannot connect to the YubiCloud.
For offline challenge-response use the appropriate command shown here:
/etc/pam.d/yubikey-required
#%PAM-1.0
auth required pam_yubico.so mode=challenge-response /etc/pam.d/yubikey-sufficient
#%PAM-1.0
auth sufficient pam_yubico.so mode=challenge-response
Register your YubiKey with your local account
After the base configuration files are setup nothing has really changed — yet. It is advised that you now register your YubiKey(s) with the respective user accounts on your machines before changing the active PAM configuration of your systems.
If you use the online YubiCloud method you need the ID of your YubiKey. To find this just enter the key and retrieve an OTP code with a short press on the button and extract the first 12 characters – this is your key ID:
cccccbcgebif | bclbtjihhbfbduejkuhgvhkehnicrfdj
Next create a configuration file in ~/.yubico/authorized_yubikeys and add all authorized key IDs after your username separated by colons:
fedora-user:cccccbcgebif[:<another-key-id>]
If you go for the offline challenge-response method, you need at least one slot configured for challenge-response. Let’s assume Slot 1 is used in its default configuration with YubiCloud OTP for other things. So configure the 2nd slot for challenge-response:
ykman otp chalresp --generate --touch 2
Now register a connected YubiKey with your user account via challenge-response:
ykpamcfg -2
This creates a file in ~/.yubico/challenge-<key-serial> that contains a challenge response configuration for the key.
Choose PAM configuration
Now choose the PAM modules to consider the YubiKey and then include the respective configuration file, either before or after the system-auth import depending on whether sufficient or required is what you want:
- /etc/pam.d/login – For console logins
- /etc/pam.d/sudo – For sudo authentication
- /etc/pam.d/gdm-password – For GNOME authentication
- /etc/pam.d/ssh – SSH authentication against a local OpenSSH Server
For YubiKey as additional / required factor:
auth include system-auth
...
auth include yubikey-required
For YubiKey as alternative / sufficient factor:
auth include yubikey-sufficient
...
auth include system-auth
Note: If you add the YubiKey as a factor in sudo authentication, make certain to have a root shell open and test it thoroughly in another shell. Otherwise you could lose the ability to use sudo.
Lock the system on YubiKey removal
Wouldn’t it be cool to lock your Gnome session when removing the YubiKey? If that behavior fits your style just add a script which does just that and let udev trigger it.
Create an udev rule to catch the device detach event with a shell script. The model ID in this example might differ so please check your lsusb output to confirm it. Save the following udev rule into /etc/udev/rules.d/20-yubikey.rules:
ACTION=="remove", ENV{ID_BUS}=="usb", ENV{ID_MODEL_ID}=="0407", ENV{ID_VENDOR_ID}=="1050", RUN+="/usr/local/bin/lockscreen.sh"
Add the following script to the /usr/local/bin/lockscreen.sh file:
#!/bin/sh
#Author: https://gist.github.com/jhass/070207e9d22b314d9992 for bus in /run/user/*/bus; do uid=$(basename $(dirname $bus)) if [ $uid -ge 1000 ]; then user=$(id -un $uid) export DBUS_SESSION_BUS_ADDRESS=unix:path=$bus if su -c 'dbus-send --session --dest=org.freedesktop.DBus --type=method_call --print-reply /org/freedesktop/DBus org.freedesktop.DBus.ListNames' $user | grep org.gnome.ScreenSaver; then su -c 'dbus-send --session --type=method_call --dest=org.gnome.ScreenSaver /org/gnome/ScreenSaver org.gnome.ScreenSaver.Lock' $user fi fi done
Add execution permission to this script and reload udev:
$ sudo chmod +x /usr/local/bin/lockscreen.sh
$ sudo udevadm control -R
OpenSSH with PIV and FIDO2
Your YubiKey can store OpenSSH private keys in the PIV module, generate public keys from them, and require PIN and touch of the YubiKey button upon use.
Generate a private key (e.g. ED25519) with touch and pin requirement in the 9a slot:
$ ykman piv keys generate --algorithm ED25519 --pin-policy ONCE --touch-policy ALWAYS 9a public.pem
Enter PIN: ********
The slot 9A is for “PIV Authentication”.
Create a self-signed certificate for that key. The only use for the X.509 certificate is to satisfy PIV/PKCS #11 lib. It is needed to extract the public key from the smart card.
$ ykman piv certificates generate --subject "CN=OpenSSH" --hash-algorithm SHA384 9a pubkey.pem
Enter PIN: ********
Touch your YubiKey…
Use OpenSSH ssh-keygen to generate a public key you can later use in authorized_keys files on remote systems. The following generates such a key directly on the YubiKey in a FIDO2 slot, making it portable.
ssh-keygen -t ed25519-sk -O resident -O application=ssh:fedora -O verify-required
The resident option instructs ssh-keygen to store the key handle on the YubiKey, making it easier to use the key across multiple systems as ssh-add can load and use the ssh keys from the YubiKey directly. The application option assigns a designated name for the this specific private-public-key-pair and is useful if working with different ssh identities. The verify-required option is mandatory for resident keys and adds requirement to enter a pin on key usage.
If the key is generated with a touch requirement, only omit the verify-required option. If you don’t want to use FIDO2 slots, omit the resident and application options and make sure to backup generated public keys.
Caching OpenSSH connections
In the OpenSSH default configuration, every time you connect to a machine via ssh you’ll be prompted to touch your key. To let your OpenSSH client cache connections even after you close the session and thus no longer need to touch the key again, add the following option to your ~/.ssh/config:
Host * ControlMaster auto ControlPath ~/.ssh/S.%r@%h:%p ControlPersist 5m
Introspection
Get information on the PIV slot 9a:
$ ykman piv info
PIV version: 5.4.3
PIN tries remaining: 3/3
Management key algorithm: TDES
CHUID:	REDACTED
CCC: No data available.
Slot 9a: Algorithm:	RSA2048 Subject DN:	CN=SSH key Issuer DN:	CN=SSH key Serial: REDACTED Fingerprint: REDACTED Not before:	2022-01-01 20:00:00 Not after:	2023-01-01 20:00:00
List stored FIDO2 public keys with:
$ ykman fido credentials list
ssh:fedora 0000000000000000000000000000000000000000000000000000000000000000 openssh
Authenticating in the web
YubiKey Authenticator is a TOTP application for Desktop and Android and is similar to Google Authenticator and AndOTP. However, it uses the YubiKey as storage device. Either scan a QR code or enter the secret directly, choose a name and that’s it. Just keep in mind that the storage on a YubiKey is limited to 32 TOTP codes.
Since the TOTP codes are stored on the YubiKey they are portable and you may access them e.g. via USB C on desktop or via NFC on the android application.
Use the yubikey-manager to add a TOTP credential:
ykman oath accounts add fedora <TOTP secret>
Then retrieve a TOTP code with:
ykman oath accounts code fedora
WebAuthn and U2F as alternative
WebAuthn and U2F are modern alternatives to TOTP which just requests the presence of your key and a button press through your browser of preference. If previously registered at the web service in question, you can use it as a far more convenient factor than TOTP codes.
This feature is supported at least in Firefox but not in Gnome Web.
The difference between FIDO U2F and FIDO2 WebAuthn is that the latter stores an identity in the keys storage and thus the application or service can extract the user identity and authentication from the key without the need of an identity server.
Other use cases
There are more use cases not covered in this article which might be worth revisiting at some point. These Include but are not limited to:
- OpenPGP to encrypt, sign or authenticate
- x509 certificate management for Public Key Infrastructure
- LUKS disk decryption
What other use-cases do you have in mind? Let us know in the comments.