The default desktop of Fedora Workstation — GNOME Shell — is known and loved by many users for its minimal, clutter-free user interface. However, one thing that many users want is an always-visible view of open applications. One simple and effective way to get this is with the awesome Dash to Dock GNOME Shell extension.
Dash to Dock takes the dock that is visible in the GNOME Shell Overview, and places it on the main desktop. This provides a view of open applications at a glance, and provides a quick way to switch windows using the mouse. Additionally, Dash to Dock adds a plethora of additional features and options over the built-in Overview dock, including autohide, panel mode, and window previews.

Features
Dash to Dock adds a bunch of additional features over the dock that usually shows in the GNOME Shell overview.
The extension has an intelligent autohide feature, that hides the dock when it obscures windows. To bring the dock back up, simply move the mouse to the bottom of the screen.
Additionally, panel mode stretches the dock to take up the entire width of the screen. This is a good option for users that want to always have the dock showing, without autohiding it.

Dash to Dock also cleanly handles multiple windows of the same application. It shows small dots under each application icon to show how many windows are open. Additionally, it can be configured to show previews of each window when clicking the icon, allowing the user to choose the window they want.

Installing Dash to Dock
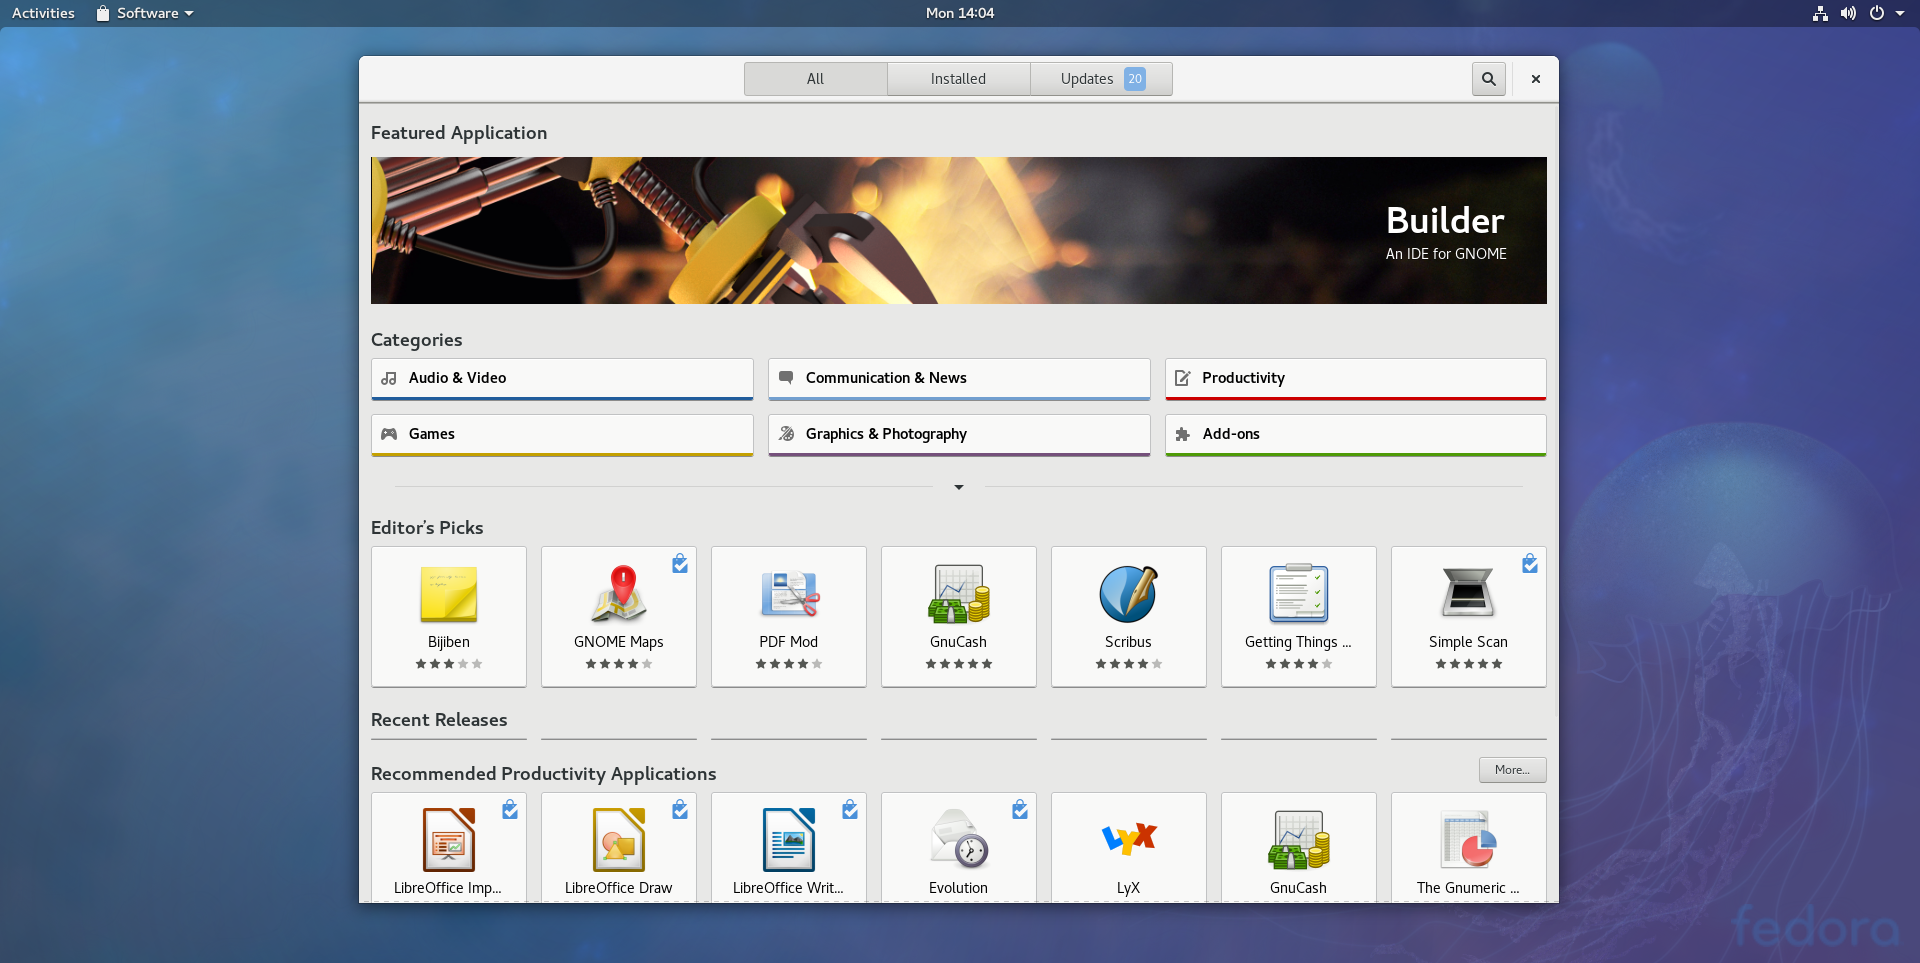
The quickest and easiest way to install the extension is with the Software Application. Check out the previous post here on the Magazine for more details:
Note, however, that Dash to Dock is available in both the Fedora repositories, and via the GNOME Shell extensions repository. Consequently, it will show up twice when browsing for extensions in the Software application:

Typically, the version from GNOME Shell Extensions is kept up-to-date more frequently by the developer, so that version may be the safer bet.
Configuring Dash to Dock
The Dash to Dock extension has a wide range of optional features and tweaks that users can enable and change. Some of the tweakable items include: icon size, where to position the dock (including on multiple monitors), opacity of the dock, and themes.

Accessing the settings dialog for the extension is easy. Simply right-click on the applications icon in the dock, and choose Dash to Dock settings.

Note, however, that the extension allows you to remove the applications icon from the dock. In this case, access the settings dialog via the Software Application: