On Friday, Mozilla issued a security advisory for Firefox, the default web browser in Fedora. This advisory concerns a CVE for a vulnerability based on type confusion that can happen when JavaScript objects are being manipulated. It can be used to crash your browser. There are apparently already attacks in the wild that exploit the issue. Read on for more information, and how to protect your system against this flaw.
Firefox 67.0.3 (with the security fixes) has already been pushed to the stable Fedora repositories. The security fix will be applied to your system with your next update. You can also update the firefox package only by running the following command:
$ sudo dnf update firefox
This command requires you to have sudo setup. Note that not every Fedora mirrors syncs at the same rate. Community sites graciously donate space and bandwidth these mirrors to carry Fedora content. You may need to try again later if your selected mirror is still awaiting the latest update.
Ansible is one of the most popular automation engines in the world. It lets you automate virtually anything, from setup of a local system to huge groups of platforms and apps. It’s cross platform, so you can use it with all sorts of operating systems. Read on for more information on how to get the latest Ansible in Fedora, some of its changes and improvements, and how to put it to use.
Releases and features
Ansible 2.8 was recently released with many fixes, features, and enhancements. It was available in Fedora mere days afterward as an official update in Fedora 29 and 30, as well as EPEL. The follow-on version 2.8.1 released two weeks ago. Again, the new release was available within a few days in Fedora.
Installation is, of course, easy to do from the official Fedora repositories using sudo:
$ sudo dnf -y install ansible
The 2.8 release has a long list of changes, and you can read them in the Porting Guide for 2.8. But they include some goodies, such as Python interpreter discovery. Ansible 2.8 now tries to figure out which Python is preferred by the platform it runs on. In cases where that fails, Ansible uses a fallback list. However, you can still use a variable ansible_python_interpreter to set the Python interpreter.
Another change makes Ansible more consistent across platforms. Since sudo is more exclusive to UNIX/Linux, and other platforms don’t have it, become is now used in more places. This includes command line switches. For example, –ask-sudo-pass has become –ask-become-pass, and the prompt is now BECOME password: instead.
There are many more features in the 2.8 and 2.8.1 releases. Do check out the official changelog on GitHub for all the details.
Using Ansible
Maybe you’re not sure if Ansible is something you could really use. Don’t worry, you might not be alone in thinking that, because it’s so powerful. But it turns out that it’s not hard to use it even for simple or individual setups like a home with a couple computers (or even just one!).
We covered this topic earlier in the Fedora magazine as well:
Modularity enables Fedora to provide alternative versions of RPM packages in the repositories. Several different applications, language runtimes, and tools are available in multiple versions, build natively for each Fedora release.
The Fedora Magazine has already covered Modularity in Fedora 28 Server Edition about a year ago. Back then, it was just an optional repository with additional content, and as the title hints, only available to the Server Edition. A lot has changed since then, and now Modularity is a core part of the Fedora distribution. And some packages have moved to modules completely. At the time of writing — out of the 49,464 binary RPM packages in Fedora 30 — 1,119 (2.26%) come from a module (more about the numbers).
Modularity basics
Because having too many packages in multiple versions could feel overwhelming (and hard to manage), packages are grouped into modules that represent an application, a language runtime, or any other sensible group.
Modules often come in multiple streams — usually representing a major version of the software. Available in parallel, but only one stream of each module can be installed on a given system.
And not to overwhelm users with too many choices, each Fedora release comes with a set of defaults — so decisions only need to be made when desired.
Finally, to simplify installation, modules can be optionally installed using pre-defined profiles based on a use case. A database module, for example, could be installed as a client, a server, or both.
Modularity in practice
When you install an RPM package on your Fedora system, chances are it comes from a module stream. The reason why you might not have noticed is one of the core principles of Modularity — remaining invisible until there is a reason to know about it.
Let’s compare the following two situations. First, installing the popular i3 tiling window manager, and second, installing the minimalist dwm window manager:
$ sudo dnf install i3
...
Done!
As expected, the above command installs the i3 package and its dependencies on the system. Nothing else happened here. But what about the other one?
It feels the same, but something happened in the background — the default dwm module stream (6.1) got enabled, and the dwm package from the module got installed.
To be transparent, there is a message about the module auto-enablement in the output. But other than that, the user doesn’t need to know anything about Modularity in order to use their system the way they always did.
But what if they do? Let’s see how a different version of dwm could have been installed instead.
Use the following command to see what module streams are available:
The output shows there are four streams of the dwm module, 6.1 being the default.
To install the dwm package in a different version — from the 6.2 stream for example — enable the stream and then install the package by using the two following commands:
Finally, let’s have a look at profiles, with PostgreSQL as an example.
$ sudo dnf module list
...
postgresql 9.6 client, server ...
postgresql 10 client, server ...
postgresql 11 client, server ...
...
To install PostgreSQL 11 as a server, use the following command:
$ sudo dnf module install postgresql:11/server
Note that — apart from enabling — modules can be installed with a single command when a profile is specified.
It is possible to install multiple profiles at once. To add the client tools, use the following command:
$ sudo dnf module install postgresql:11/client
There are many other modules with multiple streams available to choose from. At the time of writing, there were 83 module streams in Fedora 30. That includes two versions of MariaDB, three versions of Node.js, two versions of Ruby, and many more.
Markdown is a lightweight markup language that is useful for adding formatting while still maintaining readability when viewing as plain text. Markdown (and Markdown derivatives) are used extensively as the priumary form of markup of documents on services like GitHub and pagure. By design, Markdown is easily created and edited in a text editor, however, there are a multitude of editors available that provide a formatted preview of Markdown markup, and / or provide a text editor that highlights the markdown syntax.
This article covers 3 desktop applications for Fedora Workstation that help out when editing Markdown.
UberWriter
UberWriter is a minimal Markdown editor and previewer that allows you to edit in text, and preview the rendered document.
The editor itself has inline previews built in, so text marked up as bold is displayed bold. The editor also provides inline previews for images, formulas, footnotes, and more. Ctrl-clicking one of these items in the markup provides an instant preview of that element to appear.
In addition to the editor features, UberWriter also features a full screen mode and a focus mode to help minimise distractions. Focus mode greys out all but the current paragraph to help you focus on that element in your document
Marker is a Markdown editor that provides a simple text editor to write Markdown in, and provides a live preview of the rendered document. The interface is designed with a split screen layout with the editor on the left, and the live preview on the right.
Additionally, Marker allows you to export you document in a range of different formats, including HTML, PDF, and the Open Document Format (ODF).
Where the previous editors are more focussed on a minimal user experice, Ghostwriter provides many more features and options to play with. Ghostwriter provides a text editor that is partially styled as you write in Markdown format. Bold text is bold, and headings are in a larger font to assist in writing the markup.
It also provides a split screen with a live updating preview of the rendered document.
Ghostwriter also includes a range of other features, including the ability to choose the Markdown flavour that the preview is rendered in, as well as the stylesheet used to render the preview too.
Additionally, it provides a format menu (and keyboard shortcuts) to insert some of the frequent markdown ‘tags’ like bold, bullets, and italics.
Do you want to share a piece of Fedora news for the general public? Have a good idea for how to do something using Fedora? Do you or someone you know use Fedora in an interesting way?
We’re always looking for new contributors to write awesome, relevant content. The Magazine is run by the Fedora community — and that’s all of us. You can help too! It’s really easy.Read on to find out how.
What content do we need?
Glad you asked. We often feature material for desktop users, since there are many of them out there! But that’s not all we publish. We want the Magazine to feature lots of different content for the general public.
Sysadmins and power users
We love to publish articles for system administrators and power users who dive under the hood. Here are some recent examples:
We don’t forget about developers, either. We want to help people use Fedora to build and make incredible things. Here are some recent articles focusing on developers:
We also feature interviews with people using Fedora in interesting ways. We even link to other useful content about Fedora. We’ve run interviews recently with people using Fedora to increase security, administer infrastructure, or give back to the community. You can help here, too — it’s as simple as exchanging some email and working with our helpful staff.
How do I get started?
It’s easy to start writing for Fedora Magazine! You just need to have decent skill in written English, since that’s the language in which we publish. Our editors can help polish your work for maximum impact.
The Magazine team will guide you through getting started. The team also hangs out on #fedora-mktg on Freenode. Drop by, and we can help you get started.
Changing the theme of a desktop environment is a common way to customize your daily experience with Fedora Workstation. This article discusses the 4 different types of visual themes you can change and how to change to a new theme. Additionally, this article will cover how to install new themes from both the Fedora repositories and 3rd party theme sources.
Theme Types
When changing the theme of Fedora Workstation, there are 4 different themes that can be changed independently of each other. This allows a user to mix and match the theme types to customize their desktop in a multitude of combinations. The 4 theme types are the Application (GTK) theme, the shell theme, the icon theme, and the cursor theme.
Application (GTK) themes
As the name suggests, Application themes change the styling of the applications that are displayed on a user’s desktop. Application themes control the style of the window borders and the window titlebar. Additionally, they also control the style of the widgets in the windows — like dropdowns, text inputs, and buttons. One point to note is that an application theme does not change the icons that are displayed in an application — this is achieved using the icon theme.
Two application windows with two different application themes. The default Adwaita theme on the left, the Adapta theme on the right.
Application themes are also known as GTK themes, as GTK (GIMP Toolkit) is the underlying technology that is used to render the windows and user interface widgets in those windows on Fedora Workstation.
Shell Themes
Shell themes change the appearance of the GNOME Shell. The GNOME Shell is the technology that displays the top bar (and the associated widgets like drop downs), as well as the overview screen and the applications list it contains.
Comparison of two Shell themes, with the Fedora Workstation default on top, and the Adapta shell theme on the bottom.
Icon Themes
As the name suggests, icon themes change the icons used in the desktop. Changing the icon theme will change the icons displayed both in the Shell, and in applications.
Comparison of two icon themes, with the Fedora 30 Workstation default Adwaita on the left, and the Yaru icon theme on the right
One important item to note with icon themes is that all icon themes will not have customized icons for all application icons. Consequently, changing the icon theme will not change all the icons in the applications list in the overview.
Comparison of two icon themes, with the Fedora 30 Workstation default Adwaita on the top, and the Yaru icon theme on the bottom
Cursor Theme
The cursor theme allows a user to change how the mouse pointer is displayed. Most cursor themes change all the common cursors, including the pointer, drag handles and the loading cursor.
Comparison of multiple cursors of two different cursor themes. Fedora 30 default is on the left, the Breeze Snow theme on the right.
Changing the themes
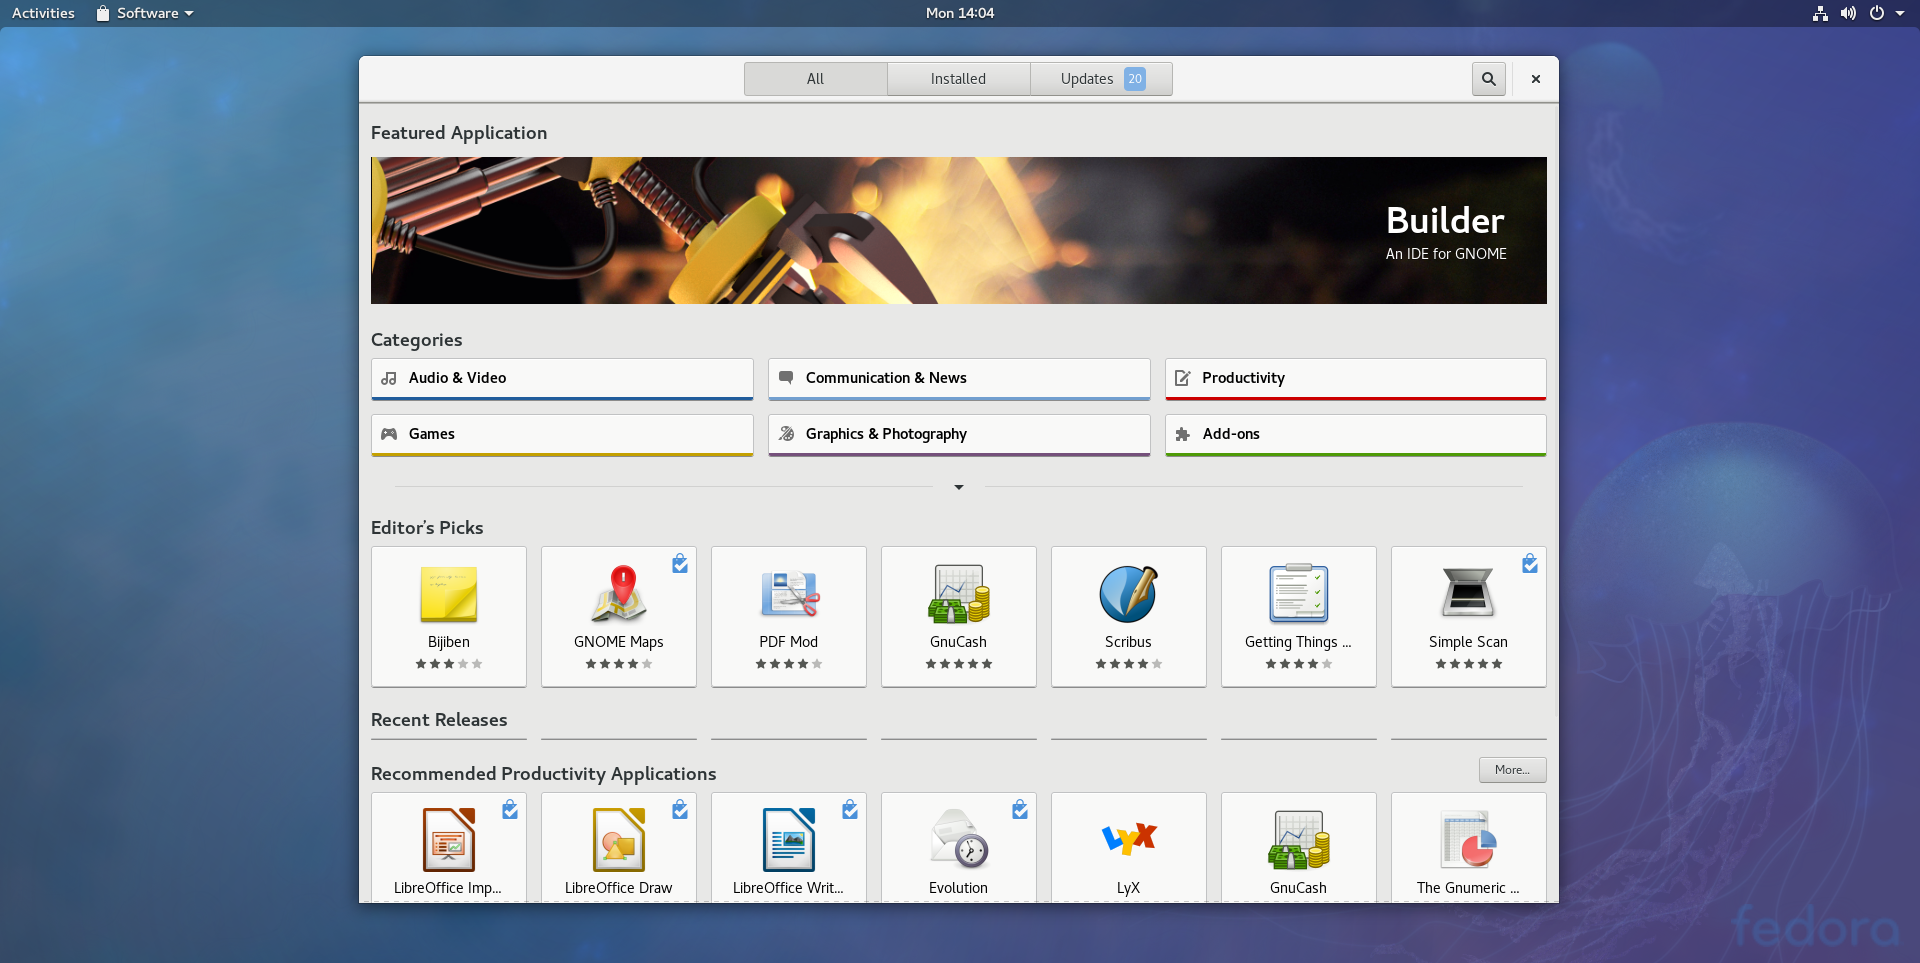
Changing themes on Fedora Workstation is a simple process. To change all 4 types of themes, use the Tweaks application. Tweaks is a tool used to change a range of different options in Fedora Workstation. It is not installed by default, and is installed using the Software application:
Alternatively, install Tweaks from the command line with the command:
Next, launch Tweaks, and switch to the Appearance pane. The Themes section in the Appearance pane allows the changing of the multiple theme types. Simply choose the theme from the dropdown, and the new theme will apply automatically.
Installing themes
Armed with the knowledge of the types of themes, and how to change themes, it is time to install some themes. Broadly speaking, there are two ways to install new themes to your Fedora Workstation — installing theme packages from the Fedora repositories, or manually installing a theme. One point to note when installing themes, is that you may need to close and re-open the Tweaks application to make a newly installed theme appear in the dropdowns.
Installing from the Fedora repositories
The Fedora repositories contain a small selection of additional themes that once installed are available to we chosen in Tweaks. Theme packages are not available in the Software application, and have to be searched for and installed via the command line. Most theme packages have a consistent naming structure, so listing available themes is pretty easy.
To find Application (GTK) themes use the command:
dnf search gtk | grep theme
To find Shell themes:
dnf search shell-theme
Icon themes:
dnf search icon-theme
Cursor themes:
dnf search cursor-theme
Once you have found a theme to install, install the theme using dnf. For example:
sudo dnf install numix-gtk-theme
Installing themes manually
For a wider range of themes, there are a plethora of places on the internet to find new themes to use on Fedora Workstation. Two popular places to find themes are OpenDesktop and GNOMELook.
Typically when downloading themes from these sites, the themes are encapsulated in an archive like a tar.gz or zip file. In most cases, to install these themes, simply extract the contents into the correct directory, and the theme will appear in Tweaks. Note too, that themes can be installed either globally (must be done using sudo) so all users on the system can use them, or can be installed just for the current user.
For Application (GTK) themes, and GNOME Shell themes, extract the archive to the .themes/ directory in your home directory. To install for all users, extract to /usr/share/themes/
For Icon and Cursor themes, extract the archive to the .icons/ directory in your home directory. To install for all users, extract to /usr/share/icons/
Have you always wanted to start contributing to Fedora but don’t know how? Submitting a supplemental wallpaper is one of the easiest ways to start as a Fedora contributor. Keep reading to learn how.
Each release, the Fedora Design team works with the community on a set of 16 additional wallpapers. Users can install and use these to supplement the standard wallpaper. And submissions are now open for the Fedora 31 Supplemental Wallpapers.
Dates and deadlines
The submission phase opens June 3, 2019 and ends July 26, 2019 at 23:59 UTC.
Important note: In certain circumstances, submissions during the last hours may not get into the election, if there is no time to do legal research. The legal research is done by hand and very time consuming. Please help by following the guidelines correctly and submit only work that has a correct license.
Please stay away to submit pictures of pets, especially cats.
The voting will open August 1, 2019 and will be open until August 16, 2019 at 23:59 UTC.
How to contribute to this package
Fedora uses the Nuancier application to manage the submissions and the voting process. To submit, you need an Fedora account. If you don’t have one, you can create one here. To vote you must have membership in another group such as cla_done or cla_fpca.
For inspiration you can look to former submissions and the previous winners. Here are some from the last election:
Pink House by Everaldo Coelho
Blue Mystic by Clyde He
Canadian Rockies by Helena Bartosova
Mushroom Family by ahalman
Mountains of North Iran by ahalman
Wheat by psav
Sunset on Skye by noe38330
Zen Lover by hhlp
Snow on Balanced Rock by n8inup
Wasser im Winter by Alexander Hanauer
Dortmund Sunset by Hendrik Borghorst
I see stars by haven1
Enjoying the Sun by lhirlimann
Lonely tree in kenya by lhirlimann
Great Oak in Claremont by n8inup
Fabric by Hendrik Borghorst
You may only upload two submissions into Nuancier. In case you submit multiple versions of the same image, the team will choose one version of it and accept it as one submission, and deny the other one.
Previously submissions that were not selected should not be resubmitted, and may be rejected. Creations that lack essential artistic quality may also be rejected.
Denied submissions into Nuancier count. Therefore, if you make two submissions and both are rejected, you cannot submit more. Use your best judgment for your submissions.
Badges
You can also earn badges for contributing. One badge is for an accepted submission. Another badge is awarded if your submission is a chosen wallpaper. A third is awarded if you participate in the voting process. You must claim this badge during the voting process, as it is not granted automatically.
ffsend is the command line client of Firefox Send. This article will show how Firefox Send and ffsend work. It’ll also detail how it can be installed and used in Fedora.
What are Firefox Send and ffsend ?
Firefox Send is a file sharing tool from Mozilla that allows sending encrypted files to other users. You can install Send on your own server, or use the Mozilla-hosted link send.firefox.com. The hosted version officially supports files up to 1 GB, and links that expire after a configurable download count (default of 1) or 24 hours, and then all the files on the Send server are deleted. This tool is still in experimental phase, and therefore shouldn’t be used in production or to share important or sensitive data.
While Firefox Send is the tool itself and can be used with a web interface, ffsend is a command-line utility you can use with scripts and arguments. It has a wide range of configuration options and can be left working in the background without any human intervention.
How does it work?
FFSend can both upload and download files. The remote host can use either the Firefox tool or another web browser to download the file. Neither Firefox Send nor ffsend require the use of Firefox.
It’s important to highlight that ffsend uses client-side encryption. This means that files are encrypted before they’re uploaded. You share secrets together with the link, so be careful when sharing, because anyone with the link will be able to download the file. As an extra layer of protection, you can protect the file with a password by using the following argument:
ffsend password URL -p PASSWORD
Other features
There are a few other features worth mentioning. Here’s a list:
Configurable download limit, between 1 and 20 times, before the link expires
Built-in extract and archiving functions
Track history of shared files
Inspect or delete shared files
Folders can be shared as well, either as they are or as compressed files
Generate a QR code, for easier download on a mobile phone
How to install in Fedora
While Fedora Send works with Firefox without installing anything extra, you’ll need to install the CLI tool to use ffsend. This tool is in the official repositories, so you only need a simple dnf command with sudo.
$ sudo dnf install ffsend
After that, you can use ffsend from the terminal .
ffsend also provides a way to check the history of the uploads made with the tools. This can be really useful if you upload a lot of files during a scripted tasks for example and you want to keep track of each files download status.
$ ffsend history
LINK EXPIRY
 1 https://send.firefox.com/download/#8TJ9QNw 23h59m
 2 https://send.firefox.com/download/KZIA-PaQ 23h54m
Delete a file
Another useful feature is the possibility to delete a file.
Firefox Send is a great service and the ffsend tools makes it really convenient to use from the terminal. More examples and documentation is available on ffsend‘s Gitlab repository.
With the recent release of Fedora 30, Fedora 28 officially enters End Of Life (EOL) status effective May 28, 2019. This impacts any systems still on Fedora 28. If you’re not sure what that means to you, read more below.
At this point, packages in the Fedora 28 repositories no longer receive security, bugfix, or enhancement updates. Furthermore, the community adds no new packages to the Fedora 28 collection starting at End of Life. Essentially, the Fedora 28 release will not change again, meaning users no longer receive the normal benefits of this leading-edge operating system.
There’s an easy, free way to keep those benefits. If you’re still running an End of Life version such as Fedora 28, now is the perfect time to upgrade to Fedora 29 or to Fedora 30. Upgrading gives you access to all the community-provided software in Fedora.
Looking back at Fedora 28
Fedora 28 was released on May 1, 2018. As part of their commitment to users, Fedora community members released over 9,700 updates.
This release featured, among many other improvements and upgrades:
GNOME 3.28
Easier options for third-party repositories
Automatic updates for the Fedora Atomic Host
The new Modular repository, allowing you to select from different versions of software for your system
Of course, the Project also offered numerous alternative spins of Fedora, and support for multiple architectures.
About the Fedora release cycle
The Fedora Project offers updates for a Fedora release until a month after the second subsequent version releases. For example, updates for Fedora 29 continue until one month after the release of Fedora 31. Fedora 30 continues to be supported up until one month after the release of Fedora 32.
The Fedora Project wiki contains more detailed information about the entire Fedora Release Life Cycle. The lifecycle includes milestones from development to release, and the post-release support period.
Packit (https://packit.dev/) is a CLI tool that helps you auto-package your upstream projects into the Fedora operating system. But what does it really mean?
As a developer, you might want to add or update your package in Fedora. If you’ve done it in the past, you know it’s no easy task. If you haven’t let me reiterate: it’s no easy task.
And this is exactly where packit can help: with just one configuration file in your upstream repository, packit will automatically package your software into Fedora and update it when you update your source code upstream.
Furthermore, packit can synchronize downstream changes to a SPEC file back into the upstream repository. This could be useful if the SPEC file of your package is changed in Fedora repositories and you would like to synchronize it into your upstream project.
Packit also provides a way to build an SRPM package based on an upstream repository checkout, which can be used for building RPM packages in COPR.
Last but not least, packit provides a status command. This command provides information about upstream and downstream repositories, like pull requests, release and more others.
Packit provides also another two commands: build and create-update.
The command packit build performs a production build of your project in Fedora build system – koji. You can Fedora version you want to build against using an option –dist-git-branch. The command packit create-updates creates a Bodhi update for the specific branch using the option —dist-git-branch.
Installation
You can install packit on Fedora using dnf:
sudo dnf install -y packit
Configuration
For demonstration use case, I have selected the upstream repository of colin (https://github.com/user-cont/colin). Colin is a tool to check generic rules and best-practices for containers, dockerfiles, and container images.
First of all, clone colin git repository:
$ git clone https://github.com/user-cont/colin.git
$ cd colin
Packit expects to run in the root of your git repository.
Prerequisite for using packit is that you are in a working directory of a git checkout of your upstream project.
Before running any packit command, you need to do several actions. These actions are mandatory for filing a PR into the upstream or downstream repositories and to have access into the Fedora dist-git repositories.
INFO: Running 'anitya' versioneer Version in upstream registries is '0.3.1'. Version in spec file is '0.3.0'. WARNING Version in spec file is outdated Picking version of the latest release from the upstream registry. Checking out upstream version 0.3.1 Using 'master' dist-git branch Copying /home/vagrant/colin/colin.spec to /tmp/tmptfwr123c/colin.spec. Archive colin-0.3.0.tar.gz found in lookaside cache (skipping upload). INFO: Downloading file from URL https://files.pythonhosted.org/packages/source/c/colin/colin-0.3.0.tar.gz 100%[=============================>] 3.18M eta 00:00:00 Downloaded archive: '/tmp/tmptfwr123c/colin-0.3.0.tar.gz' About to upload to lookaside cache won't be doing kinit, no credentials provided PR created: https://src.fedoraproject.org/rpms/colin/pull-request/14
Once the command finishes, you can see a PR in the Fedora Pagure instance which is based on the latest upstream release. Once you review it, it can be merged.
Sync downstream changes back to the upstream repository
Another use case is to sync downstream changes into the upstream project repository.
upstream active branch master using "master" dist-git branch Copying /tmp/tmplvxqtvbb/colin.spec to /home/vagrant/colin/colin.spec. Creating remote fork-ssh with URL git@github.com:phracek/colin.git. Pushing to remote fork-ssh using branch master-downstream-sync. PR created: https://github.com/user-cont/colin/pull/229
As soon as packit finishes, you can see the latest changes taken from the Fedora dist-git repository in the upstream repository. This can be useful, e.g. when Release Engineering performs mass-rebuilds and they update your SPEC file in the Fedora dist-git repository.
Get the status of your upstream project
If you are a developer, you may want to get all the information about the latest releases, tags, pull requests, etc. from the upstream and the downstream repository. Packit provides the status command for this purpose.
The last packit use case is to generate an SRPM package based on a git checkout of your upstream project. The packit command for SRPM generation is srpm.
$ packit srpm
Version in spec file is '0.3.1.37.g00bb80e'.
SRPM: /home/phracek/work/colin/colin-0.3.1.37.g00bb80e-1.fc29.src.rpm
Packit as a service
In the summer, the people behind packit would like to introduce packit as a service (https://github.com/packit-service/packit-service). In this case, the packit GitHub application will be installed into the upstream repository and packit will perform all the actions automatically, based on the events it receives from GitHub or fedmsg.