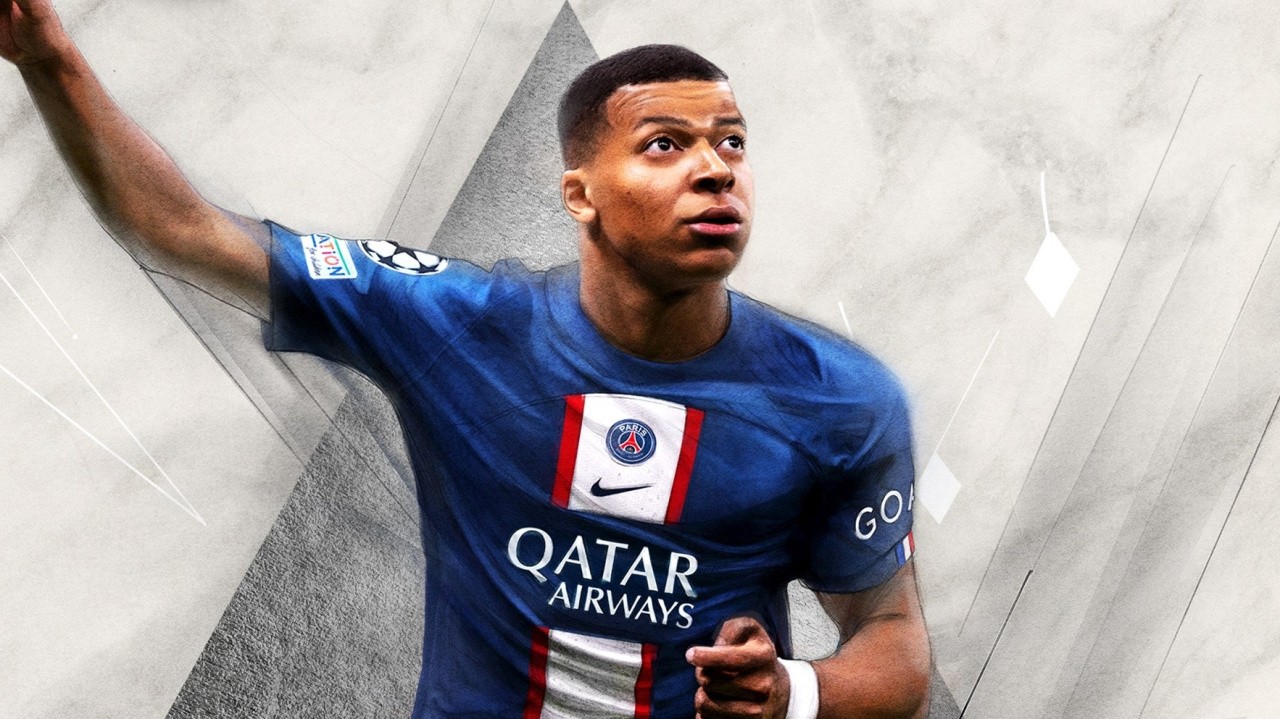
With EA’s rebranded football game set to arrive later this week, the company has reportedly delisted its entire FIFA library from all digital storefronts including the Switch eShop.
As highlighted on social media, every FIFA game from 14 to 23 can no longer be purchased. However, FIFA 22 and last year’s edition FIFA 23 can still be accessed via the EA Play application.
It’s unclear when exactly the FIFA series was removed from digital storefronts, but according to a SteamDB listing, it appears it was before the launch of early access, which has been live since 22nd September. On Steam, there’s also the following message (thanks, VGC):
“At the request of the publisher, EA SPORTS™ FIFA 23 is unlisted on the Steam store and will not appear in search.”
We had a look at the Switch eShop and FIFA 23 is “not available for purchase” anymore. Anyone who has already purchased a FIFA title digitally should still be able to re-download the game. This latest development isn’t exactly a surprise, as EA ended its partnership with FIFA last year.
EA launches its rebranded series later this week. EA Sports FC 24 will include “all the modes” in the Switch version but there will be some differences compared to the next-generation systems, due to hardware.
FIFA has previously mentioned how it will be working with other developers to launch a new line of football games in the future.
How do you feel about EA’s FIFA series rebranding? Will you be playing EA Sports FC 24 when it arrives later this week? Leave a comment below.
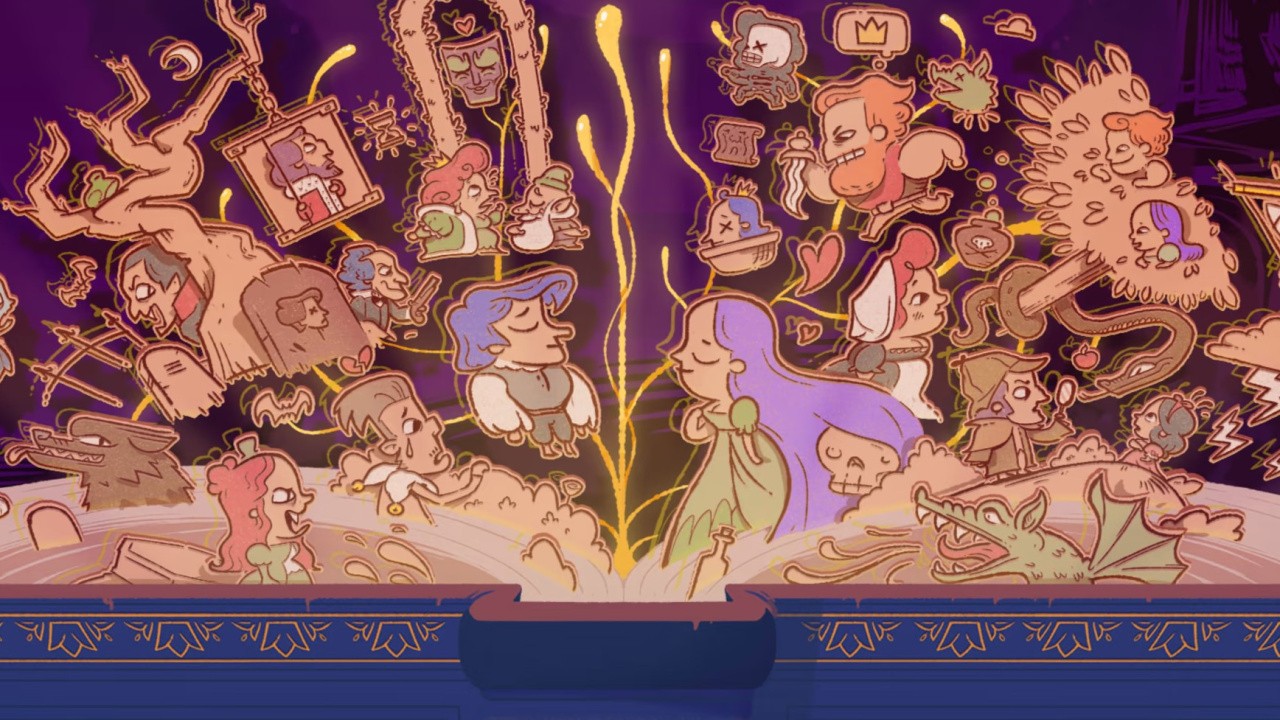
Earlier this year, Annapurna Interactive brought us the “clever, funny” puzzler in Storyteller, a simple puzzle game that uses a storybook as its set piece. Fun scenes and illustrations breathe life into an inventive and fun puzzle game which we wanted more of. And now we’re getting just that — more.
Taking to social media, Annapurna Interactive announced that a new update is coming to the Switch version of the game. And it’s not a simple case of bug fixes or tweaks, either — there’s brand-new content being added to the game for free.
A couple of standouts include a whole new chapter that reinvents some of the game’s demo levels, full voice-acting for the narrator, and 20 new levels being added to the game’s existing chapters.
Here’s a rundown of all of the updates coming to the game:
– The Devil arrives as a new character, introducing new puzzles to existing levels. – A new chapter, Genesis, turns old demo levels into a fully-fledged chapter. – The game now features a fully-voiced narrator! – Existing chapters have been expanded with more than 20 new levels. – A new stamp collection at the back of the book challenges players to put together specific scenarios and solve levels in new ways. – Several levels that were available at launch have been refined or improved. – …and many more small and cute details, in addition to bug fixes and quality-of-life improvements.
We loved Daniel Benmergui’s extremely original game back in March this year, scoring it an 8/10 in our review and praising it for having “one of the most imaginative premises we’ve seen in a while.” We Even ended our review by saying ” we sincerely hope Benmergui and Annapurna give this clever premise a sequel.” A free update is certainly a start!
Have you played Storyteller? Will you be checking out this free update? Read us your comments out loud.
We know the game didn’t look like this, but the box art for both versions cannot be ignored. — Image: Nintendo Life
And just like that, ten years have sailed by — The Legend of Zelda: The Wind Waker HD was released on the Wii U ten years ago today, and while we spend most of our days now pining for this incredible seafaring adventure to swim onto Switch, we want to reminisce in a completely different way today. The Wind Waker is beloved by almost all Zelda fans, taking Link’s adventures to the Great Sea. Our green-wearing hero is on an adventure to save his sister Aryll and, eventually, find the Hero of Time’s power to defeat Ganondorf.
It was a fresh drop in the ocean for the series with a new setting, many new characters, and new items. But, significantly, it took the franchise in another new visual direction for Link — one which proved (undeservedly) controversial to some fans back with the 2002 GameCube release. Even Miyamoto was reportedly not a fan of the cel-shaded style in the first place.
Over ten years later, fans got to re-experience this seminal entry on the Wii U. That version of the game — which shifted the menu to the Wii U pad and made some in-game tasks significantly easier — is still stuck on that console. But we want to focus on one particular difference with the HD rerelease: those visuals.
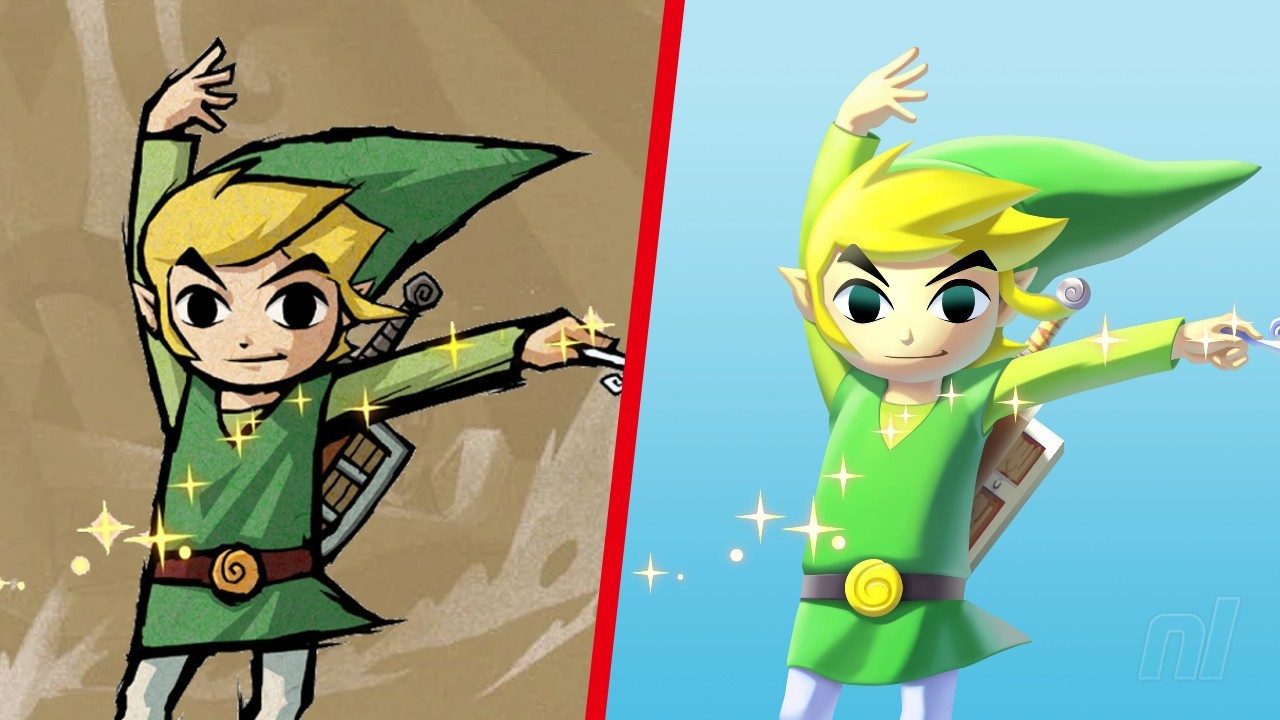
The GameCube brought a cartoon, colour-popping style to Link’s adventures, throwing the hero into a beautiful cel-shaded world full of vibrant blues, greens, and expressive effects. In HD, however, the cel-shading was toned down in favour of “bloom” — a shader effect that creates an illusion of extremely bright light to reproduce the imaging artefact of cameras. It brought even more colour and depth to the world along with some incredible lighting and shadow effects, but it hasn’t always proved popular.
It’s a debate that’s raged on over the years — the cartoon colour of cel-shading, or the blossoming bloom? The Wind Waker is an incredible game, no matter where you play it. But here are some side-by-sides to give you a rough idea of the differences:
Of the GameCube’s art style, we said that “the graphics bring this game to life in a way that the ‘normal’ visuals could have never achieved”, while in the HD rerelease, we praised the strength of the original art direction while acknowledging that the “simple resolution boost and improved lighting can make it look as good as it does now”.
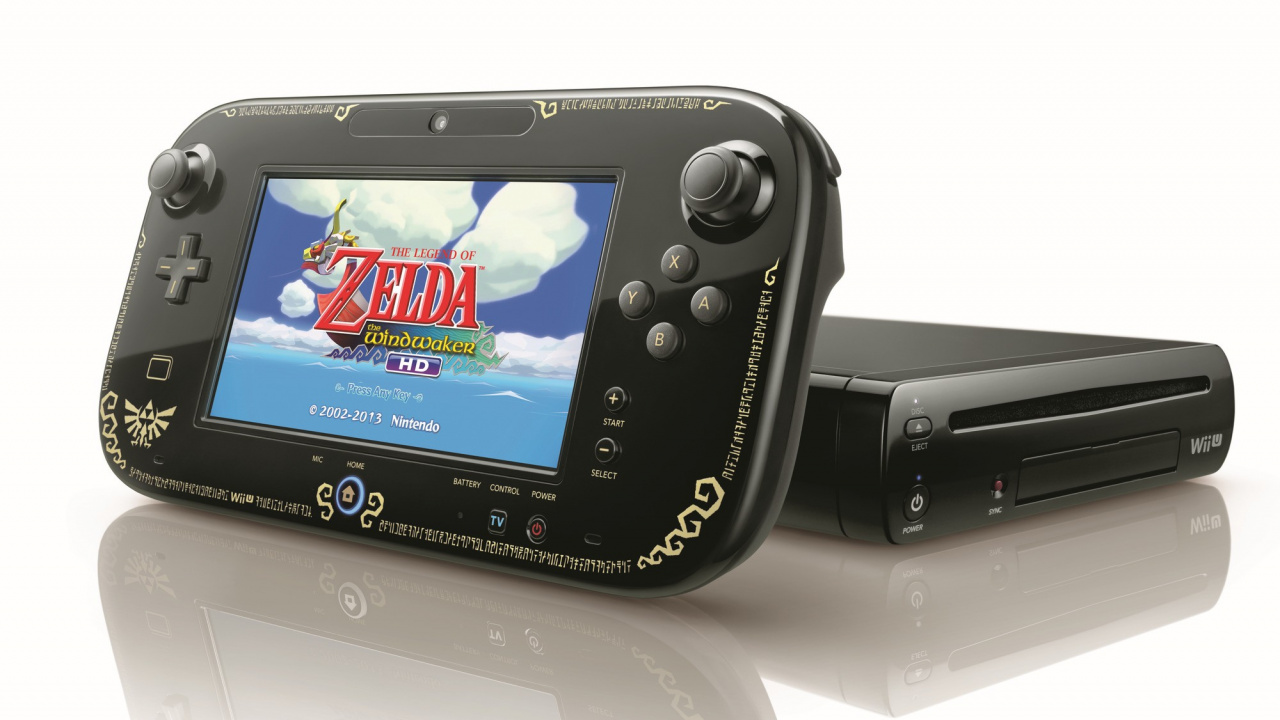
So whatever version you prefer, you’re a winner, basically. But really, there’s no official Wind Waker GameCube, but there is a rather fetching Wii U Wind Waker.
Image: Nintendo
But anyway, we’re not here to be indifferent or sit on the fence: we want to hear from you, lovely readers. Vote in our polls below, and sink into the sea while we still wait for that Switch version of The Wind Waker. Sigh.
Have you played The Wind Waker HD? Which art style do you prefer? Share your thoughts in the comments.
Have you played The Wind Waker HD? (3,402 votes)
Yes, I still have my copy ready to boot up!54%
Yep, but I don’t have a Wii U anymore13%
No, I never had a Wii U9%
No, I’m waiting for the Switch port *fingers crossed*18%
No, I’ve never played The Wind Waker, even on GameCube5%
Which visual style for The Wind Waker do you prefer? (3,405 votes)
The OG cel-shading and harsh lines can’t be beaten29%
HD’s bloom lighting is vibrant and beautiful37%
They’re both good! Don’t make me pick!33%
Neither, these are the worst art styles for Zelda1%
Do you think we’ll see The Wind Waker on Switch? (2,980 votes)
Without a doubt – a surprise for the new year25%
Yes, but it will be a cross-gen title23%
No, it’ll be a launch title for the Switch 224%
No, it’s not happening. It’s never happening. Nope/28%
The Python xlrd library reads data and formatting information from Excel files in the historical .xls format. Note that it won’t read anything other than .xls files.
pip install xlrd
The Python xlrdlibrary is among the top 100 Python libraries, with more than 17,375,582 downloads. This article will show you everything you need to install this in your Python environment.
Alternatively, you may use any of the following commands to install xlrd, depending on your concrete environment. One is likely to work!
If you have only one version of Python installed:pip install xlrdIf you have Python 3 (and, possibly, other versions) installed:pip3 install xlrdIf you don't have PIP or it doesn't workpython -m pip install xlrd
python3 -m pip install xlrdIf you have Linux and you need to fix permissions (any one):sudo pip3 install xlrd
pip3 install xlrd --userIf you have Linux with aptsudo apt install xlrdIf you have Windows and you have set up the py aliaspy -m pip install xlrdIf you have Anacondaconda install -c anaconda xlrdIf you have Jupyter Notebook!pip install xlrd!pip3 install xlrd
Let’s dive into the installation guides for the different operating systems and environments!
How to Install xlrd on Windows?
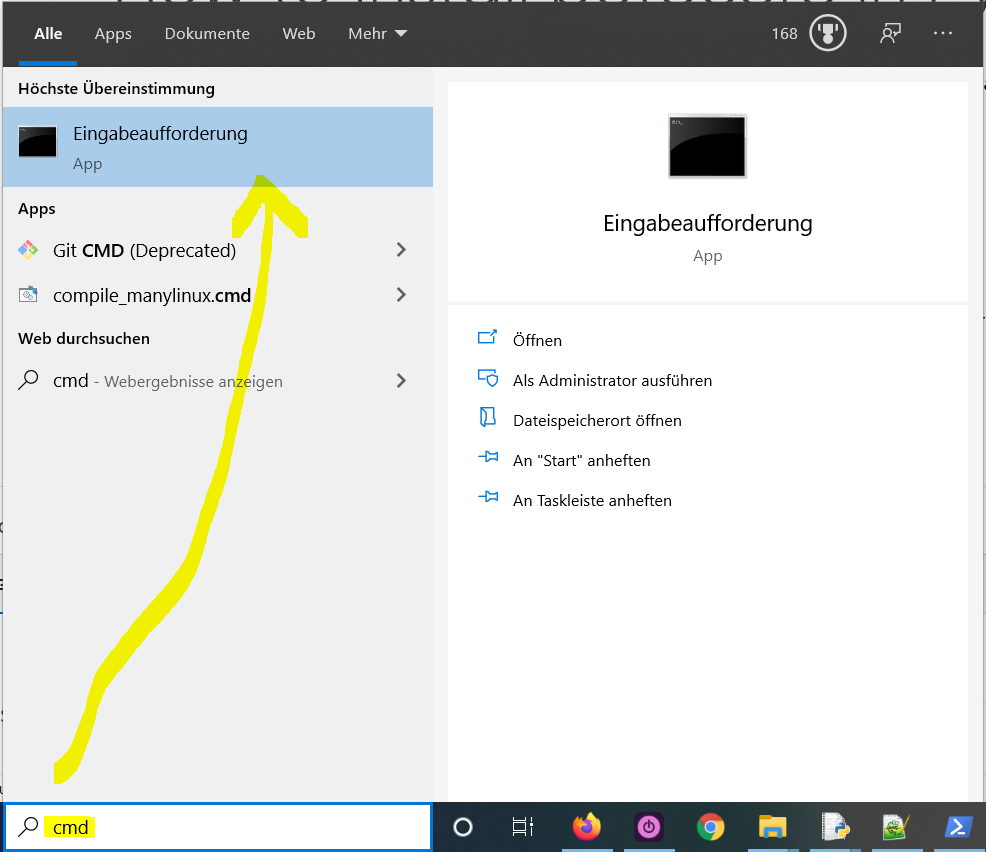
Type "cmd" in the search bar and hit Enter to open the command line.
Type “pip install xlrd” (without quotes) in the command line and hit Enter again. This installs xlrd for your default Python installation.
The previous command may not work if you have both Python versions 2 and 3 on your computer. In this case, try "pip3 install xlrd" or “python -m pip install xlrd“.
Wait for the installation to terminate successfully. It is now installed on your Windows machine.
Here’s how to open the command line on a (German) Windows machine:
First, try the following command to install xlrd on your system:
pip install xlrd
Second, if this leads to an error message, try this command to install xlrd on your system:
pip3 install xlrd
Third, if both do not work, use the following long-form command:
python -m pip install xlrd
The difference between pip and pip3 is that pip3 is an updated version of pip for Python version 3. Depending on what’s first in the PATH variable, pip will refer to your Python 2 or Python 3 installation—and you cannot know which without checking the environment variables. To resolve this uncertainty, you can use pip3, which will always refer to your default Python 3 installation.
How to Install xlrd on Linux?
You can install xlrd on Linux in four steps:
Open your Linux terminal or shell
Type “pip install xlrd” (without quotes), hit Enter.
If it doesn’t work, try "pip3 install xlrd" or “python -m pip install xlrd“.
Wait for the installation to terminate successfully.
The package is now installed on your Linux operating system.
How to Install xlrd on macOS?
Similarly, you can install xlrd on macOS in four steps:
Open your macOS terminal.
Type “pip install xlrd” without quotes and hit Enter.
If it doesn’t work, try "pip3 install xlrd" or “python -m pip install xlrd“.
Wait for the installation to terminate successfully.
The package is now installed on your macOS.
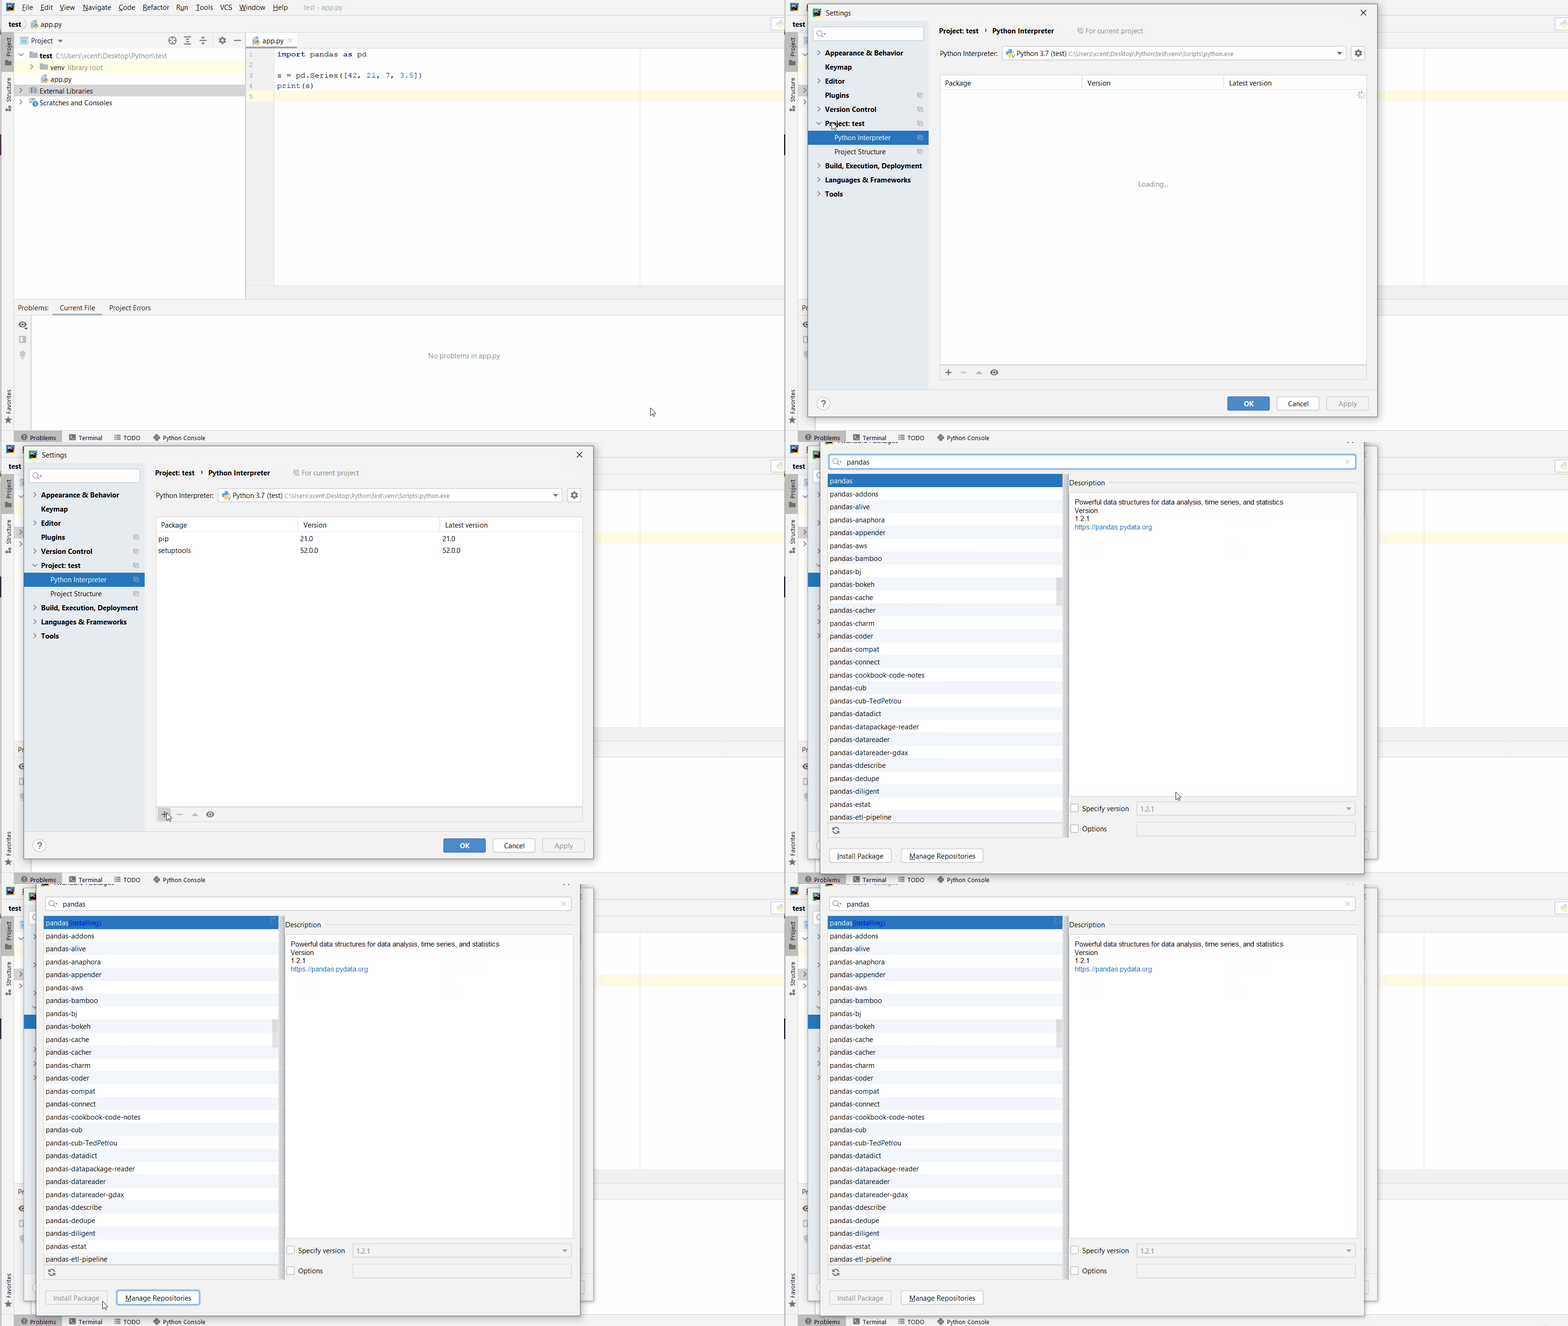
How to Install xlrd in PyCharm?
Given a PyCharm project. How to install the xlrd library in your project within a virtual environment or globally? Here’s a solution that always works:
Open File > Settings > Project from the PyCharm menu.
Select your current project.
Click the Python Interpreter tab within your project tab.
Click the small + symbol to add a new library to the project.
Now type in the library to be installed, in your example "xlrd" without quotes, and click Install Package.
Wait for the installation to terminate and close all pop-ups.
Here’s the general package installation process as a short animated video—it works analogously for xlrd if you type in “xlrd” in the search field instead:
Make sure to select only “xlrd” because there may be other packages that are not required but also contain the same term (false positives):
How to Install xlrd in a Jupyter Notebook?
To install any package in a Jupyter notebook, you can prefix the !pip install my_package statement with the exclamation mark "!". This works for the xlrd library too:
!pip install my_package
This automatically installs the xlrd library when the cell is first executed.
How to Resolve ModuleNotFoundError: No module named ‘xlrd’?
Say you try to import the xlrd package into your Python script without installing it first:
import xlrd
# ... ModuleNotFoundError: No module named 'xlrd'
Because you haven’t installed the package, Python raises a ModuleNotFoundError: No module named 'xlrd'.
To fix the error, install the xlrd library using “pip install xlrd” or “pip3 install xlrd” in your operating system’s shell or terminal first.
See above for the different ways to install xlrd in your environment. Also check out my detailed article:
If you want to keep improving your Python skills and learn about new and exciting technologies such as Blockchain development, machine learning, and data science, check out the Finxter free email academy with cheat sheets, regular tutorials, and programming puzzles.
Microsoft and Oracle have partnered to bring the best of both worlds together. OCI database services are now available in Azure. This partnership helps organizations meet their evolving needs and empowers customers to create new value in the cloud. With this integration, users can seamlessly build Azure applications with the high performance, high availability, and automated management of Oracle database services, such as Exadata and RAC, running on OCI.
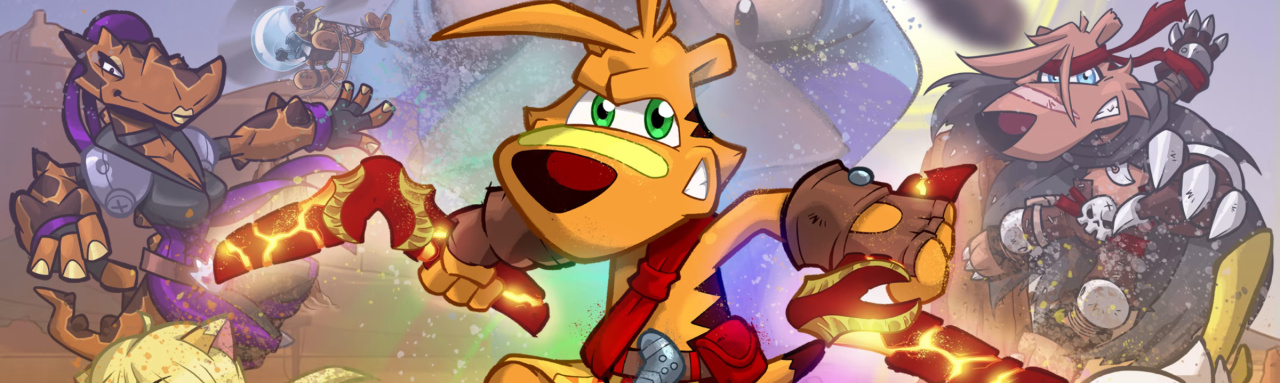
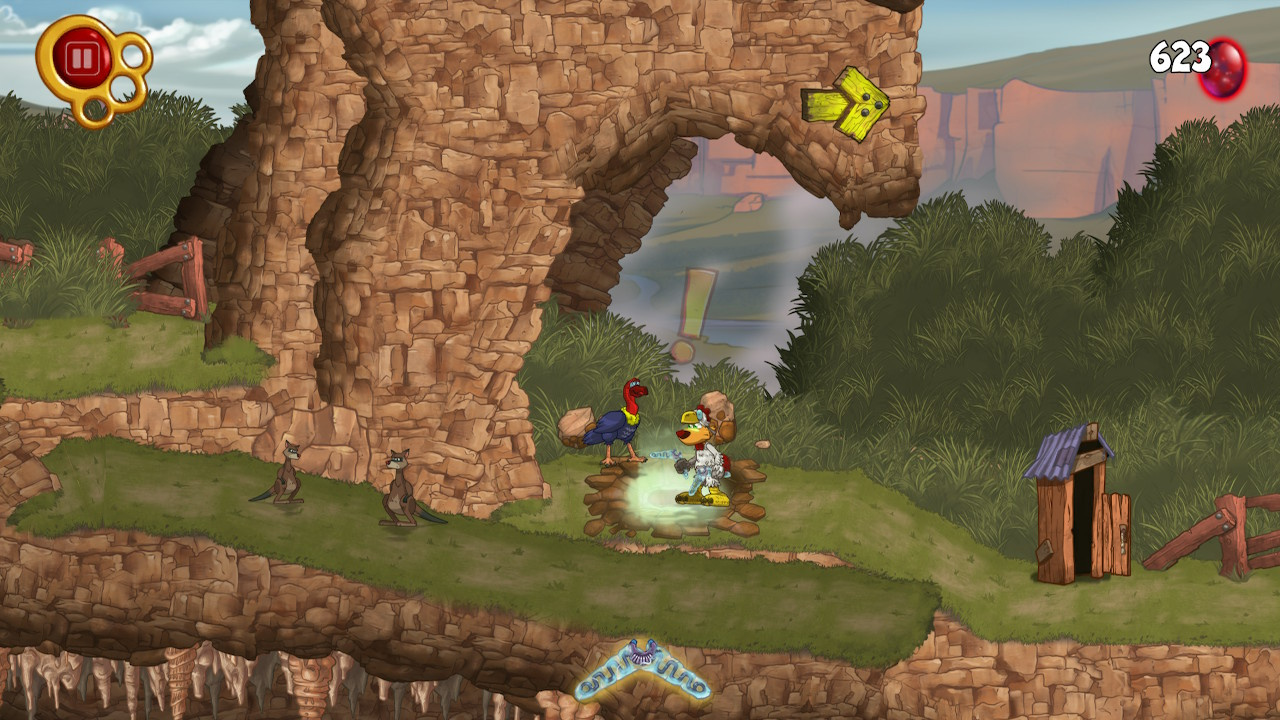
Back when the 3D mascot was in its prime in the early noughties, Aussie developer Krome Studios’ Ty the Tasmanian Tiger was going up against big shots like Mario, Sonic, and Crash Bandicoot thanks to the backing of third-party powerhouse Electronic Arts and, eventually, Call of Duty publisher Activision. TY would fall out of favour and the studio behind him went through some ups and downs, but Krome bounced back the following decade and in more recent years it has remastered the first two 3D versions of TY via Kickstarter, both available on Switch.
Now the studio is back with the lesser known 2D outing, TY the Tasmanian Tiger 4: Bush Rescue Returns. TY 4 originally made its debut in 2013 on Windows and other devices and now it has been revived for Nintendo Switch with improved graphics and music, new voiceovers, and remastered extended cut scenes.
Captured on Nintendo Switch (Docked)
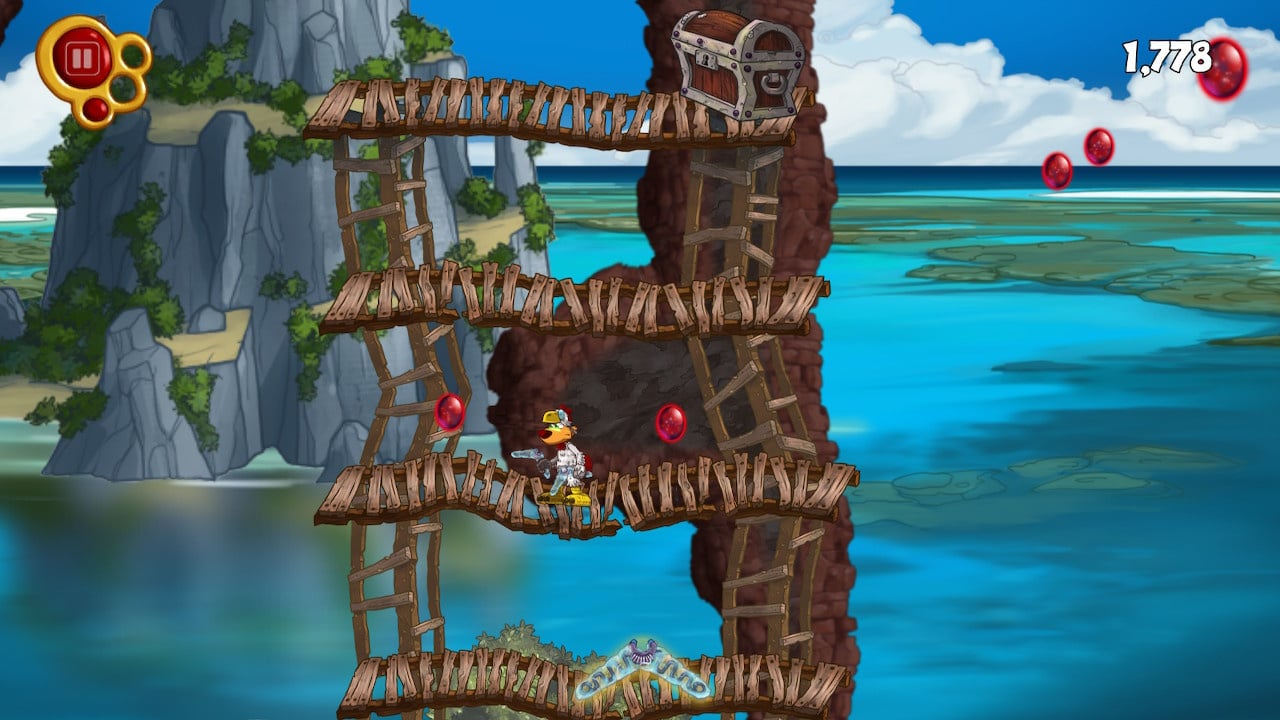
Although the shift from 3D to 2D is quite a significant change, technically, the series already got the 2D treatment on Game Boy Advance courtesy of fellow Australian developer Halfbrick (Fruit Ninja). If you haven’t experienced this fourth entry before, it carries over a lot of things fans know and love about the previous entries – from the characters to the boomerangs — and recreates it within the confines of a 2D platformer. This isn’t your typical side-scroller where you simply progress from the beginning to the end, though, as you also take on objectives across the 40 outback levels.
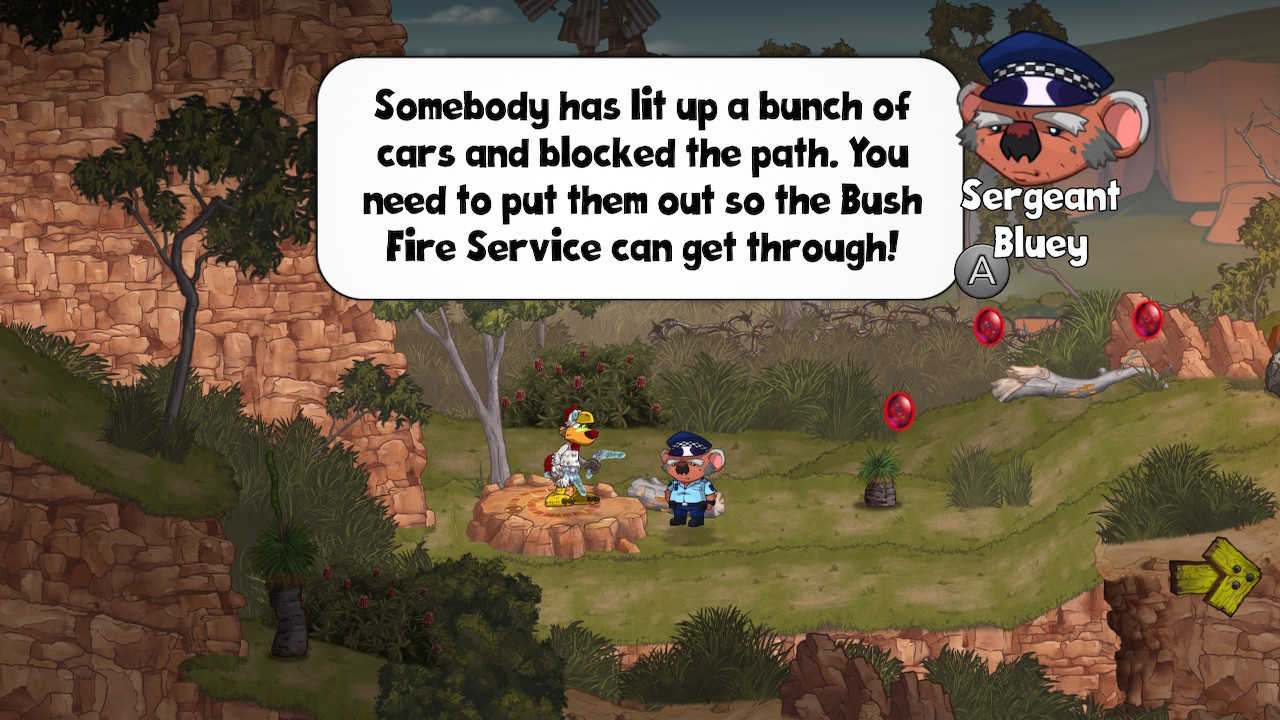
As part of the Bush Rescue team, TY’s tasks range from putting out fires to rescuing tourists who have gone missing in bushland. As for his main job, he’s once again dealing with the antagonist Boss Cass, who is up to no good, as you’d expect. It’s all in line with previous entries that made a name for themselves playing up the ‘Aussie outback’ experience, with a lot of familiar faces returning in this outing. Of course, TY’s weapon of choice is a pair of boomerangs and he’s got all sorts of them here – ranging from elemental ones to tech-powered creations. This weapon destroys everything in TY’s path and can be used to solve puzzles, activate switches, and even temporarily glide through the skies. You can even charge it up to deliver a devastating attack.
Captured on Nintendo Switch (Docked)
In terms of the platforming experience in TY 4, it’s a bit of a mix. You’re going to find yourself hopping about, mowing down enemies such as blue tongues and frill-neck lizards, avoiding projectiles, and swimming in the local waterholes. There’s a good sense of flow to the platforming once you get the hang of the controls, but the strong focus on collecting things (such as plugs to block up a dam) while navigating certain maze-like levels can result in a fair bit of backtracking. This may frustrate players who are seeking a more straightforward side-scrolling experience, and the length of some levels might test your patience, as well.
As for the difficulty, again, it’s mixed. Some levels and areas you might find easy, while other segments can be filled to the eyeballs with adversaries and platform challenges. Of course, TY can make quick work of most dangers with the right boomerang but some parts may still be too much, or perhaps even confusing, for some players or younger audiences. This core gameplay is combined with bonus modes like time attack races and turkey chases which break up the gameplay, and you are often showered in opals, which unlock new boomerangs, costumes, and even characters. Boss fights are also back, but aren’t exactly groundbreaking.
Captured on Nintendo Switch (Docked)
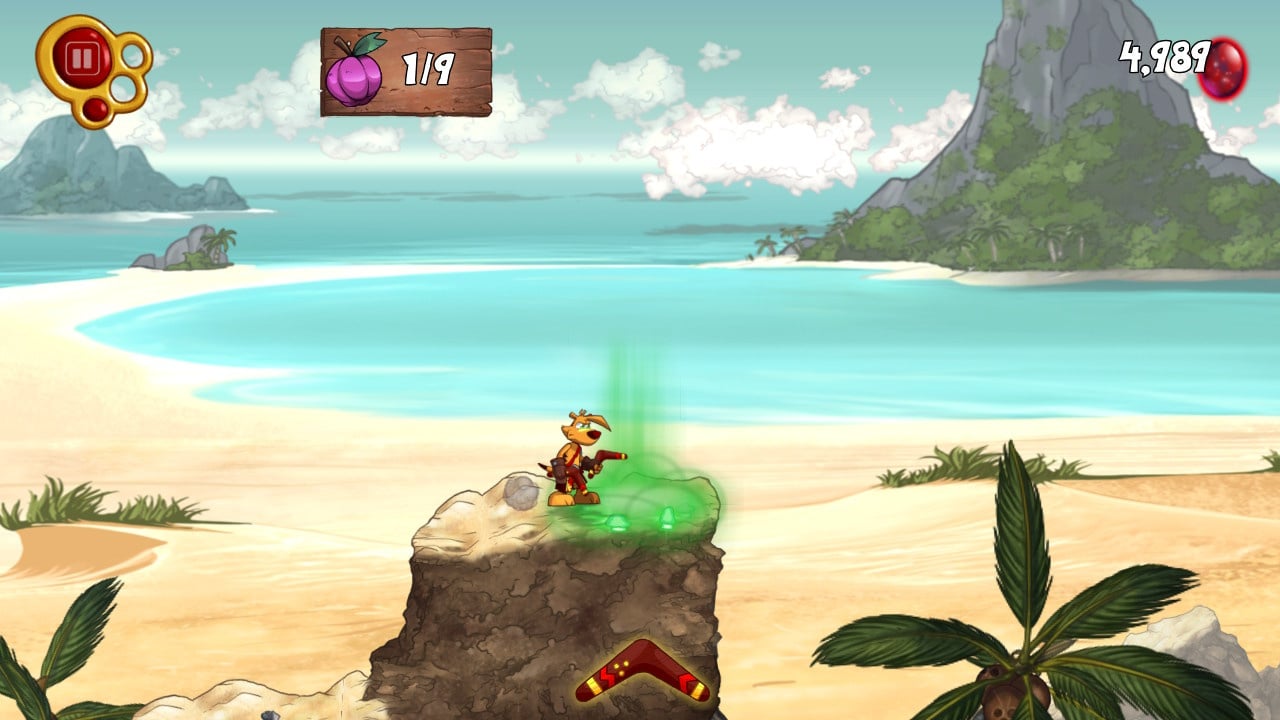
If you are a returning player to TY 4, probably the immediately noticeable upgrade here are the voiceovers and remastered extended cut scenes. It definitely does the job of enhancing the title, even if there is a lot of dialogue and story to absorb. The visuals also look great in docked and handheld – bringing out the best of the beautiful backdrops, and the improved music once again adds to the outback setting. It scrubs up well. Overall though, this is mostly the same game if you’ve already played it.
What’s also nice about TY 4 on Switch is that it runs at 60 frames per second. There were admittedly some moments across both docked and handheld where the frame rate suffered some drops, but it wasn’t game-breaking and didn’t take long to recover.
Conclusion
TY The Tasmanian Tiger 4’s return is once again a bittersweet moment for longtime fans of the Aussie video game mascot. On one hand, it’s great to see this series that’s now more than 20 years old showing some signs of life with another enhanced release, but the fourth outing feels like a step back compared to TY’s best 3D adventures. There’s still plenty to like about the Switch version of Bush Rescue Returns, though, especially if you embrace the level design and collecting. Here’s hoping this Aussie legend can appear in 3D for a future outing.
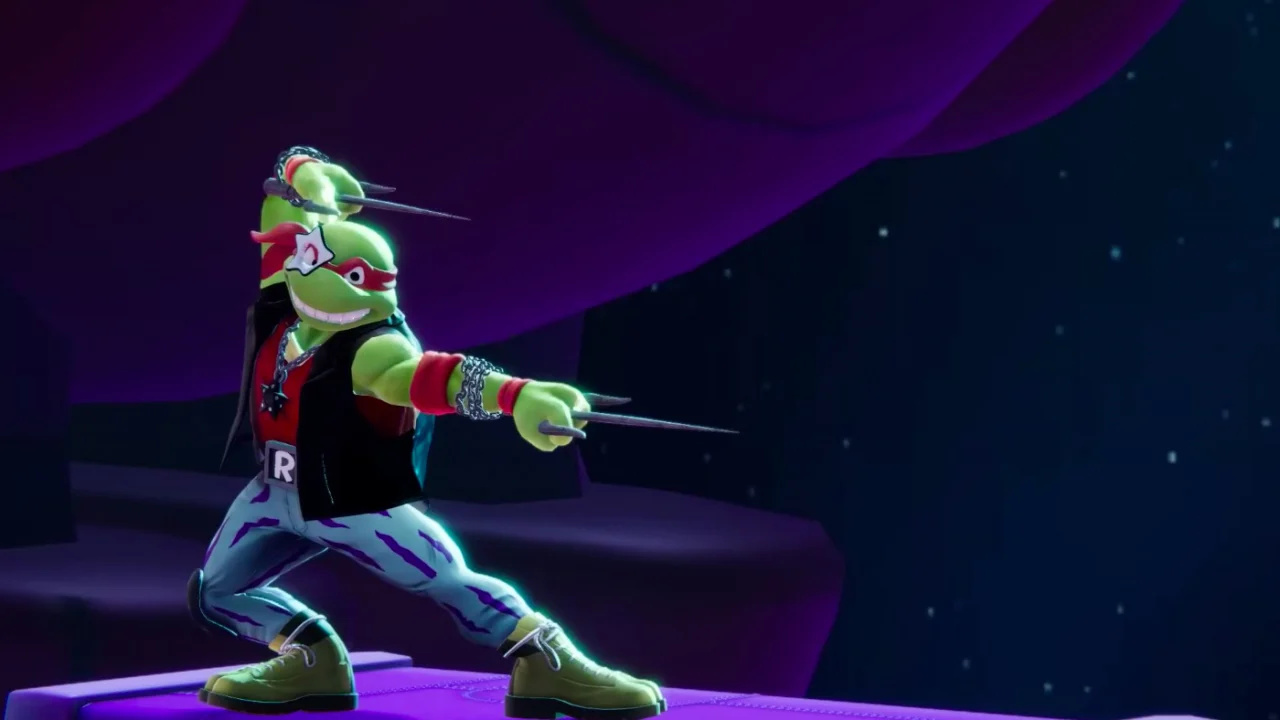
After being announced back in July, GameMill Entertainment has today revealed that Nickelodeon All-Star Brawl 2 will be fighting our way on 3rd November.
The release date was posted to Twitter by the game’s official account, which also confirmed that pre-orders will be coming later in October after those on Steam opened today — sounds like there’s not long to go before we can get our hands on some Switch pre-orders.
Today’s announcement follows weeks of character reveals from publisher GameMill Entertainment, which includes new fighters like Jimmy Neutron and Squidward alongside familiar faces like SpongeBob and the Teenage Mutant Ninja Turtles. You can find our complete rundown of everybody who has been revealed so far in the guide below.
Will you be picking this one up in November? Bring the fight to the comments below.
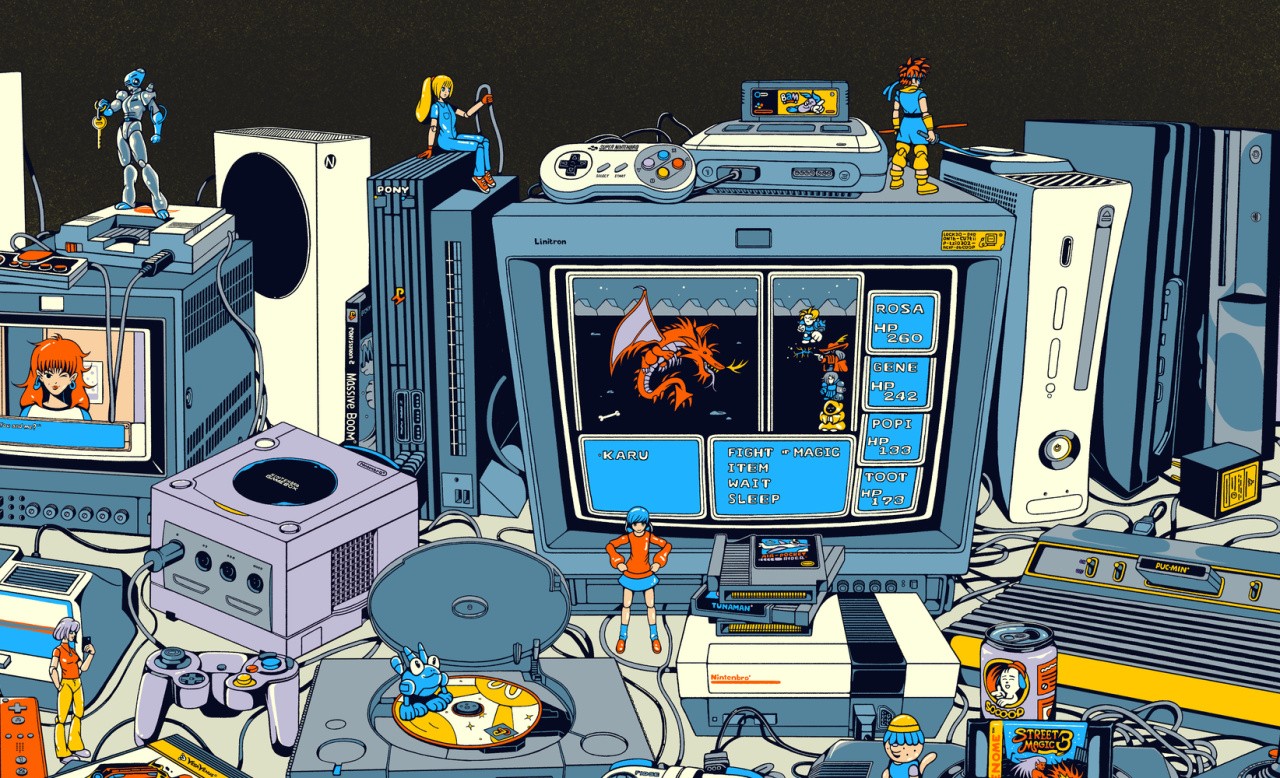
Award-winning UK publisher Lost in Cult is teaming up with our sister site Time Extension for The Console Chronicles, a new book covering the history of home console gaming, from the earliest Pong machines to the present day.
In fact, there are some more familiar names adding their words to this one – our very own Alana Hagues, Alex Olney, PJ O’Reilly, Liam Doolan, Gavin Lane and Ollie Reynolds. That’s right – they’ll all be contributing to The Console Chronicles, alongside fellow Hookshot Media staffers Stephen Tailby, Aaron Bayne, and Fraser Gilbert.
And remember, by pledging your financial support to this project, you’re not only allowing us to produce more exciting books with Lost in Cult, but you’re also directly supporting the work we do across the entire Hookshot Media network.
The Console Chronicles will be sponsored by The Embracer Games Archive. Based in Karlstad, Sweden, The Embracer Games Archive is one of the most active forces in the realm of video game preservation, and its collection currently stands at over 80,000 games, consoles, and accessories.
Please note that some external links on this page are affiliate links, which means if you click them and make a purchase we may receive a small percentage of the sale. Please read our FTC Disclosure for more information.
If you’d like to know more or you’re itching to order a copy, then head over to the book’s page here.
Right alongside new video conferencing features like reactions, macOS Sonoma gives you Center Stage options to control how you present yourself to the world — if you have the right camera.
Center Stage on the Mac is exactly as it has been on the iPad. Should you choose to have it turned on, then when you’re on a video call and you reach out of frame for a coffee, the camera automatically moves.
Or rather, it appears to. While there have to be limits, as long as you’re in front of the camera somewhere, your video conferencing colleagues will see you right in the middle of their view.
They’ll see you center stage, in fact. Moving left or right, up or down, or having someone else join you in the shot will make the image automatically adjust itself to show the best framing.
If you have the right camera.
The right camera
For Center Stage to work on macOS Sonoma, you must be using an Apple Silicon Mac and:
A built-in camera (such as on a MacBook Pro)
Continuity Camera with an iPhone 12 or later
Something that may trip you up is that there are Mac apps that can seemingly hide Center Stage controls.
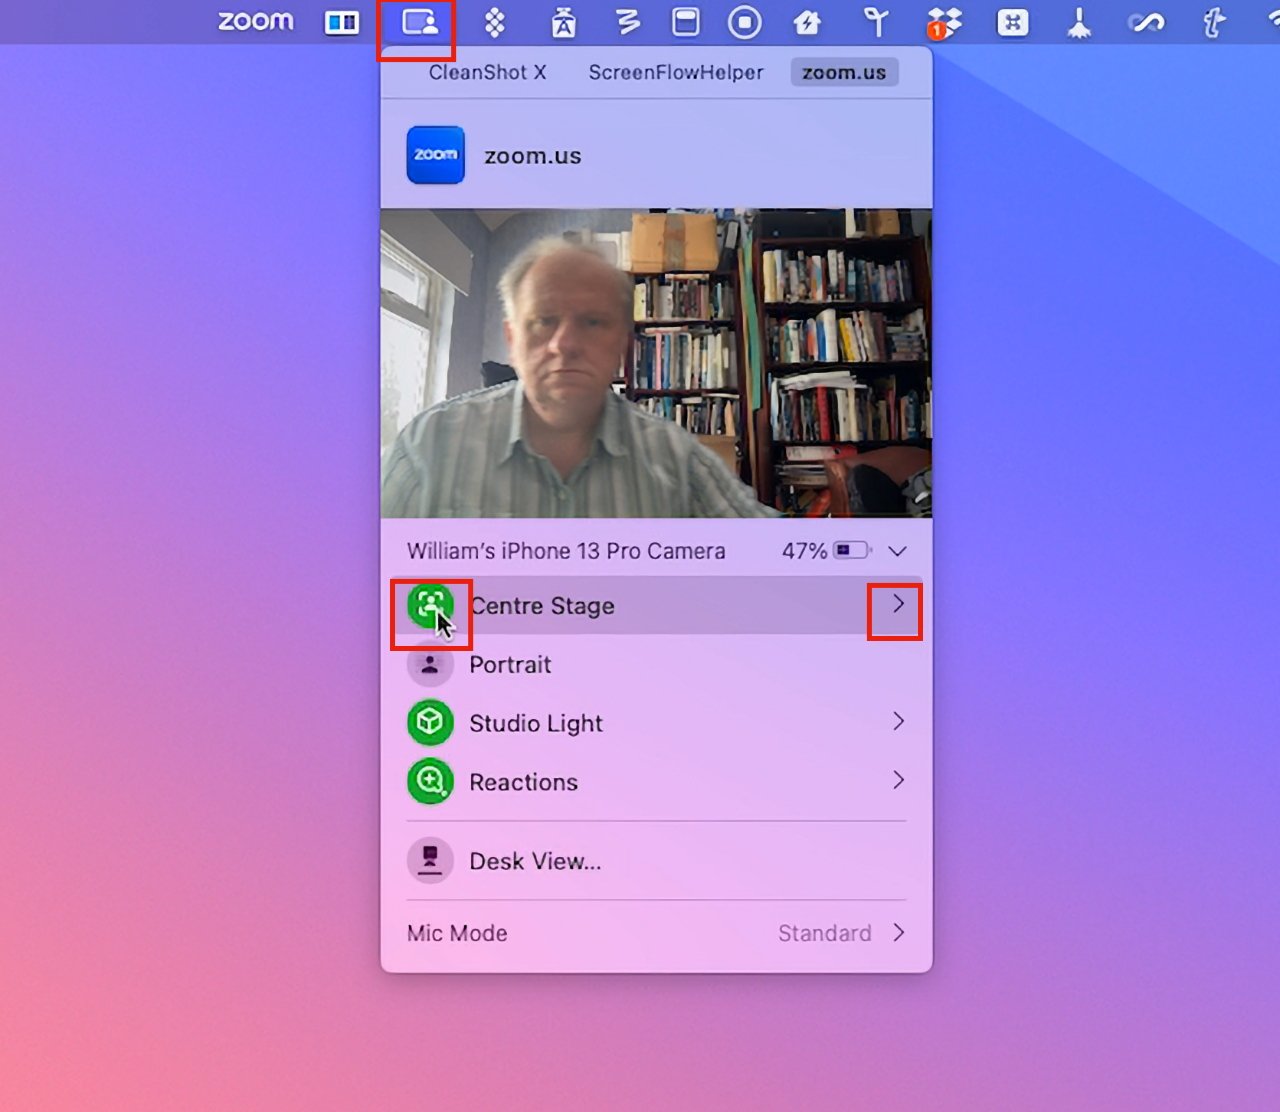
Center Stage used to be part of Control Center, but it now belongs in a new menubar icon that groups together options such as portrait mode, or reactions. This new menubar icon changes to show you when your camera is in use, or just your microphone, and it’s this icon that can effectively be obstructed.
At present, just for one example, if you were to use a screen-recording app while on a video conferencing call, the yellow microphone or green camera icon may be replaced by a darker, less obvious one.
Nonetheless, the Center Stage controls will appear under this menubar icon when you are in a video call.
How to use Center Stage in macOS Sonoma
While on the video call, click the new menubar icon
Either click to turn on Center Stage, or
Click the arrow to the right of Center Stage for more options, if available
In macOS Ventura, Center Stage was an option you ticked in Control Center. Now you click Center Stage icon to toggle it on or off.
A lot of Center Stage capabilities depends on the camera you’re using so there will be differences. But in AppleInsider testing using an iPhone 13 Pro as the camera, macOS Sonoma gave more options than the same setup in macOS Ventura.
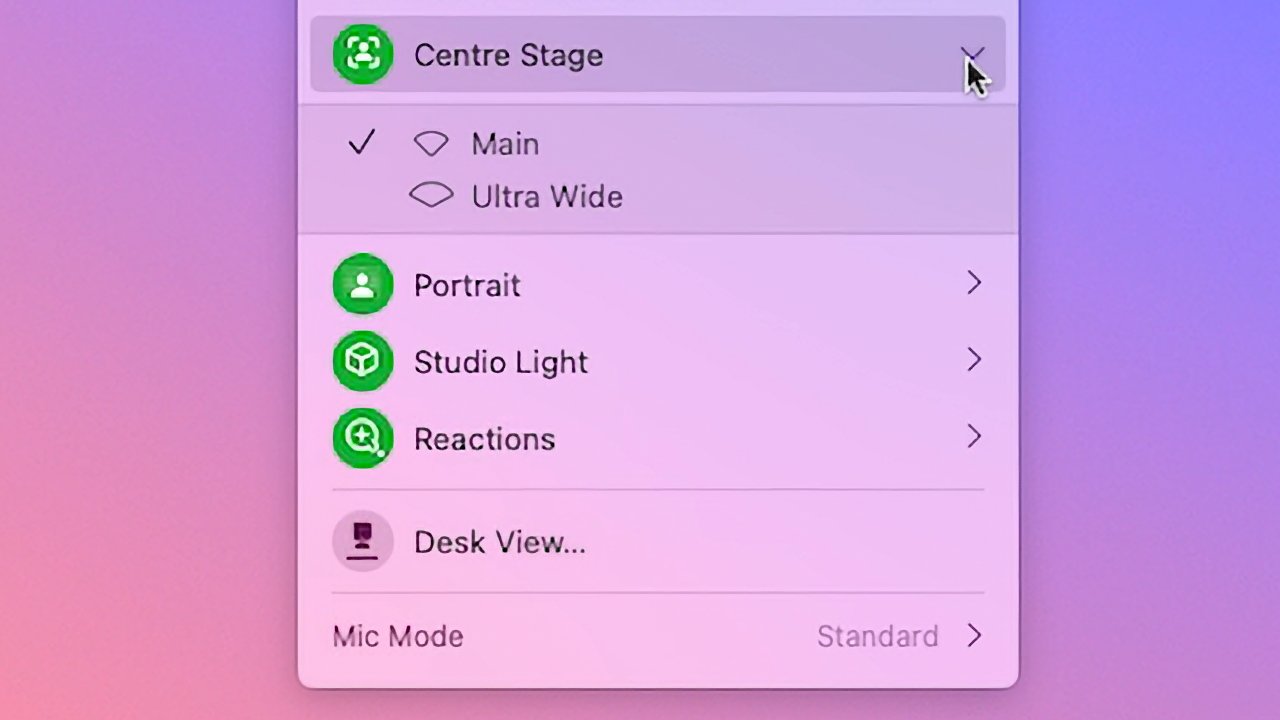
Specifically, two options. Clicking on the arrow to the right of Center Stage in the new menubar icon may show you a choice of cameras. If it does, a click will switch you between, say, Main and Wide Angle.
Click the arrow to the right of Center Stage to see more options, if available
A step forward in video conferencing
Center Stage is as welcome on the Mac as it was on the iPad. It’s a shame that you can’t turn it on or off until you are actually on a call, though.
It would be good to be able to set yourself up just the way you want before the other person appears on the call. If it’s your call and you’re on Zoom, say, then you can start the meeting and adjust the settings before you let anyone else in.
But it would also be good to be able to use a keystroke or perhaps a Shortcut to change the settings instead of having to go through the menubar icon.
Join us around the world for a variety of sessions, consultations, labs, and more — tailored for you.
Apple developer activities are for everyone, no matter where you are on your development journey. Activities take place all year long, both online and in person around the world. Whether you’re looking to enhance your existing app or game, refine your design, or launch a new project, there’s something for you.


 If you have only one version of Python installed:

 Recommended: