AppleInsider may earn an affiliate commission on purchases made through links on our site.
Yes, Intel has come up with a chip that can equal or outperform the M2 Max. Specs can be deceiving, and we look at the sacrifices Intel made to get there.
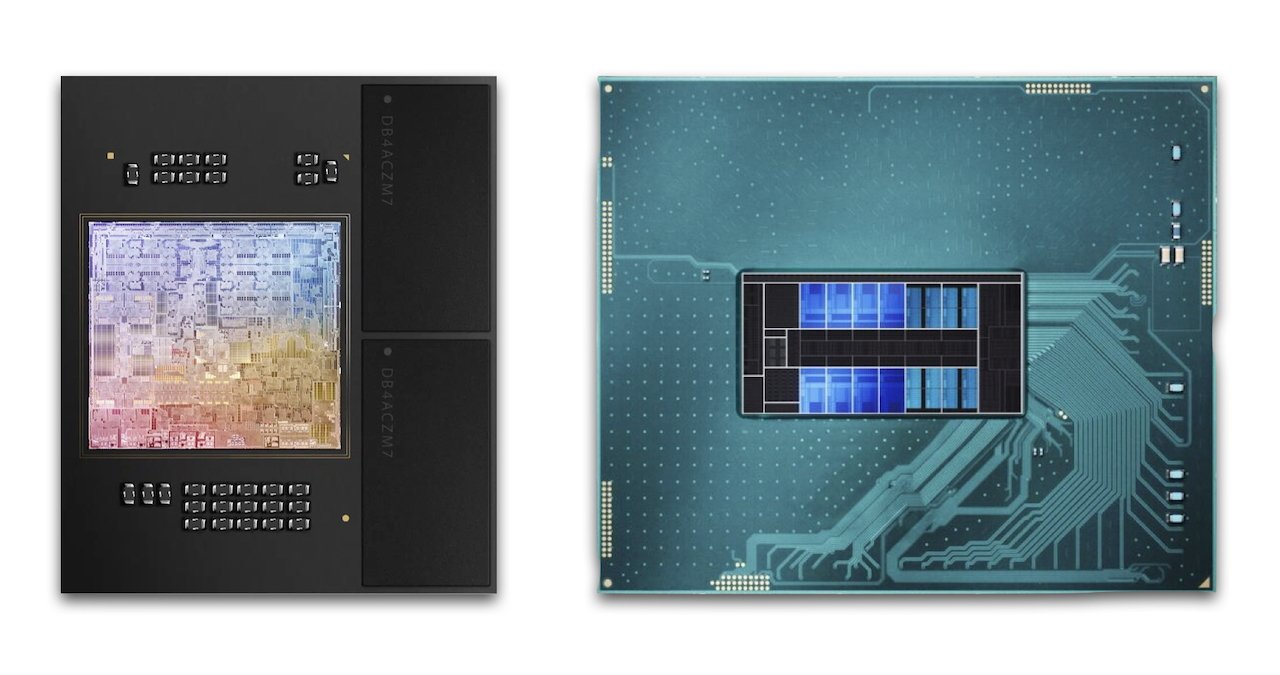
Recently, Intel has been crowing about its just-released Alder Lake-based Intel Core i9 13980HX chip, which manages to beat Apple’s current best chip, the M2 Max, on some scores in several categories in benchmarking and real-world testing.
Not only that, but some of the areas where it excels will be important for creators who might otherwise be firmly in Apple’s camp. But there’s a higher price to be paid in several areas for that extra processing power.
Make no mistake: the i9 13980HX is a monster regarding raw processing power. It’s officially clocked at up to 5.6GHz and comes with 24 cores, supporting 32 threads.
When paired with a powerful video card such as the Nvidia RTX 4090 as MSI did with its Raider GE78HX 17-inch notebook — the performance does indeed beat out the M2 Max quite substantially in several areas, including video encoding and 3D rendering.
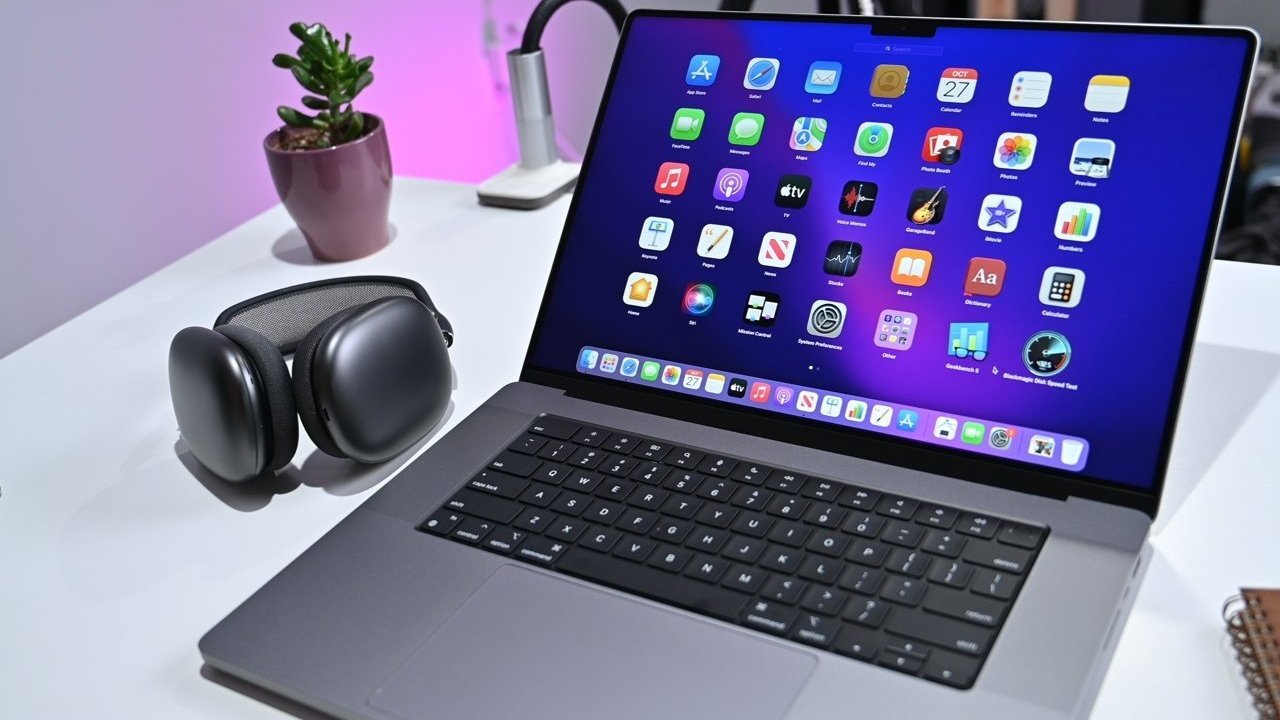
Naturally, this level of performance comes with eye-watering specs and a price to match. In a recent comparison video, YouTuber Luke Miani pitted the MSI Raider with the 24-core i9 13980HX, 32GB of RAM, a 2TB SSD, and 17-inch 2560×1600 display powered by the RTX 4090 — costing $3,999 — against the 12-core CPU/38-core GPU M2 Max, with 64GB RAM, a 1TB SSD and 16.2-inch 3456×2234 display, which was $100 less at $3,899.
Advantage: Core i9 13980HX/RTX 4090 combo
Benchmarks often tell the tale in performance, but they never tell the whole story — and this is more true than ever with these two similar machines and their platforms. Unquestionably, the HX chews through the type of jobs that require multi-threading performance better than the M2 Max.
For example, the Cinebench “Classroom” score reported by Miani for the MSI notebook with the RTX 4090 was 30,308, while the M2 Max MBP scored 14,702 — just less than half as well. For Geekbench overall, the M2 Max scored 1,993 in single-core performance and 15,173 in multi-core, while the HX posted 2,153 and 28,888.
This tells us that the machines are pretty even in single-core performance. This would equate to the level of speed in “typical user” apps — web browsers, Office-type apps, casual games, and other light-duty everyday applications.
When it comes to “pro” applications that need all the power they can get, the differences almost always favored the HX chip and RTX 4070 card combo over the M2 Max.
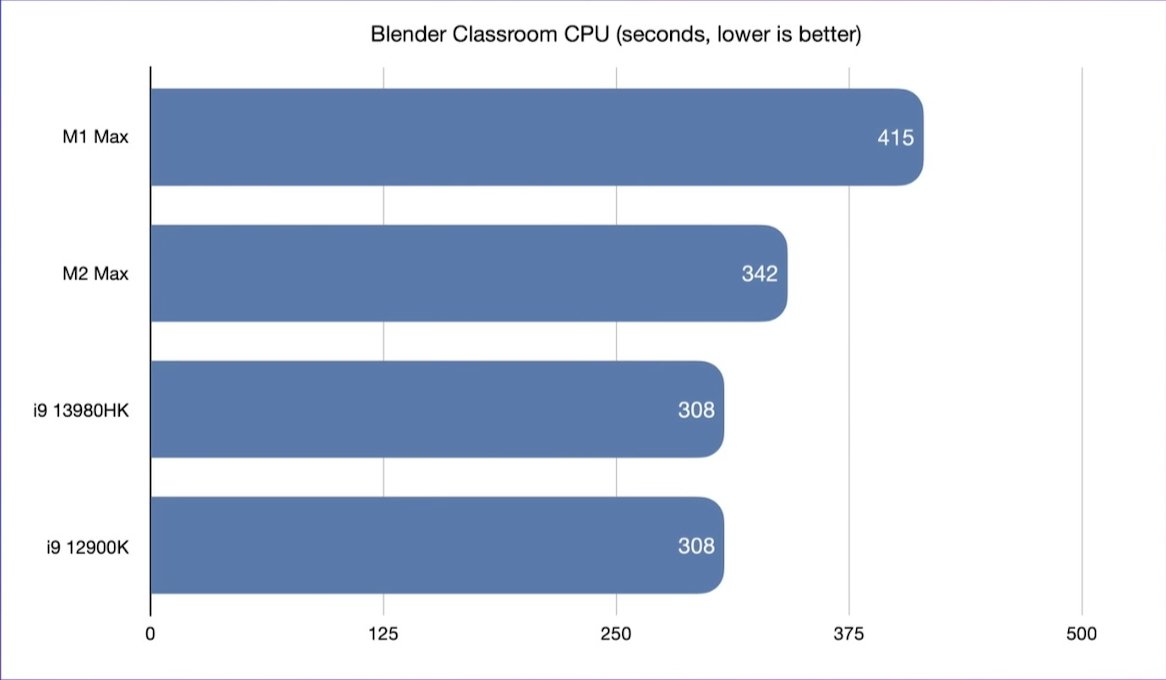
Blender 3D rendering tests, for example, showed the MSI machine winning over the MacBook Pro in both CPU and GPU — 308 seconds vs. 342 seconds in the Classroom CPU test and a more dramatic 10 seconds versus 49 seconds in the Classroom GPU test.
In Premiere Pro, the M2 Max MBP managed to very slightly beat out the HX on rendering a 30-minute 4K 60FPS 10-bit movie but fell substantially behind the MSI in exporting (12 and a half minutes versus 19 and a half minutes).
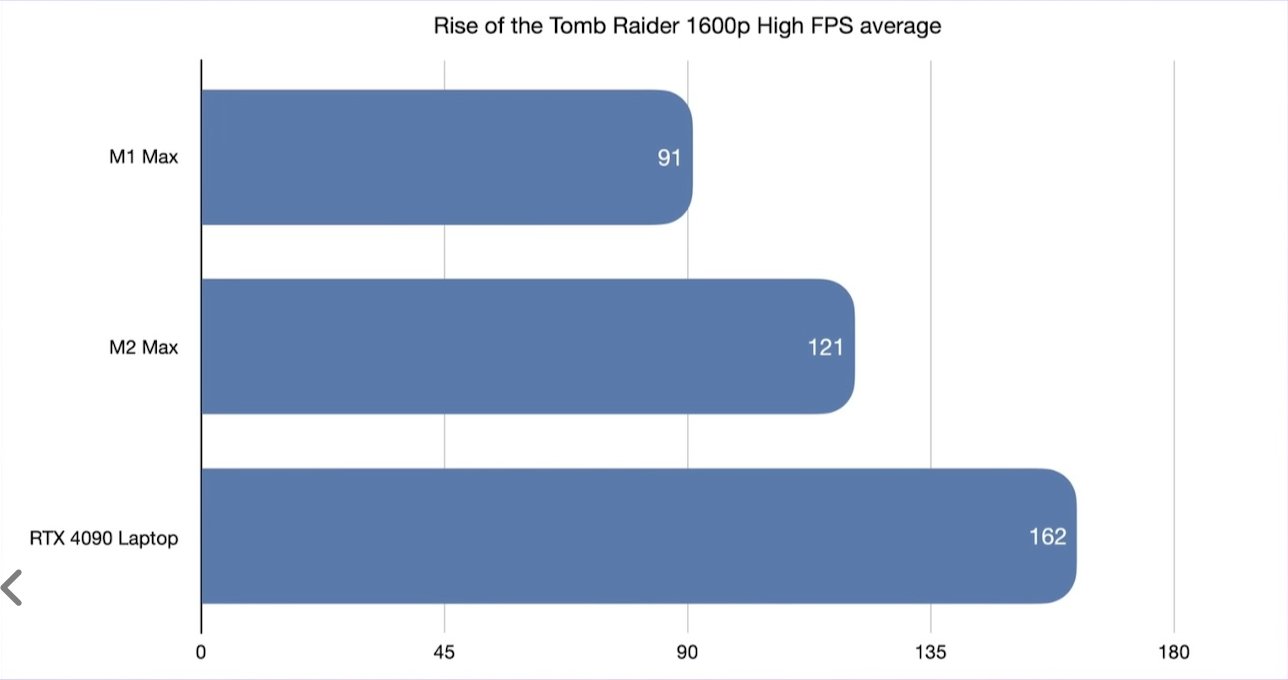
As for various games compatible with both systems, as you might expect, the RTX 4090 is optimized for gaming demands and handily beats the M2 Max’s 32-core on-chip GPU.
Advantage: M2 Max
But before you get out your credit card and place your order for the MSI, there are important elements of the overall Apple experience — even if you work in the sort of areas and apps the HX 13980/RTX 4090 combo dominates in — that may steer you back to the Mac.
The biggest advantage, by far, is that the M2 Max MBP can work for hours on battery, while the MSI Raider, despite being a notebook machine, really can’t be unplugged.
In Cinebench, for example, the M2 MacBook Pro performed the same on battery as it had when plugged in — while the MSI notebook dropped from a score of over 30,000 to 11,000, allowing the M2 Max to handily win. Likewise, in Premiere Pro, the render scores of the M2 Max beat the HX 13980 by a full eight minutes when both were on battery.
In Miani’s test, the battery loss from rendering that same 30-minute 4K 60FPS clip was also dramatic. From 100 percent battery, the MBP with M2 Max lost 10 percent of its battery capacity, while the MSI dropped from 100 to 42 percent doing the same job.
So functionally speaking, the HX 13980 is practically worthless unless it is continuously plugged in.
There is also the issue of fan noise: as is typical of gaming PCs, the HX 13980/RTX 4090 combo made for very loud fan noise when tasked with any taxing jobs, from gaming to rendering. The M2 Max MBP, running at a peak of only 35W, did indeed kick on its fans — but they were barely noticeable, especially by comparison.
Likewise, both machines get quite warm when pushed hard, but the MSI will practically heat the entire room during such tasks, while the M2 Max MBP doesn’t.
It should be noted that Apple has long recommended that its notebook computers use their metal chassis to help dispel heat, and thus doesn’t recommend placing its “laptops” in your lap.
Yet another advantage of the 16-inch MacBook Pro was its lighter weight and reduced bulk. As configured, the MSI Raider weighed 6.83 pounds compared to the M2 Max MBP’s 4.7 pounds, and the MSI is considerably bulkier in thickness and screen size.
Moreover, even plugged into the mains, the HX 13980/RTX 4090 combo can draw 4.3 times the power the 16-inch MBP requires at peak.
Finally, there are the aesthetics of the two machines — which is admittedly not always a major consideration in buying decisions. In addition to the sound levels, the MSI Raider has a light-up multicolor base front panel and a light-up multicolor keyboard, reflecting its gamer target market.
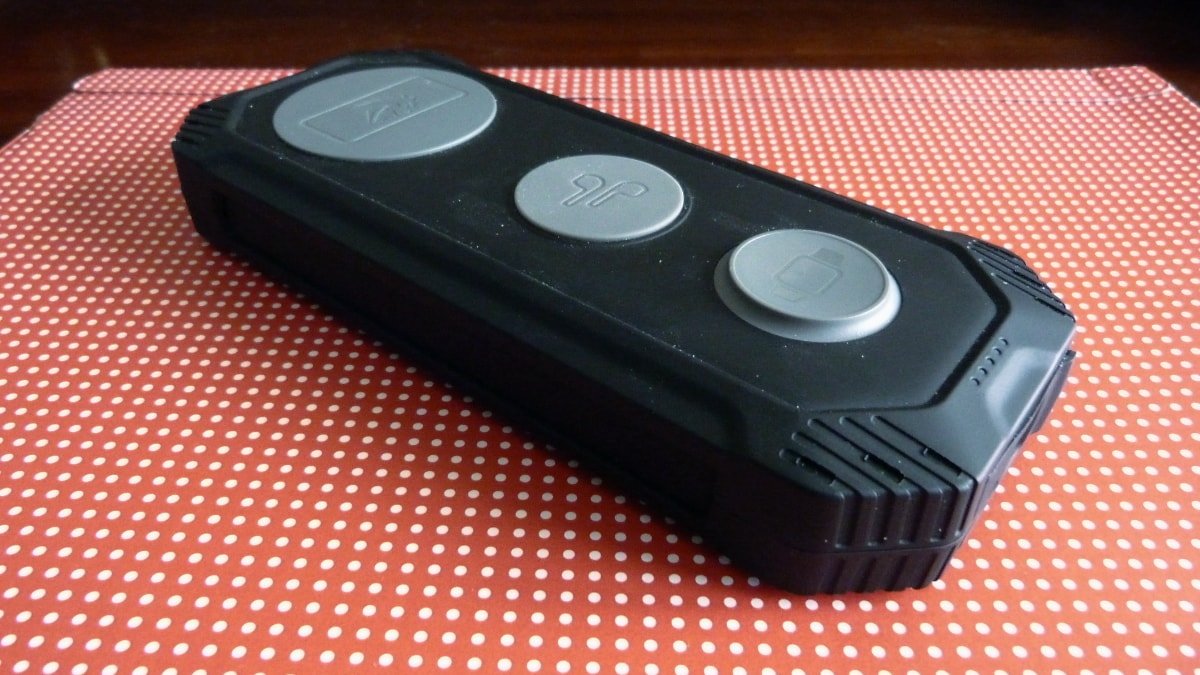
The MSI’s housing is largely plastic and requires an external 326W power brick, the literal size, weight, and shape of a brick. The charger for the M2 Max MacBook Pro — even at 140W — is positively petite by comparison.
Conclusions
It cannot be denied, and shouldn’t be underemphasized, that Intel has worked a bit of a miracle in so quickly coming up with a processor in the i9 family that catches up to Apple’s latest and greatest. Given Intel’s decade-long malaise in producing truly advanced new chip offerings, the raw processing power on offer in the i9 13980HX is genuinely impressive — even if it had to make some pretty ugly compromises to get there.
It’s also fair to say that Intel’s ability to work with more powerful video cards enables graphics performance that, again, is cutting-edge. MSI priced this combination to compete aggressively against Apple’s current top portable offering.
The 16-inch MacBook Pro is more easily portable for on-the-go workflows.
But the MSI Raider is only “portable” in the sense that it can be easily moved from one location to another — and any other location will need access to power plugs for any meaningful work to get done.
All that said, competition is beneficial for all, especially the consumer. Apple should not be allowed to rest on its well-deserved M-class laurels, and Apple’s engineering prowess not only shines a light on the versatility of its ARM-based chips but pushes the PC industry away from complacency.
The disco-rave lighting on the MSI is as likely to repel serious professionals as it is to attract wealthy gamers. Still, the big advances in state-of-the-art from both companies in the last two years are notable and admirable.
While the MSI Raider puts up a great fight, the M2 Max MacBook Pro still seems to be — at least for now — the notebook to beat.