Capcom’s going to be attending Jump Festa 2020, which runs from December 21st to the 22nd at the Makuhari Messe in Chiba, Japan.
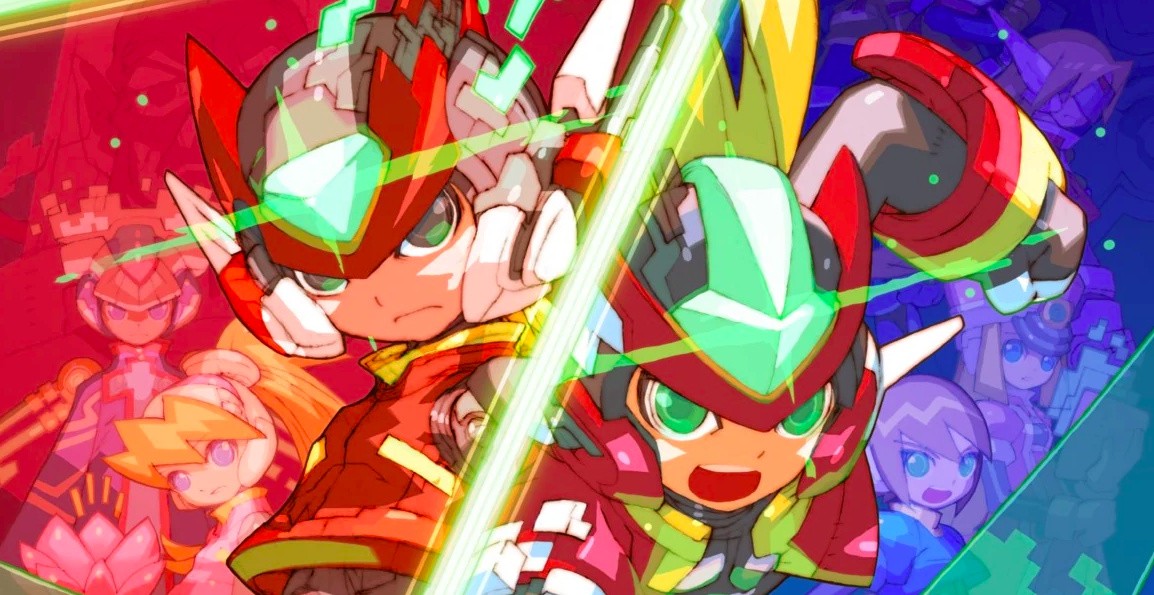
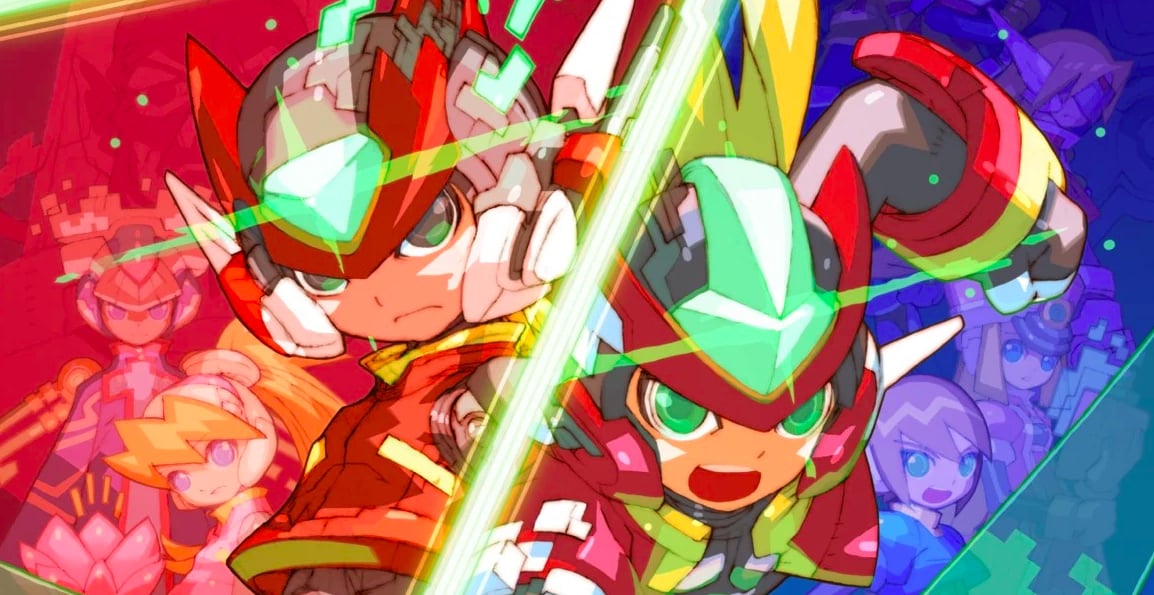
The company has already confirmed that it will be showing off Mega Man Zero/ZX Legacy Collection (available on PS4, Xbox One, Switch and PC) and PS4 title Monster Hunter World: Iceborne, but it has also confirmed that it will be showing off four playable titles in total. That means we could be seeing at least one previously unannounced title at the event, if not two.
Any guesses on what we’ll be seeing? Could it be Switch-bound? Let us know your predictions by posting a comment below.
Posted by: xSicKxBot - 11-29-2019, 06:24 AM - Forum: Lounge
- No Replies
Black Friday 2019: Best Xbox One Deals On Consoles And Accessories
Black Friday and Cyber Monday mean huge discounts on everything under the sun, and that includes some great Xbox One consoles and accessories, too. Xbox One consoles, controllers, and accessories are also compatible with PCs, too, which makes picking up a new Xbox One controller or headset to enhance your gaming experience especially tempting this holiday season.
Read on for the best Xbox One hardware deals we've spotted for Black Friday 2019; plus, check out more Black Friday coverage below for deals on PS4, Nintendo Switch, and more.
Xbox One X NBA 2K19 bundle - $269 with promo code 19CYBER10
Xbox One X with NBA 2K19 | $269 ($400)
This Xbox One X bundle is just $269 at Google Shopping when you use promo code 19CYBER10 at checkout. While it features last year's NBA 2K19, this is still an excellent price for the powerful Xbox One X console.
Xbox One X bundle with NBA 2K20 and $105 in Kohl's Cash - $350
Xbox One X with NBA 2K20 and $105 Kohl's Cash | $350 ($500)
You can grab the Xbox One X with NBA 2K20, the latest entry in Visual Concept's basketball sim series, for $350. That's a pretty awesome deal, and you also get $105 Kohl's Cash with your purchase.
Xbox One S bundle with two controllers and three months of Xbox Game Pass Ultimate - $100 off
Xbox One S with two controllers and 3 months of Xbox Game Pass Ultimate | $100 off
This Costco bundle is also an enticing offer, with two controllers and three months of Xbox Game Pass Ultimate. There are more than 200 games available through Game Pass on Xbox One, and with Game Pass Ultimate, you also get Xbox Live Gold and Game Pass for PC. Costco members can get the deal right now.
Xbox One S bundle with Star Wars: Jedi Fallen Order and $40 Target Gift Card - $200
Xbox One S with Star Wars: Jedi Fallen Order and $40 Target Gift Card | $200 ($300)
Target's Xbox One S bundle is also quite enticing and may sell out quickly. It comes with the console, Star Wars: Jedi Fallen Order, and a $40 gift card.
Xbox One X (1TB) Limited Edition with Gears 1-5 | $349 ($500)
The stunning Gears 5-themed Xbox One X limited edition is available at Walmart for $349 right now. It comes with all of the numbered Gears of War games, including 2019's Gears 5.
Xbox One S with Gears 1-5 and Madden NFL 20 -- $200
Xbox One S (1TB) with Gears 1-5 and Madden NFL 20 | $187.43 ($300)
Google Shopping is making the Xbox One S Gears 5 bundle even sweeter by tossing in Madden NFL 20. Simply use promo code 19PREBF12 when checking out to secure this awesome deal. Other retailers such as Walmart have the Gears 5 Xbox One S bundle for $200, but the extra 12 bucks off and Madden NFL 20 makes Google Shopping the obvious way to go.
Xbox One S All-Digital bundle with Minecraft, Sea of Thieves, and Fortnite content - $150
Xbox One S All-Digital Edition Bundle | $149 ($250)
The Xbox One S All-Digital Edition doesn't have a disc drive, but there are still plenty of great deals on digital games in the Microsoft Store. However, you get two great games (Minecraft and Sea of Thieves) and some bonus content for Fortnite in this bundle--2,000 V-Bucks and the Legendary Rogue Spider Knight outfit.
Logitech G920 Driving Force Racing Wheel for Xbox One and PC - $207
Logitech G920 Driving Force Racing Wheel (Xbox One/PC) | $200 ($400)
Racing wheels aren't for everybody, but for big racing game fans--especially more simulation-focused ones--will love this racing wheel. It's compatible with both Xbox One and PC, so you can enjoy both platform's libraries of racers. The best part is this deal is available right now.
Starting on November 28, you'll be able to grab an Xbox-branded external hard drive at a discount from Microsoft. They come in 1 TB and 3 TB options, which normally sell for $65 and $110, respectively.
Valfaris: 5 Reasons It’s the Heaviest Metaliest Game of the Year
Summary
Set in a far corner of space, Valfaris is a heavy metal infused 2D action-platformer and the next game from the team behind Slain: Back From Hell
Explore a diverse range of tainted environments as you venture ever deeper into the dark world of Valfaris
Full of brutal combat, deadly enemies, stunning pixel art, and a savage soundtrack
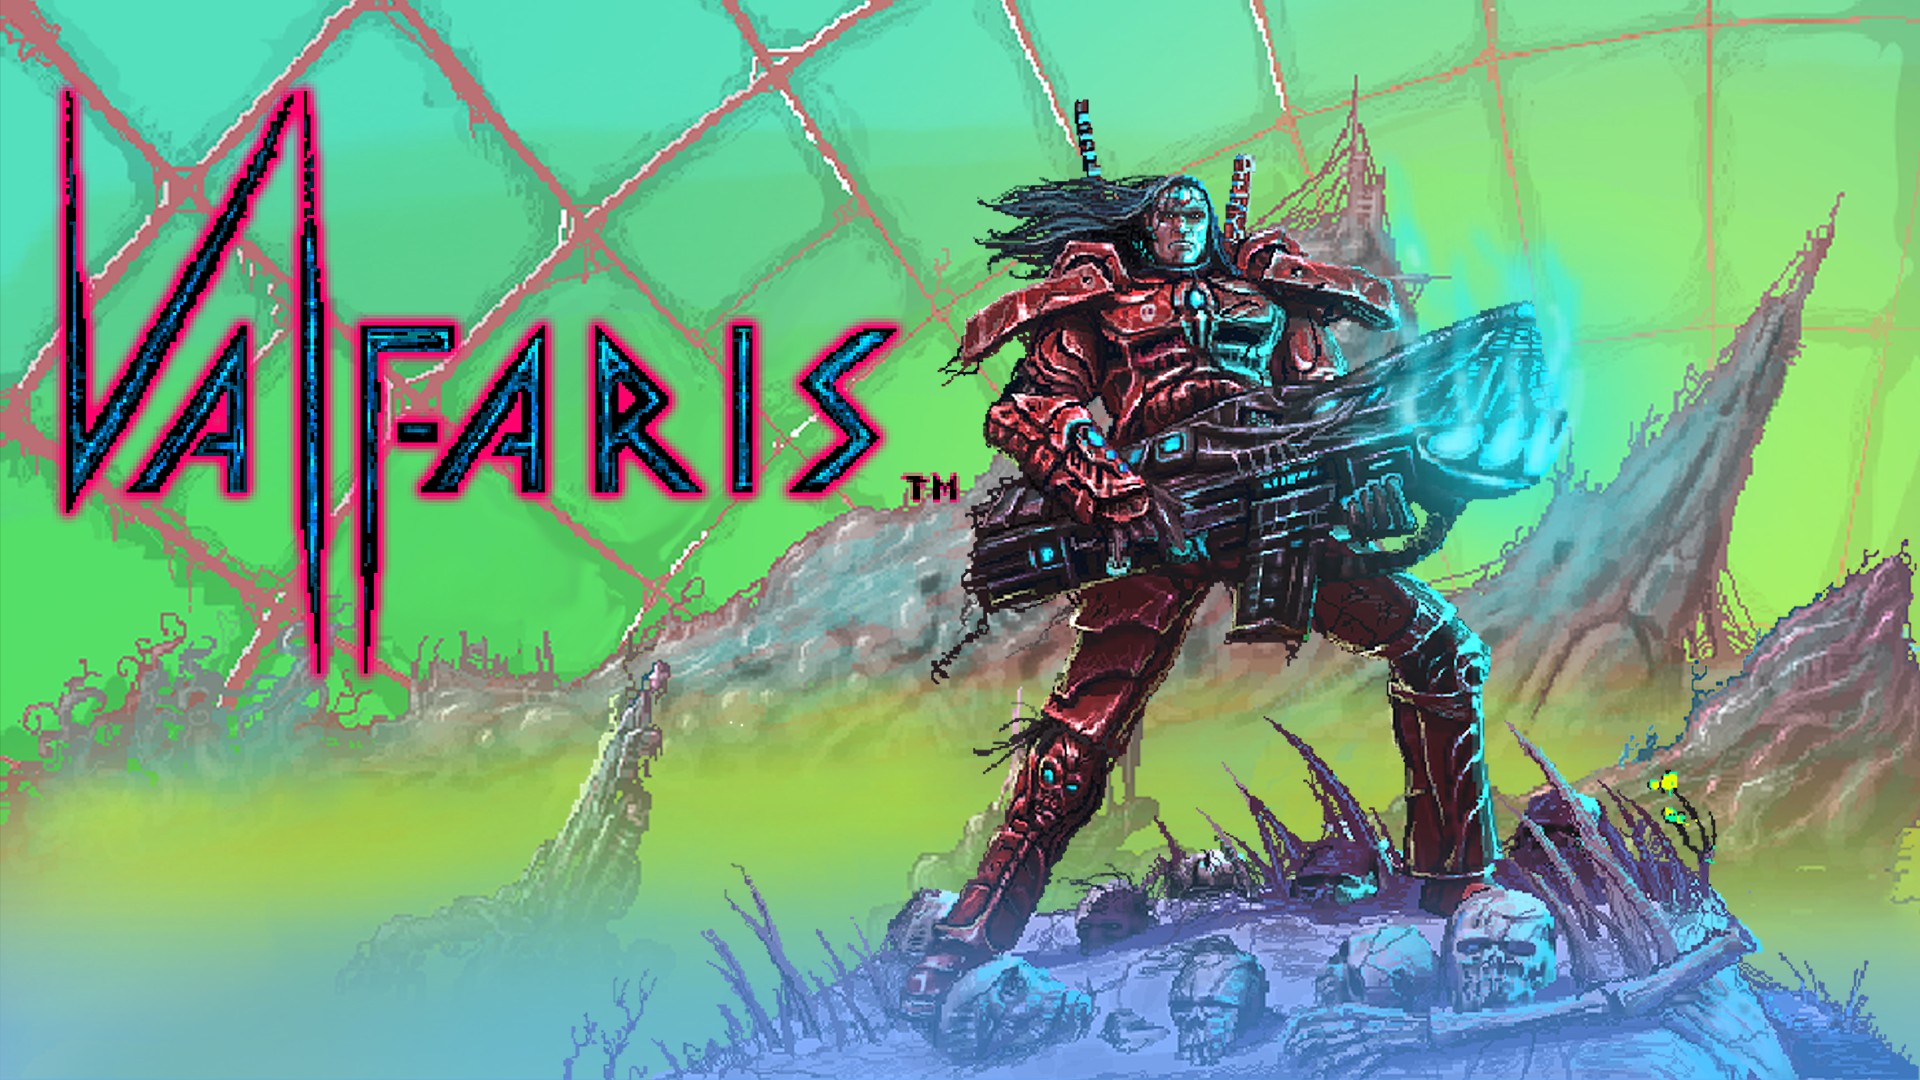
If you like your gaming experiences loud and over-the-top (and excellent), then you’re in luck – Valfaris, the heavy metal action-platformer, is available to download today for Xbox One on the Microsoft Store.
With its heady mix of relentless
run-and-gun thrills and rowdy ear-blistering riffs, here are five reasons why Valfaris
is the heaviest metaliest game of the year.
1. There’s a gun that fires tormented
souls (and 18 other extremely metal weapons to play with)
Sure, bullets are fine and everything, but shooting
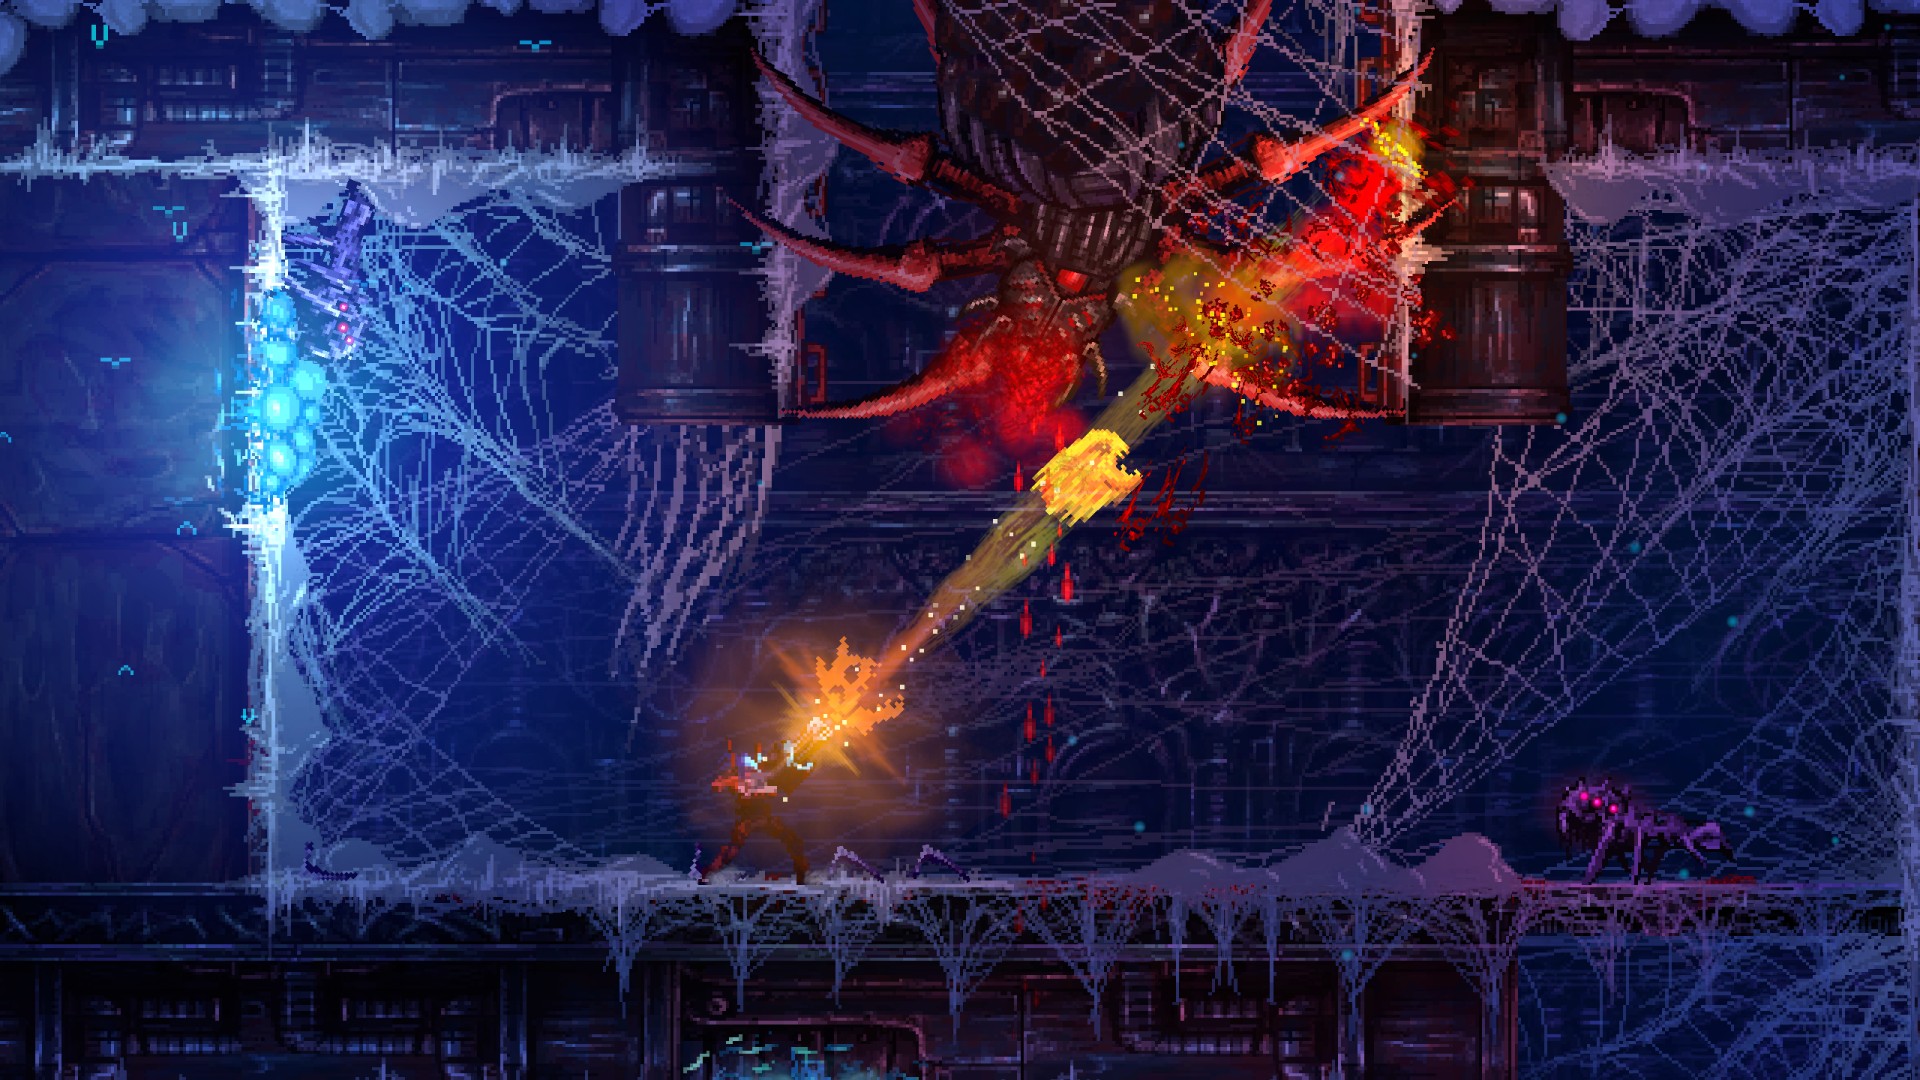
tormented souls at your enemies? That’s metal. And the Hellwraith, one of
Valfaris’ Destroyer-class heavy weapons, does exactly that. In addition to
spitting tortured spirits at foes, the Hellwraith – which is a rapid-fire
Gatling gun style killamajig – also drips blood from its sizzling-hot muzzle.
And the fun doesn’t stop with the Hellwraith.
A total of 19 outlandish weapons are waiting to be played with, including the
Bringer of Mayhem (fires a plasma beam capable of combusting the internal
organs of multiple enemies), the Wolf Light (slowly cooks its target until they
burst, releasing spirit wolf heads that attack other enemies), and the Jelly
Whip (a fleshy weapon made for flagellation).
2. The soundtrack! Also, headbanging!
It can’t be heavy metal without a heavy metal soundtrack, right!? Valfaris obliges with an original score composed by former Celtic Frost guitarist, Curt Victor Bryant. Having previously worked on the Slain: Back From Hell soundtrack (the first game from Valfaris developer, Steel Mantis), Curt returns with 20 rad tracks, including “Torture March,” “Abysmal Souls,” “Birth of a New Death,” and “Lost in Time” (which you can hear in the trailer at the top of the page).
And you can’t have heavy metal without a little headbanging, right!? Valfaris delivers on that front as well – every time you collect a new weapon, Therion, the game’s long-haired hero, performs a celebratory headbang!
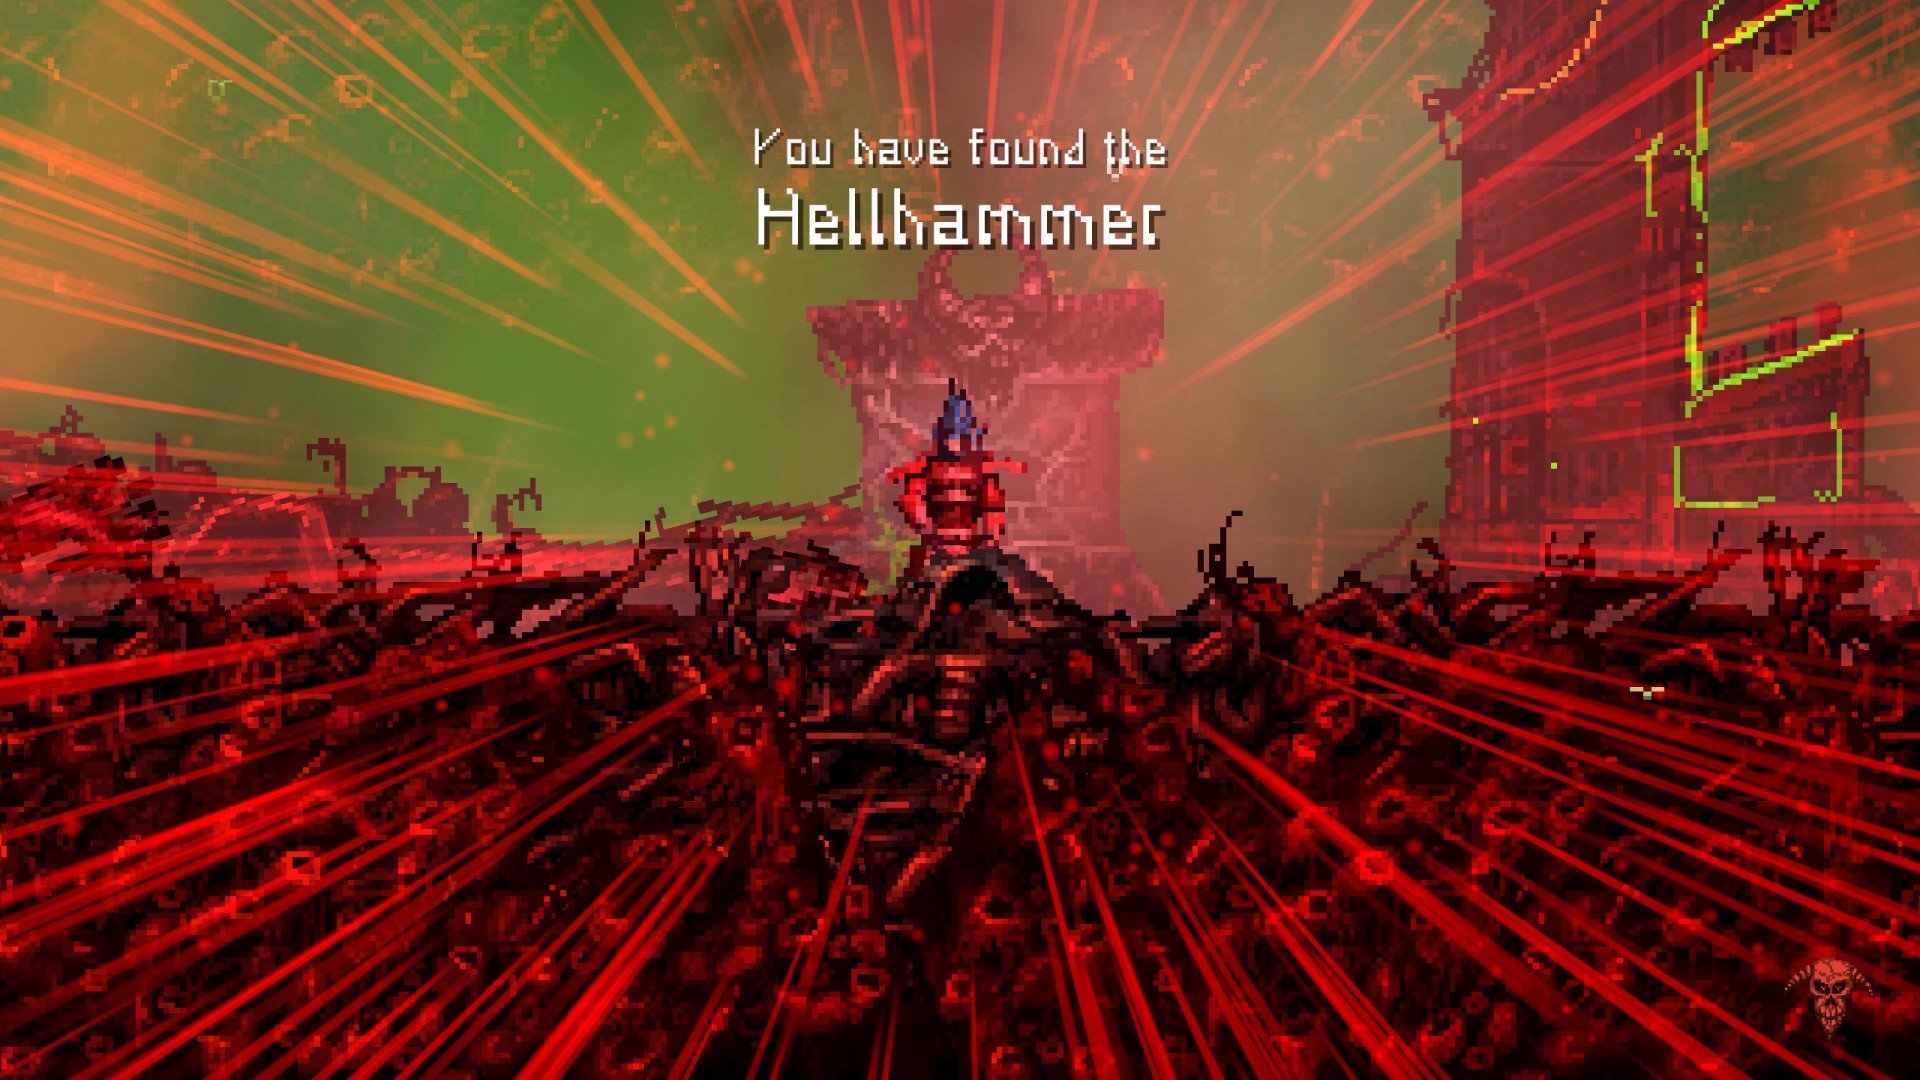
Bonus fun fact: There’s a weapon in Valfaris called Hellhammer, which also happens to be what Celtic Frost was originally called when they first formed.
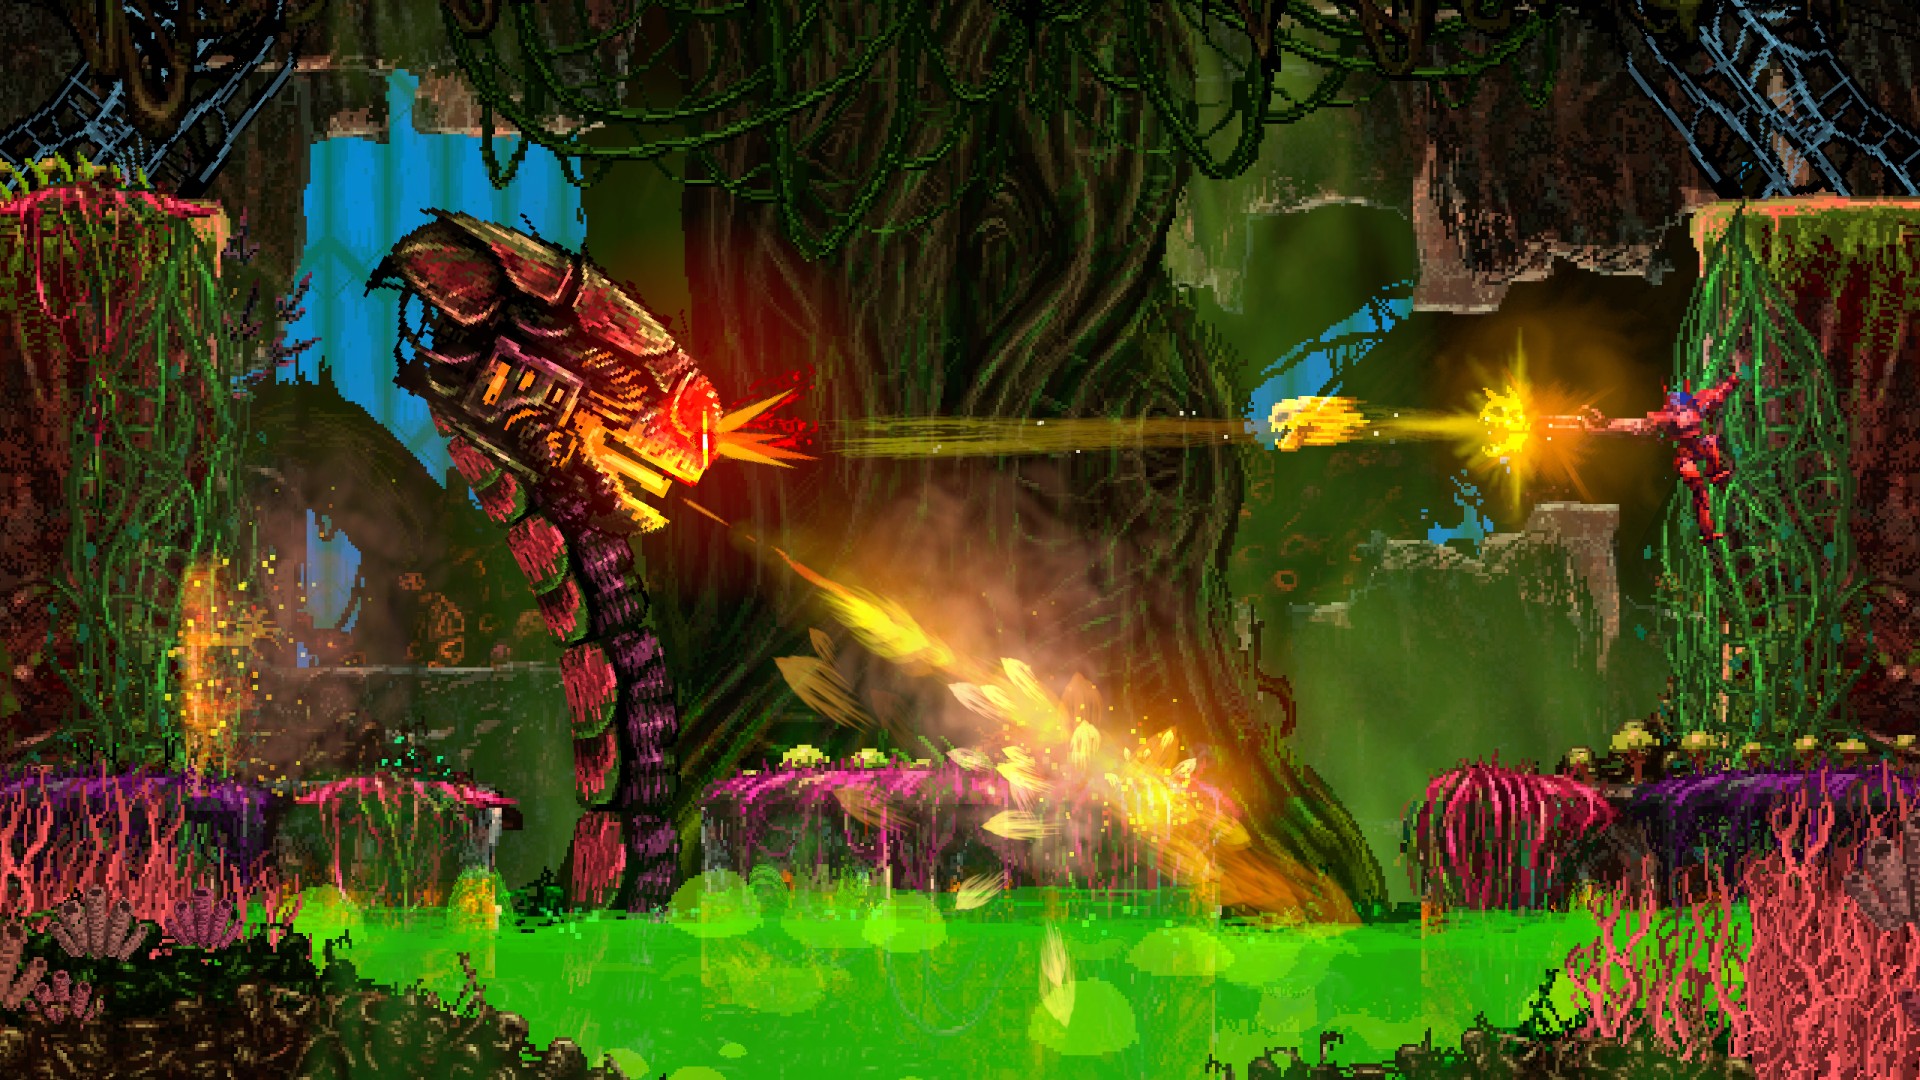
3. You fight a bio-mechanical snake called Hell Cobra that lives in a toxic swamp and breathes fire (and it’s only a mini-boss!!!)
The fact the cybernetic pyromaniac Hello Cobra only holds the rank of mini-boss gives you an idea of how excessively metal a foe needs to be in order to qualify as a proper big boss in Valfaris. For example, Itnan – the big boss of The Tombs level – is armed with a ridiculously over-sized railgun, lives in a coffin, wears skull boots, and can transform into a swarm of bugs.
Then there’s Furrok, a big boss and warrior hulk that’s clad in gold and black armor who attacks with a pair of enormous flaming hammers that are mighty enough to give Thor an inferiority complex. In total, there are over 70 different types of enemy (spread across basic, elite, mini-bosses, and bosses) to terminate with extreme prejudice.
4. You get to stomp about in a skull-headed
mech
Nothing screams heavy metal quite like trampling
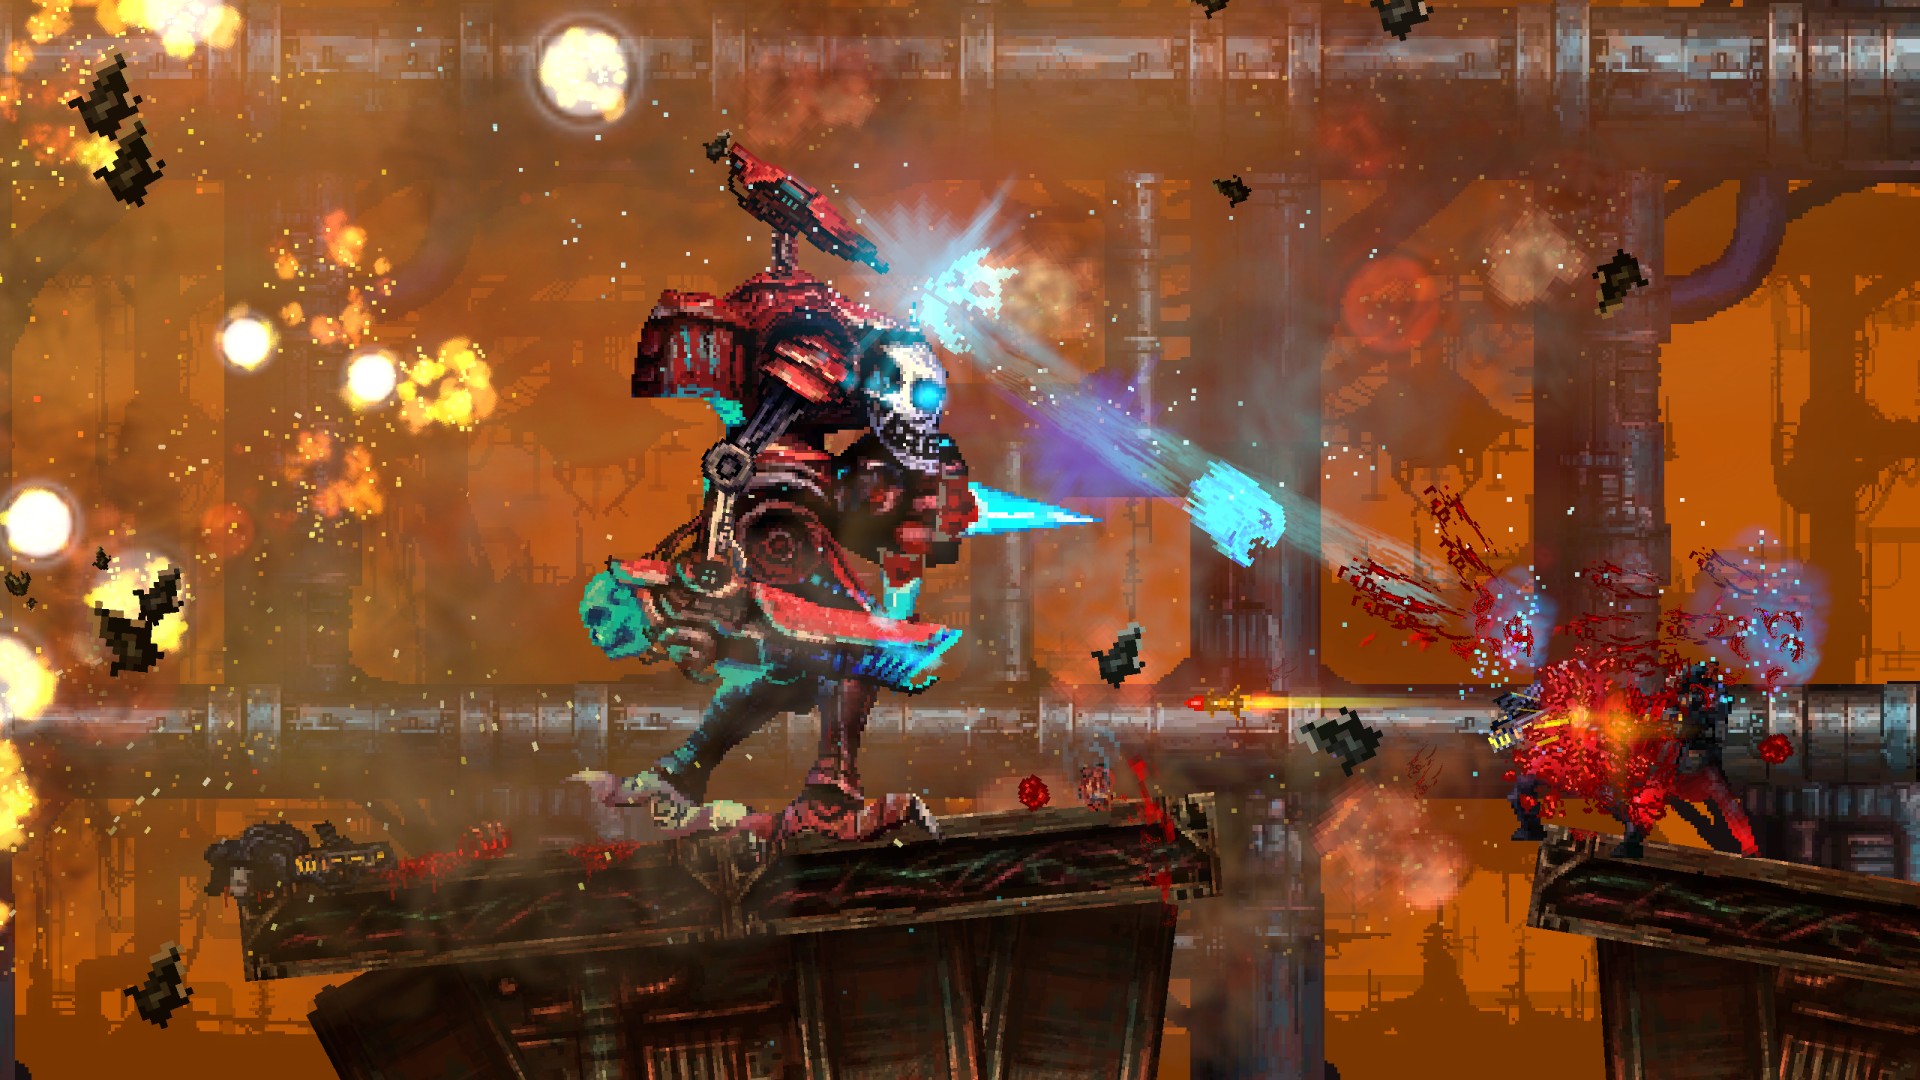
over hapless enemies in a literal hunk of, erm, heavy metal. Piloting an Exterminator
Mech is a lot of cathartic fun. The mechanical colossus is fully weaponised and
capable of causing maximum carnage.
The Exterminator is equipped with a triple-whammy of deadly weapons. There’s a head-mounted Soulwraith gun that can blast enemies into itty-bits in an instant, a Star Fist melee weapon ideal for reducing hostiles to mucky puddles of guts, and a plasma incendiary called Soul Thrower that’s a fun way to flambé foes.
5. Full Metal Mode is on the way with
even more metal
If you’ve got the mettle to complete Valfaris then buckle-up for an even bigger challenge! Developer Steel Mantis is currently working on a New Game+ mode called, appropriately enough, Full Metal mode. It will be released as a free update in the not-too-distant future and will be automatically unlocked if you’ve got a Game Clear save file.
In Full Metal mode, enemies and bosses are tougher and more aggressive, and you take more damage when hit. However, to help even the odds, all your weapons, upgrades, and upgrade items are carried over, which means you’re beefed up right from the outset. You also get a devastating new Destroyer class weapon to play with. But make no mistake about it, Full Metal mode is going to be hardcore!
Valfaris is available to download now for Xbox One via the Microsoft Store. Good luck and keep it metal!
Specifically, the wording used in the Verge’s reporting says “Valve confirms that this is the last batch of these gamepads that will ever be made.” Aside from that, Valve itself hasn’t posted much of anything through its official channels about pulling the plug.
A quiet hardware discontinuation isn’t entirely out of character for Valve, however. Physical Steam Link hardware was discontinued earlier this year in favor of apps and homebrew Raspberry Pi kits, with only a brief note on the hardware’s news page as stock started to thin.
The presence of Steam Machines, the SteamOS powered computers Valve announced back in 2014, was silently dialed back on Steam last year as well, so much so that the platform is no longer listed alongside other Valve products like the Steam Link, Steam Controller, Valve Index, or HTC Vive on Steam’s hardware tab.
Some folks online have speculated that a Steam Controller follow-up could be on the way (thanks to a handful of patents that popped up earlier this year) but Valve itself has yet to confirm much of anything surrounding that theory. We’ve reached out to Valve in the meantime and will update this story with any new details following a reply.
Don’t Miss: The legacy of Street Fighter II, in the words of the experts
Street Fighter II: The World Warrior was first released to arcades 25 years ago, on February 6th 1991. It completely changed the games industry.
It’s estimated to have raked in $2.3 billion by 1995. (That’s $3.5 billion adjusted for inflation — lots and lots and lots of quarters.) The game brought unprecedented depth and complexity to arcades, presenting players with an array of characters that each had their own distinctive fighting style, with a deep library of special moves and combos.
Street Fighter II set the paradigm for an entire genre. Every subsequent fighting game has felt its influence, whether it followed the established conventions or rebelled against them.
It’s difficult to express the full impact this game has had. So we asked for help. We reached out to many developers who drew lessons and inspiration from Street Fighter II, as well as competitive players and commentators and other luminaries of the fighting game community.
We posed a single question to them: What are your earliest memories of Street Fighter II, and what do you think its legacy has been?
Here are the responses we received. Please share your own responses in the comments below!
***
Yoshinori Ono, current series producer of Street Fighter
Street Fighter II was actually the game that prompted me to join Capcom. Seeing those eight characters on screen and all that was just super exciting for me. At the time, I was actually a college student, and it cost 100 yen per play. That equates to basically a dollar in U.S. currency.
It was already really difficult for me to pay for college tuition, but despite that, I kept just throwing 100-yen coins into the machine over and over again, forgetting all about tuition.
Street Fighter II ended up eating up a lot of my time, and as such, it ended up taking a lot of my college units as well. That was always an influence of Street Fighter II in my life.
“It was already really difficult for me to pay for college tuition, but despite that, I kept just throwing 100-yen coins into the machine over and over again, forgetting all about tuition.”
At that time, there were racing games, action games, and shooters, that was all happening in the arcade, and people were competing on having best clear times, or best high score, or whatnot. But with Street Fighter II, it was the very first time I ever saw a game where you had to fight with logic, you had to have strategy. On top of that, your opponent was a human being, so you actually had to have an understanding of what their habits were. You actually had to build strategies around the person that you’re playing against. It was actually the very first game that had that.
People can look back at Street Fighter II and say, “That wasn’t a very balanced fighting game,” and maybe that’s true. But, at the same time, it was the seed that ended up creating this environment where you’re battling between two people, two minds battling.
It ended up eventually evolving into Street Fighter II Turbo, but Street Fighter II was definitely the bud that eventually evolved into a fully bloomed flower. And that has stayed there; that legacy will always be there.
Yoko Shimomura, composer on Street Fighter II and many other game soundtracks, including Kingdom Hearts andLegend of Mana
My most formative memory would be winning the Best Music Award from a magazine called Gamest and attending its awards ceremony. I hadn’t yet experienced the feeling of being number one, so I was very happy to be given an award with the word “best” in it.
The legacy it has left would of course be its fans, don’t you think? I’m happy that the game has transcended generations and given birth to many sequels while being deeply loved by its fans. I’m very proud of Street Fighter II.
Junya Christopher Motomura, designer at Arc System Works (Guilty Gear, BlazBlue)
I must have been about 14 when I first touched Street Fighter II at a friend’s house, and it immediately captured me. What was unique to SF2 was that the player was given a huge choice in what character you want to fight as, and how to fight. It was more than a game. It was a medium for expressing one’s preference, style, and attitude.
And that is exactly what a young teenager like me wanted at that time.
“Street Fighter II was the game that sparked the imagination and passion for game development in me.”
At the same time, Street Fighter II was the game that sparked the imagination and passion for game development in me. I couldn’t stop thinking about the game, and how I could possibly change or improve it. Without Street Fighter II, I am sure I would have been a different person on a different career path.
I think it was the first game to make people seriously compete against each other. Of course there were many games before SF2 where you could compete against friends, but it must have been the first game that had the depth that was worth investing time and effort into. It made us gamers realize that overcoming your opponent (and yourself) was fun as hell.
Yosuke Hayashi, Team NINJA producer on Dead or Alive
I believe the legacy of all fighting games owes its lineage to Street Fighter II. Dead or Alive is no exception. It is an evolution which grew out from a different branch. However, its inception was rooted in Street Fighter II. I’m anxiously looking forward to seeing the progression of Street Fighter as it leads our fighting game genre into the future!
Michael Murray, game designer, TEKKEN Project Team
Street Fighter really created the VS Fighting genre. Mastering complex inputs that result in rewarding in-game animations/attacks, characters with unique abilities, each from different locations throughout the world, stages with visual themes and music tailored to specific characters and based on certain locales – all of these are elements that would become staple in games that followed.
I’m old enough to remember playing SF2 at a local grocery store, where the cabinet had no instructions or move-lists, and part of the fun was finding a move before your friends, practicing to execute it consistently, and then pummeling your friends until they learn how to adapt. Up until then, most popular games you would play by yourself or co-op, and the only competition among friends was for the highest score. With the formula of learning a game’s system, choosing a character that suits your play style, practicing until you can use the character’s techniques consistently, and then finally competing head-to-head with a friend or someone in your local arcade, you could even say SF2 was an early base for e-sports.
James Goddard, creator of Weaponlord, design director on Killer Instinct (2013), co-lead on SF II Hyper
I will never forget the day my friend called me and said let’s go to Sunnyvale Golfland and play this game they have on test. We walk-in and there is a crowd around Street Fighter II, we had to wait 20 mins to get to play. It was overwhelming, 6 buttons, people talking in whispers about ‘secret moves’ (and gesturing strange motions), it was wild. We stayed for hours until I had no money left. This was January 1991. I lived literally 1 block from Sunnyvale Golfland and I started playing every day. This led me to a job at Capcom within months, Next I was working on the series, and my life was forever changed.
While SFII inspired so many of us to make other fighting games, there is something SFII did that no other game can touch- it founded the FGC (Fighting Game Community). I am lucky to have a unique perspective on this legacy, as I was there. It was started with simple weekly SFII tournaments at Sunnyvale Golfland. Suddenly everywhere there were reports of tournaments nationwide at a bunch of mom & pop arcades. The community grew like wildfire and was so passionate and thirsty for knowledge, groups of players would drive hours or even states to face other people and learn more strategies. (no internet back then folks) I have over the course of my career watched this grass roots movement grow the FGC into international phenomenon it is now and it is amazing how players today are just as competitive, hungry for knowledge and passionate as they were when we all had mullets!
When I think about SFII and everything it has touched in my life. It’s in my blood as a gamer, it inspired my career path; the lifelong friends I have made, and the ever growing FGC community and Tournaments. This was all created by it’s incredible depth and exciting ever changing match-ups. I cannot image what the face of gaming would be if not for SFII.
That’s the legacy of SFII. It’s a total game changer. Happy 25th Anniversary!
Mike Zaimont, design director at Lab Zero Games, designer of Skull Girls
My first memory of SF2 is actually playing it in some pizza place in New York in 1991 when I was 10. I was with a group of kids, and my friend picked the green guy that I wanted to pick, so I couldn’t pick him. Instead, I chose the girl, and found out that by hitting all the buttons a lot she would kick them bunches and win. I think I won three times in a row, it was glorious!
The impact of Street Fighter II can’t be overstated, but it goes much further than financial success. Though people will often point to Karate Champ / Yie Ar Kung Fu / Fighting Street as the beginnings of the fighting game genre, I don’t really put them in the same category. They had the concept, the early idea, but SF2 was the first game that executed it well.
The huge sprites, the backgrounds, the parallax floors, the sounds…though video-gamer me wants to talk about how amazing it looked and felt, game-designer me notes that though it was a huge leap forward in terms of presentation. It was an equally large advance in terms of game design, and laid the foundation for many of the concepts that you will find in nearly every fighting game from then on.
“There are games released in recent years that do not handle parts of their character interactions as well as SF2 does”
Fighting Street (Street Fighter one) was HARD to play! SF2 added negative edge (button release) activation for special moves, a much more lenient input parser, and a kara-cancel period on normal attacks, all just to make it easier for players to do special moves. The way blockstun/hitstun/hitstop work, projectiles and projectile interaction, knockdown and wakeup, there are so many places in SF2 where you can see the thought that was put into designing a fighting game that would be as much fun as possible for a wide variety of players. The designers wanted to make players feel cool, and they succeeded. (They even went as far as–in SF2 only–making each button press have a 1/256 chance of randomly executing a special move instead of a normal attack, to get players more excited about playing the game.)
There are some wonderful articles about the development of SF2, things like they couldn’t get the knockback from moves to look right procedurally so they went and hand-tweaked the character’s backward movement per frame. The dev team studied every aspect of the game, and as a result much about it just feels “right”. A lot of the knockoff fighting games created to try and grab a piece of SF2‘s success didn’t do this extra obsessive tinkering, and they ended up being much worse games. It sounds cheesy, but players can really feel the love and dedication that went into making SF2.
SF2 set the standard, and was hugely advanced for its time — there are games released in recent years that do not handle parts of their character interactions as well as SF2 does. The entire fighting game genre owes its existence to SF2, plain and simple. The fight is everything.
Adam Heart, competitive player, former editor-in chief of Shoryuken, designer of Divekick, lead combat designer on Killer Instinct Season 2 and Season 3 at Iron Galaxy Studios
I first encountered Street Fighter II: The World Warrior at a skating rink during a middle-school class gathering. What could be better that skating in circles with your classmates? How about the most incredible looking video game I’d ever seen? It didn’t hurt that it was also the best playing game I’d ever touched.
And that is what Street Fighter always was to me. An innovator in gameplay mechanics and feel, and a leader in art direction and execution. I hope, going forward, to see Capcom continue making fighting games that inspire a new generation as much as the original games inspired me. Street Fighter created a genre that has shaped the entire course of my life, and for that I will always love it.
Apparently, one regular-as-clockwork yearly update to the Football Manager franchise is not enough, which means that prospective managers now have three different flavours to choose from. The fully-fledged version is the Old Trafford of football management games, it may not be the newest, but it is still the biggest and the most renowned.
The tablet-tailored Touch version is more like the London Stadium, flashy and new it might be, but it lacks a sense of history and ownership. This leaves the Mobile variant, which was first introduced on the PlayStation Portable back in 2006, before making its debut on IOS in 2010. This is more like Bournemouth’s Dean Court ground, a tight and compact design that, not so long ago, was completely reoriented to make the most of the limited space available.
Space is definitely at a premium when trying to squeeze Football Manager onto mobile devices. Not so much space in terms of memory (although the game does take up a hefty 2 GB) but space in terms of screen size. Football Manager spits out more stats than the most motor mouthed of American sports commentators and sees more menus being presented than on the busiest day at Waiter Training School. A nip here and a tuck there is certainly essential, but does this extensive surgery leave behind a game that flatters to deceive?
Initial impressions are promising, with an expansive range of set up options on offer. You can create your own club or embark on a thirty-year career at a team of your choice. There is also a challenge mode, which features seven scenarios that thrust you directly into the heart of the action. You may find yourself in a relegation battle, dealing with an injury crisis or maintaining an unbeaten run. Finally, you set your manager’s reputation which reflects the difficulty level, it will be much easier to entice star players if you are a household name rather than unknown.
It makes more sense to highlight the new features rather than to dwell on the familiar core gameplay. The addition of Danish and Greek leagues means that the mobile version now boasts over 60 leagues, spanning 21 nations. This may be a far cry from the 116 leagues and 52 countries of the fully-fledged version, but it still offers more than enough choice for most would-be managers. The upgraded youth development system ensures that you now have more information on the progress of your youngsters before they are snatched away for a pittance by bigger clubs. You can even ask a seasoned pro to take an impressionable youngster under their wing and mentor them. Hopefully, this will not lead to them getting involved in stealing taxis or drunken road accidents.
Other additions include a reserve team that presents the opportunity to get your young players playing at a higher level or improve the fitness of seniors that are recovering from injury or loss of form. There are also call ups to under 21 national teams and more options for dealing with media reports. Finally, derby games have been introduced, adding some extra passion and rancour to matches against your nearby neighbours. To sum up, not really bursting with new features or ideas, and there is always the feeling that ideas are always being held back to help justify next year’s release.
There are advantages to being leaner and meaner, foremost is that the mobile version plays much faster. So, if you want a life outside of your virtual management responsibilities then this may be the way to go. The downside is that tactical options feel limited and the no-frills highlights do little to disguise the fact that this is just an exercise in juggling numbers. The user interface may have been updated but it is still far from perfect. There is a labyrinth of information to wade through that can make even relatively simple actions such as nominating a captain or even seeing the latest league table more cumbersome than it should be.
Many screens allow you to swipe left and right to bring up pages with yet more in-depth information. Unfortunately, it is all too easy to accidentally select something rather than swipe it, which can take you to a completely different set of screens. The sense of information overload is also prevalent in the transfer market. Trawling through players can feel like finding a needle in a haystack, but there is a real sense of satisfaction when you discover a hidden gem.
Despite the game’s premium price, there are still additional unlockables and challenges that can be acquired. The most expensive of these is the database editor, this may allow you to play God, but it costs as much as the game itself. Some unlockables have to be earnt through your endeavours, for instance, you can remove all transfer windows by making a huge transfer profit. Others can also be bought with real-world money, such as acquiring a sugar daddy chairman and other equally depressing money-grabbing ways to cheat your way to the top. Maybe this is all a satire on the underhand wrangling and financial unfair play rules that plague the modern game?
The developer’s preference for drip-feeding new ideas means that there is not really enough new content to recommend this if you already have last year’s version. Unless you are the sort of person who simply has to have their favourite club’s first, second and third strips on the day of release. The game is still a little buggy, but the programmers seem to be very responsive when it comes to resolving problems. Licensing issues may annoy perfectionists; England fans will breathe a sigh of relief on discovering that the German national team is missing, but Juventus fans will be cross to discover that their beloved team has been renamed Zebra.
Posted by: xSicKxBot - 11-28-2019, 11:38 AM - Forum: Lounge
- No Replies
Black Friday 2019 Best Deals On Star Wars: Jedi Fallen Order, Xbox One Bundles
It's a good time to be a Star Wars fan. There is the ongoing series, The Mandalorian on Disney Plus, and Star Wars: The Rise of Skywalker releasing in December. However, the past month also brought Star Wars: Jedi Fallen Order, a new action game from Titanfall and Apex Legends developer Respawn Entertainment. Given how recently it came out--it hit PS4, Xbox One, and PC on November 15--Black Friday deals aren't exactly abundant unless you're looking to purchase a console bundle. That said, we may see more discounts on Black Friday and Cyber Monday themselves, so if a bundle isn't tempting and you're strapped for cash, it might be best to hold off for now. We've seen unadvertised deals on recent games pop up in past years.
Luckily, at least for the time being, a deal has popped up on the PC version--Jedi Fallen Order can be had for $50 over at Amazon right now. The console versions remain full price at the time of this writing. We'll report back if any other deals emerge on Black Friday or Cyber Monday.
Star Wars: Jedi Fallen Order is one of our top 2019 holiday gift recommendations; it also earned an 8/10 in our Jedi Fallen Order review. "Fallen Order becomes perhaps the strongest conception of what playing as a Jedi Knight ought to really be like," wrote Phil Hornshaw. "It's true that Fallen Order borrows liberally from other action games, but those elements work together with Respawn's combat and environment design, and a story that finds humanity in the Force and in its characters, to hone in on what makes the world of Star Wars worthy of revisiting again and again. Even with some rough edges, Fallen Order represents one of the most compelling game additions to the Star Wars franchise in years."
So far, the best deal on Star Wars: Jedi Fallen Order for PS4 or Xbox One was available around launch over at Ebay, where you could get a brand-new copy of the game with free shipping for $50 ($10 off). Unfortunately, that deal is sold out.
If you're willing to wait until just a couple more days to get your hands on Jedi Fallen Order, however, there are a couple of minor deals you can take advantage of. Starting this Sunday, November 24, Target will include a free Second Sister Inquisitor Funko Pop figure (which normally goes for $9) with any order of Jedi Fallen Order, and that includes any of the console bundles that come with the game (which you can find below, by the way). The deal ends on November 27.
GameStop has a similar deal going on right now, but theirs includes a $15 Fandango credit instead, which you can use to go see Star Wars: The Rise of Skywalker when it hits theaters December 20.
PS4
$60 (free Second Sister Inquisitor Funko Pop figure with purchase) -- Target
$60 (free $15 Fandango credit with purchase) -- GameStop
Xbox One
$60 (free Second Sister Inquisitor Funko Pop figure with purchase) -- Target
$60 (free $15 Fandango credit with purchase) -- GameStop
$60 (free $15 Fandango credit with purchase) -- GameStop
We're keeping an eye out for future discounts, and we'll be sure to update this article as soon as we see more. We expect a few places to have deals ready to go for Black Friday, including digital storefronts like Steam and the Epic Games Store.
If you're looking to pick up a new Xbox One along with Star Wars: Jedi Fallen Order, you have some excellent choices for Black Friday. You'll be able to get an Xbox One X bundle with Jedi Fallen Order for $350 and an Xbox One S bundle with the game for $200.
Xbox One X bundle with Star Wars Jedi Fallen Order: Deluxe Edition and 3 months of Xbox Live Gold - $350
Xbox One X bundle with Star Wars Jedi Fallen Order: Deluxe Edition and 3 months of Xbox Live Gold
$350 ($500)
Best Buy's Xbox One X bundle includes three months of Xbox Live Gold in addition to Star Wars: Jedi Fallen Order Deluxe Edition. It'll be available starting November 28 at Best Buy. If you buy at Microsoft, you'll get the same bundle for the same price, but it comes with one month of Xbox Live Gold, one month of Xbox Game Pass for console, and one month of EA Access. In addition, Game Pass Ultimate and Xbox Live Gold members get early access to Xbox deals starting November 21. Everyone else will have access to this console bundle and other Microsoft Store deals starting November 24, which is still earlier than Best Buy and other stores.
Xbox One S bundle with Star Wars: Jedi Fallen Order and $40 Target Gift Card - $200
Xbox One S bundle with Star Wars: Jedi Fallen Order and $40 Target Gift Card
$200 ($300)
Multiple stores are offering this Xbox One S bundle with Star Wars: Jedi Fallen Order Deluxe Edition, but only Target is throwing a $40 gift card in as well. It'll be available starting November 28. Meanwhile, it'll also be on sale at the Microsoft Store for the same price. Xbox Live Gold and Game Pass Ultimate members still get early access to Microsoft's deals, which come with the aforementioned one-month trials.
Humble are running a new bundle of interest to game developers, specifically 2D animators. The Humble Software Bundle: 2D Animation is based around two key pieces of software, Crazytalk 8 Standard and Crazytalk Animator 3 Pro, both from RealIllusion. As always the bundle is broken into tiers, the tiers of this bundle are:
1$
Face Filter 3
Makeup PRO
18$
CrazyTalk 8
Dress Up Show Time
Dress Up Work Wear
Stylized Classic Avatars
Garry Pye’s Comic Faces
25$
CrazyTalk Animator 3 PRO
G3 Animals Dogs
G3 Human Motions – Smooth Moves
G3 Animated Props – Fun Stuff
G3 Elastic Motions – Come and Go
With Humble Bundles you can decide how your funds are distributed, choosing between the developer, Humble, charity and if you so choose (and thanks if you do!) to support GameFromScratch if you purchase using this link. Check out the video below for more details on the bundle. Stay tuned for more hands-on content with CrazyTalk and CrazyTalk Animator in the near future!
This article shows you how to install the software you need to use Cockpit to create and manage virtual machines on Fedora 31. Cockpit is an interactive admin interface that lets you access and manage systems from any supported web browser. With virt-manager being deprecated users are encouraged to use Cockpit instead, which is meant to replace it.
Cockpit is an actively developed project, with many plugins available that extend how it works. For example, one such plugin is “Machines,” which interacts with libvirtd and lets users create and manage virtual machines.
Installing software
The required software prerequisites are libvirt, cockpit and cockpit-machines. To install them on Fedora 31, run the following command from a terminal using sudo:
Cockpit is also included as part of the “Headless Management” package group. This group is useful for a Fedora based server that you only access through a network. In that case, to install it, use this command:
$ sudo dnf groupinstall "Headless Management"
Setting up Cockpit services
After installing the necessary packages it’s time to enable the services. The libvirtd service runs the virtual machines, while Cockpit has a socket activated service to let you access the Web GUI:
This should be enough to run virtual machines and manage them through Cockpit. Optionally, if you want to access and manage your machine from another device on your network, you need to expose the service to the network. To do this, add a new rule in your firewall configuration:
To confirm the services are running and no issues occurred, check the status of the services:
$ sudo systemctl status libvirtd

$ sudo systemctl status cockpit.socket
At this point everything should be working. The Cockpit web GUI should be available at https://localhost:9090 or https://127.0.0.1:9090. Or, enter the local network IP in a web browser on any other device connected to the same network. (Without SSL certificates setup, you may need to allow a connection from your browser.)
Creating and installing a machine
Log into the interface using the user name and password for that system. You can also choose whether to allow your password to be used for administrative tasks in this session.
Select Virtual Machines and then select Create VM to build a new box. The console gives you several options:
Download an OS using Cockpit’s built in library
Use install media already downloaded on the system you’re managing
Enter all the necessary parameters. Then select Create to power up the new virtual machine.
At this point, a graphical console appears. Most modern web browsers let you use your keyboard and mouse to interact with the VM console. Now you can complete your installation and use your new VM, just as you would via virt-manager in the past.
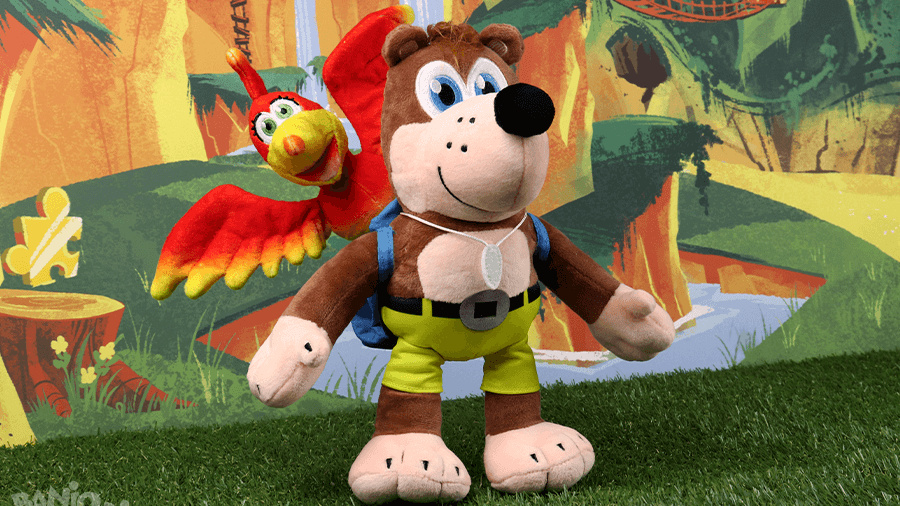
Fangamer’s New Range Of Banjo-Kazooie Merch Is Tough To Resist
Gaming merchandise company Fangamer has unleashed a new set of goodies for its growing Banjo-Kazooie collection, and we’re having a hard time staying away from the ‘buy now’ button.
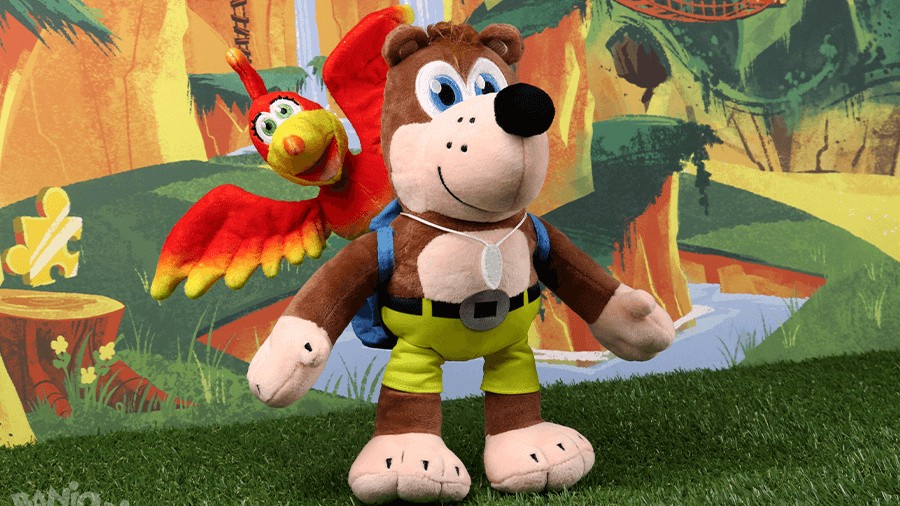
Perhaps the star of the show is a brand new 4-LP box set of Grant Kirkhope’s magical soundtrack, but you’ll also find a new t-shirt, scarf, Jiggy plush, and more. We’ll give you the link to check out the entire Banjo range (you’ll find that here) and pop a few photos for you below.
Fangamer is based in the US but ships pretty much everywhere, so we’re hopeful you’ll be able to snag yourself an order if you like what you see. While you’re at it, fancy buying us one of those Jiggy plushes?
Feel free to Guh-huh in excitement in the comments below.