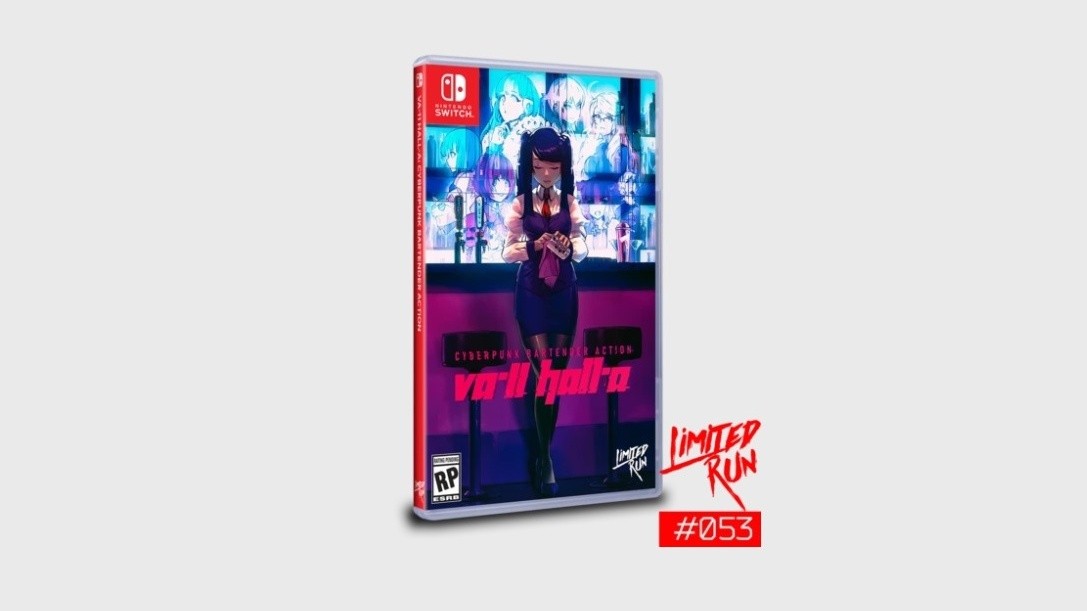
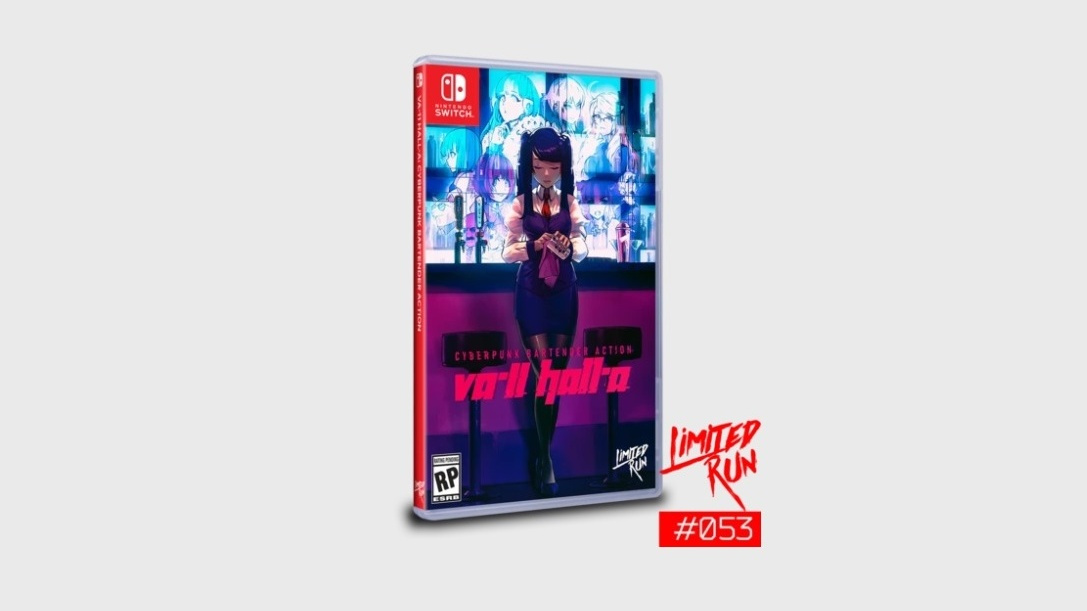
If you’ve been holding out for the physical release, you’ll be pleased to hear pre-orders for the Limited Run version are now open. The game is priced at $29.99 and you have until 13th December to secure a copy.
Each copy includes a full-colour interior print on the cover sheet reverse side and a full-colour booklet. The item is still being manufactured and will not be shipped until one to three months after pre-orders close. Unfortunately, the Collector’s Edition containing panoramic poster art has already sold out.
Update: 2064: Read Only Memories is also available to pre-order for $29.99. Like VA-11 HALL-A, this one will ship one to three months after pre-orders close and includes a booklet and interior cover print. A Collector’s Edition is still available at the time of writing for $59.99.
Will you be adding either of these games to your physical Switch library? Comment below.
Leap Into Adventure and Nature with Tamarin, Coming Soon to Xbox One
Summary
We’re glad to finally announce that Tamarin is coming soon to Xbox One
Tamarin embarks on an exciting journey and is thrown into an intense fight for survival to bring back his family
Tamarin aims to rekindle the joy and excitement of classic 3D adventures that many people fondly remember
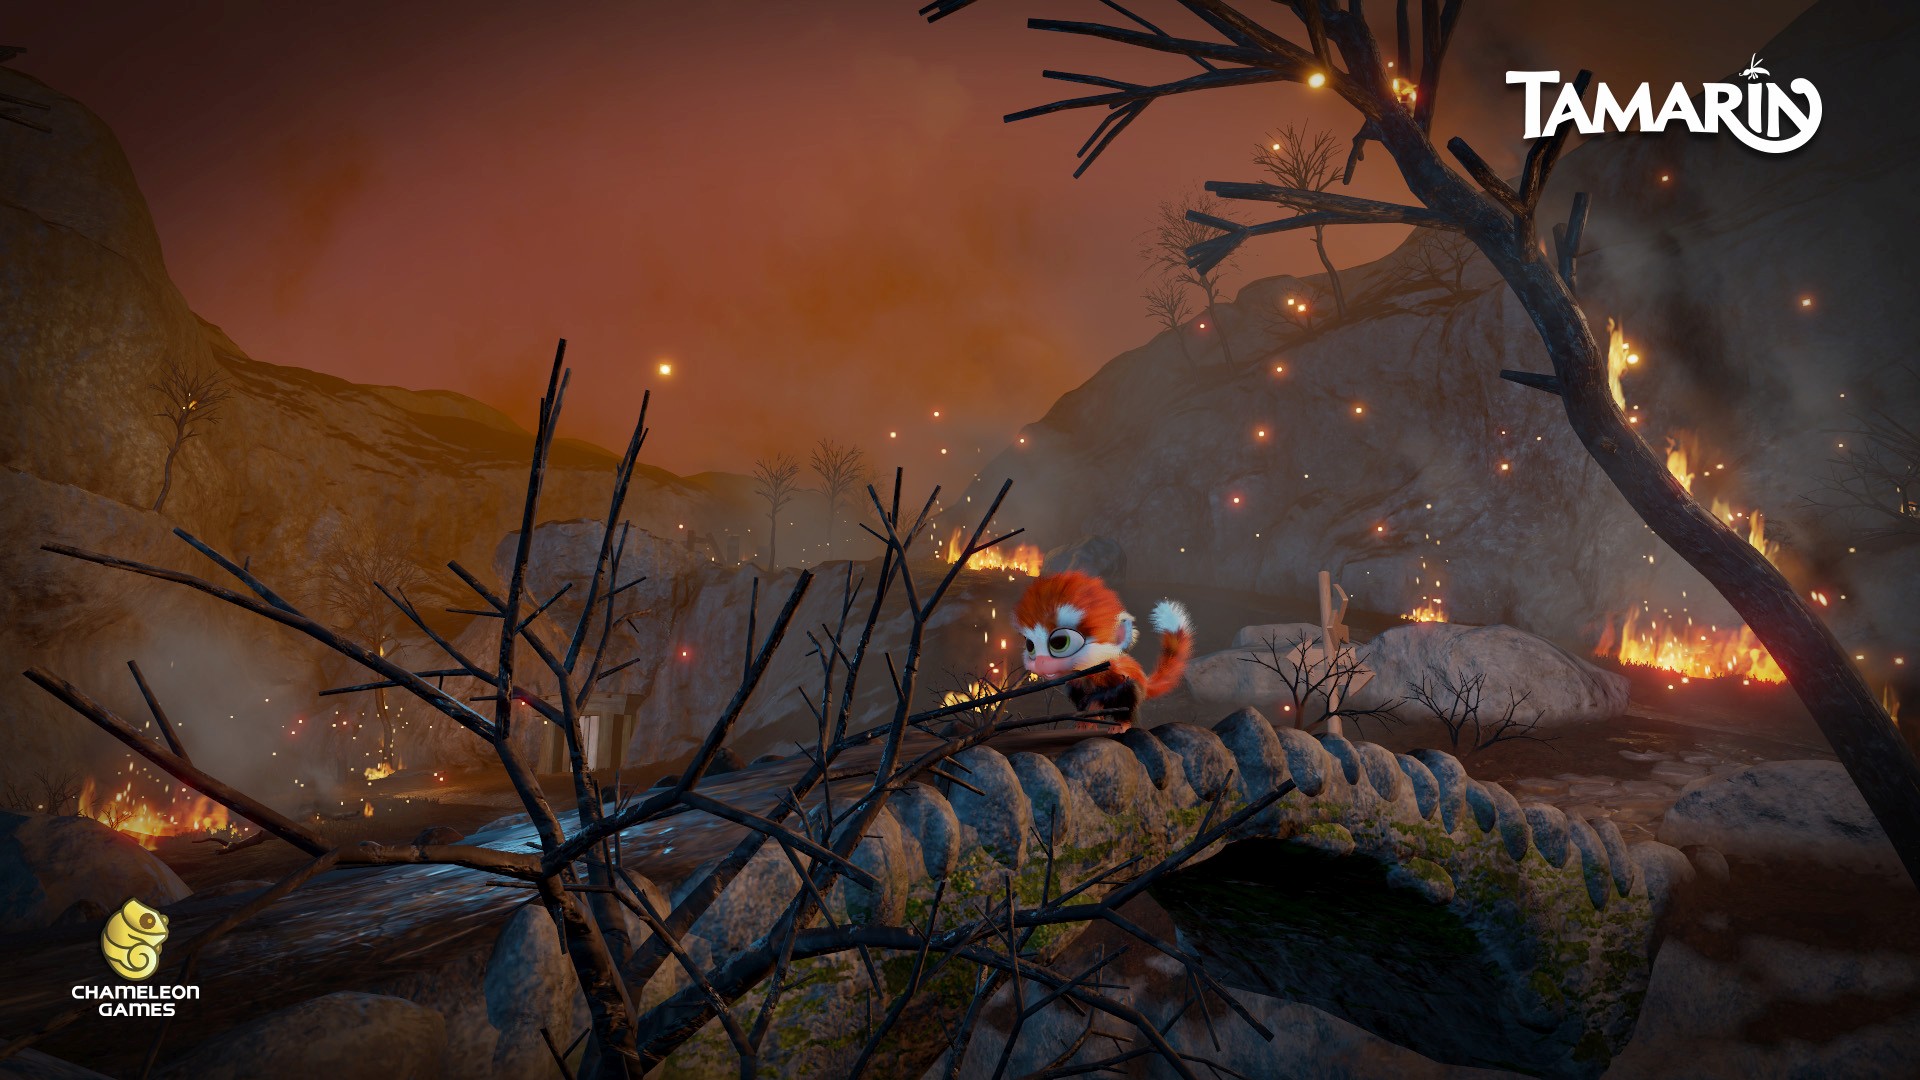
Introducing Tamarin, a new third-person action-adventure that mixes two styles of play. This cute monkey seems harmless, jumping around beautiful Nordic environments, swimming in the fjords, climbing mountains, catching birds. But things go wrong very quickly; The tamarins’ idyllic forest burnt down, his family taken away, and his house destroyed!
A World of Surprise
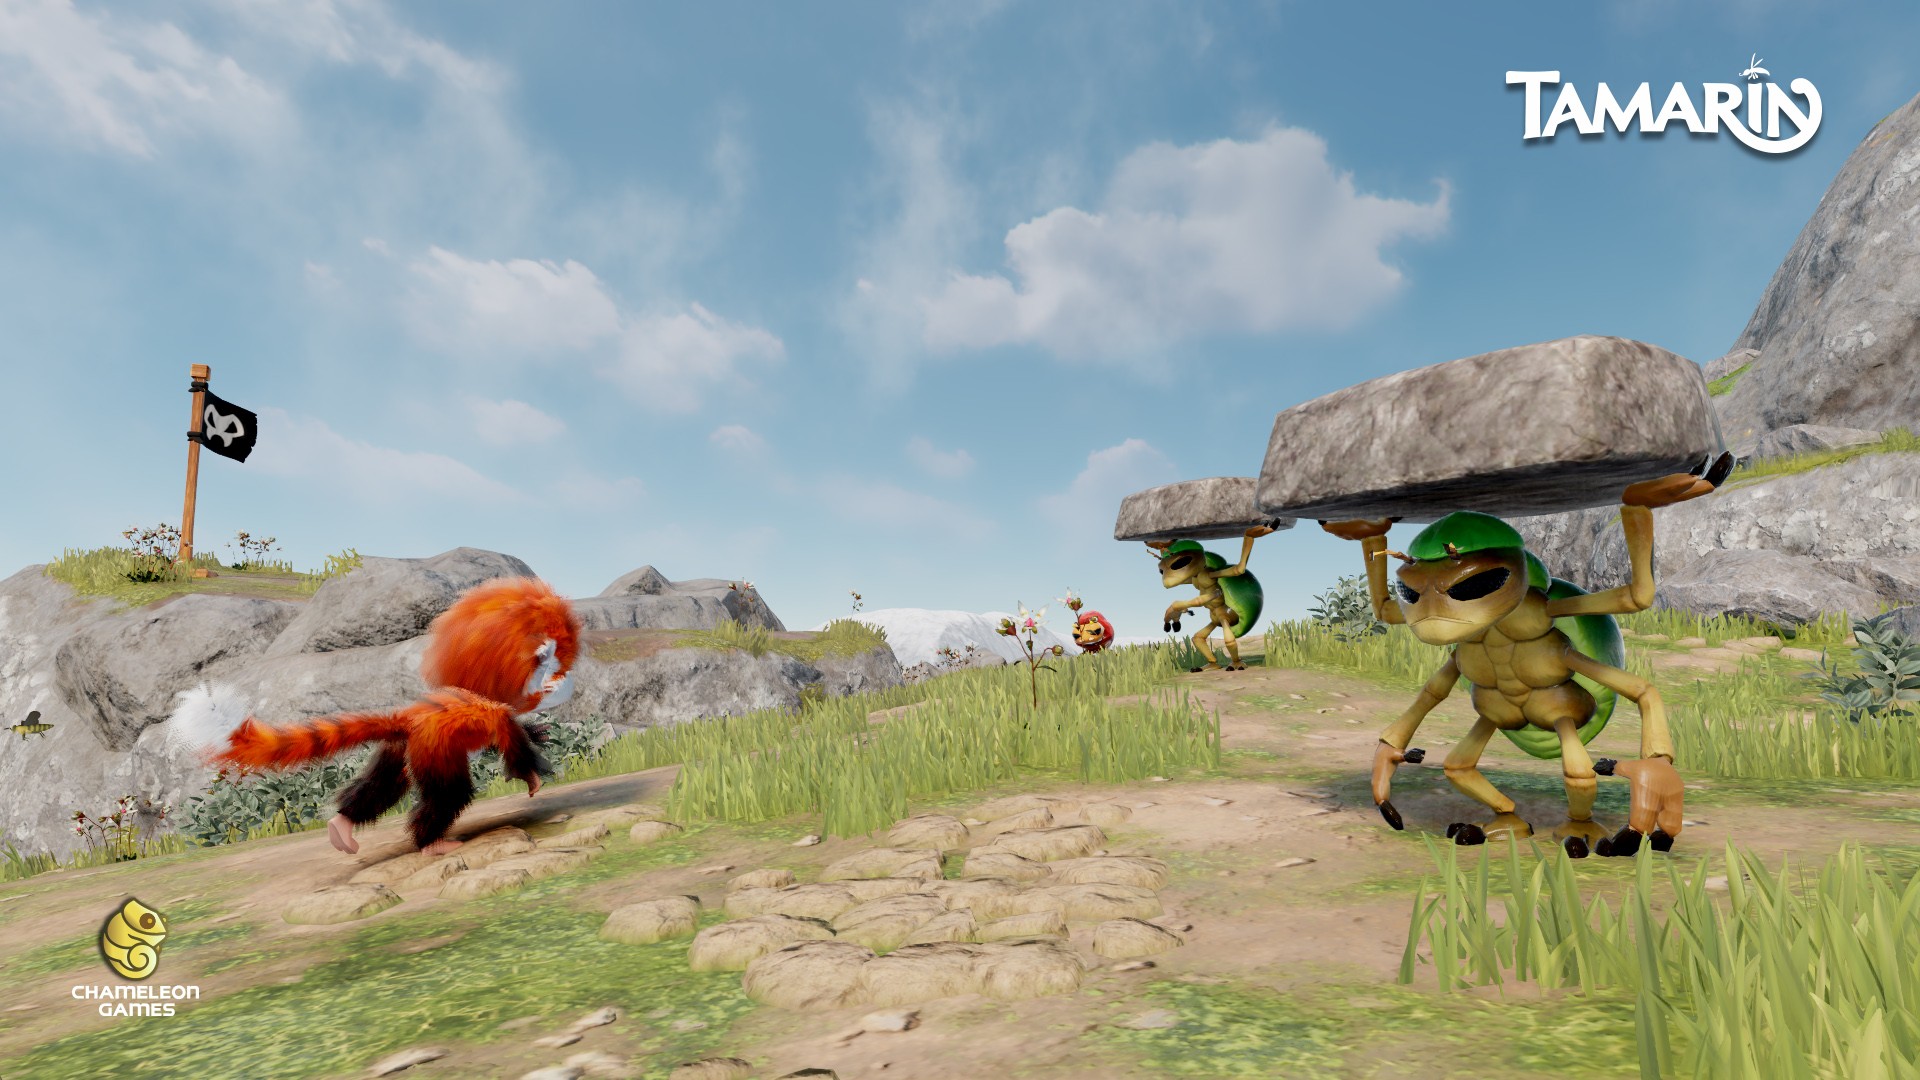
This is when you’ll discover the dual nature of Tamarin; beautiful 3D landscapes such as fjords, mountains, and forests, full of adventure and exploration – contrasted with claustrophobic underground tunnels and industrial factories guarded by an intelligent and powerful insect species. Never content, working in groups and with weapons and tools to do whatever they want. They expand and consume, driving other animals out from where they live. Tamarin embarks on an exciting journey and is thrown into an intense fight for survival to bring back his family!
Classic 3D Gameplay
Tamarin aims to rekindle the joy and excitement of classic 3D adventures that many people fondly remember, and which some of our team were part of creating in the past. Tamarin pays tribute to the style and variety of games developed by Rare in the previous decades, from action-filled shooters to 3D platformers with charming animals (you can try some of them in the Rare Replay collection).
Leap Into Nature
The natural world is amazing! So many colors and phenomena. This planet has so many astonishing living things that you didn’t even imagine existed. One such species that might have escaped your attention are these adorable small animals called tamarins. Their cool movements are fascinating to watch. Through many years of developing this new 3D explorative adventure, we’ve been aiming to bring this feeling of leaping quickly through the air straight to your fingertips. We’re glad to finally announce that Tamarin is coming soon to Xbox One!
You will help jump start our transition to Unreal for AAA console games. You should have deep experience or specialty in at least one area, and strong working knowledge of all client systems — graphics, ai, physics, animation, game rules, audio, ui, i/o, and tools. You should have strong opinions about what goes in cpp and what goes in blue print. You should be able to communicate the “right” way to do things in Unreal to the team.
Requirements:
Shipped a high quality Unreal project in the last 5 years
Voodoo knowledge of UE4
5+ years of games or simulation experience in C++ or C#
Experience on mid- to large teams
Plus – broad knowledge and passion of current generation shooting games
Links to the titles you worked on with a description of which features you owned
Whether you’re just starting out, looking for something new, or just seeing what’s out there, the Gamasutra Job Board is the place where game developers move ahead in their careers.
Gamasutra’s Job Board is the most diverse, most active, and most established board of its kind in the video game industry, serving companies of all sizes, from indie to triple-A.
We're in the midst of the Black Friday madness, and luxury gaming chair company Secretlab has a sale of its own on several of its best lines of chairs. The company's chairs are normally quite expensive, so the Black Friday deals are worth taking a look at if you're in the market for something comfortable for your gaming bum. The Black Friday sale is on through December 2.
Secretlab's 2018 and 2020 series are both on sale for $65 off and $35 off respectively for Black Friday. Every single chair from both lines, except for the Overwatch, D.Va, and T1 editions, are included. The chairs come in both PU artificial leather and fabric weave, but Secretlab also has a Black Friday deal on its real NAPA leather line--$100 off through Cyber Monday. NAPA leather has a softer feel to it than most leather, and because of that, it boasts a much bigger price tag than Secretlab's PU leather and fabric options.
You can see all of Secretlab's Black Friday and Cyber Monday 2019 deals in the list below. And be sure to check out the rest of our Black Friday deal roundups of all things gaming, including the PS4, Xbox One, Nintendo Switch, and PC.
Every single chair from the 2020 series--except the Overwatch, D.Va, and T1 editions--is discounted by $35 this Black Friday. Thankfully, there are still plenty of special editions included in the sale, such as the Dark Knight, Dota 2, and Game of Thrones editions.
The entire Secretlab 2018 series sees a $65 price drop for Black Friday. That includes the League Championship Series edition for all you LoL fans out there.
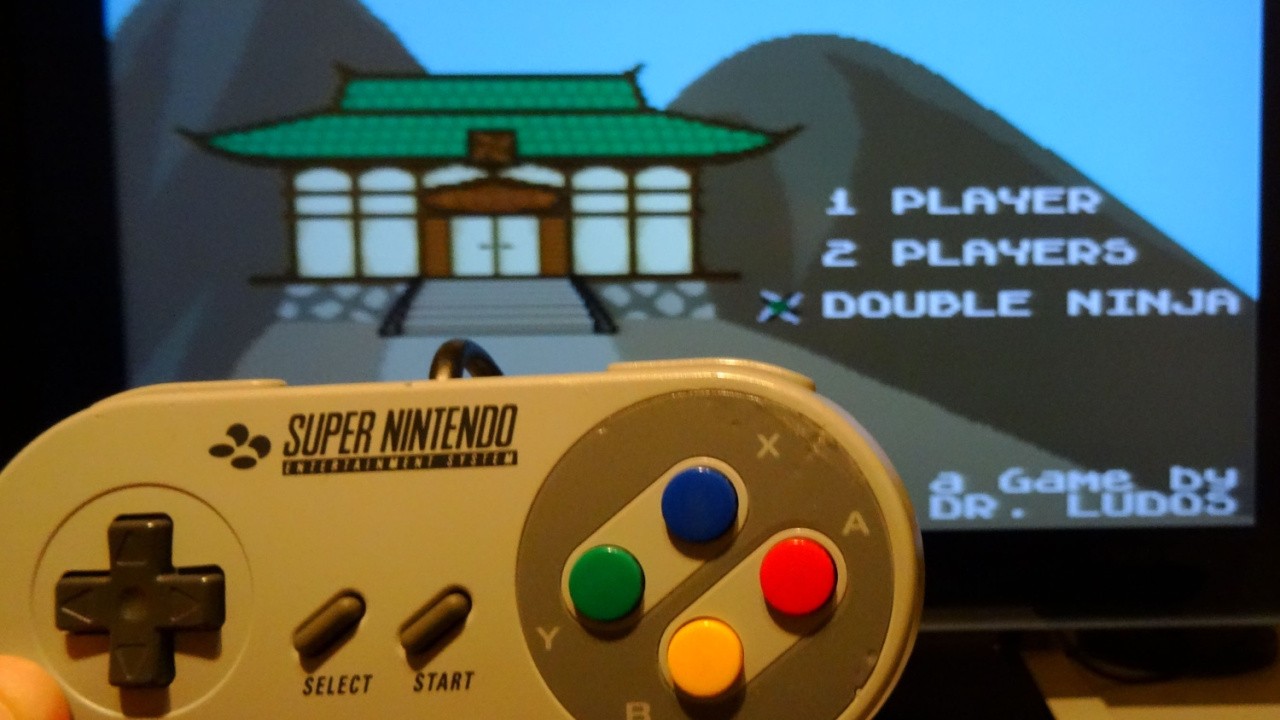
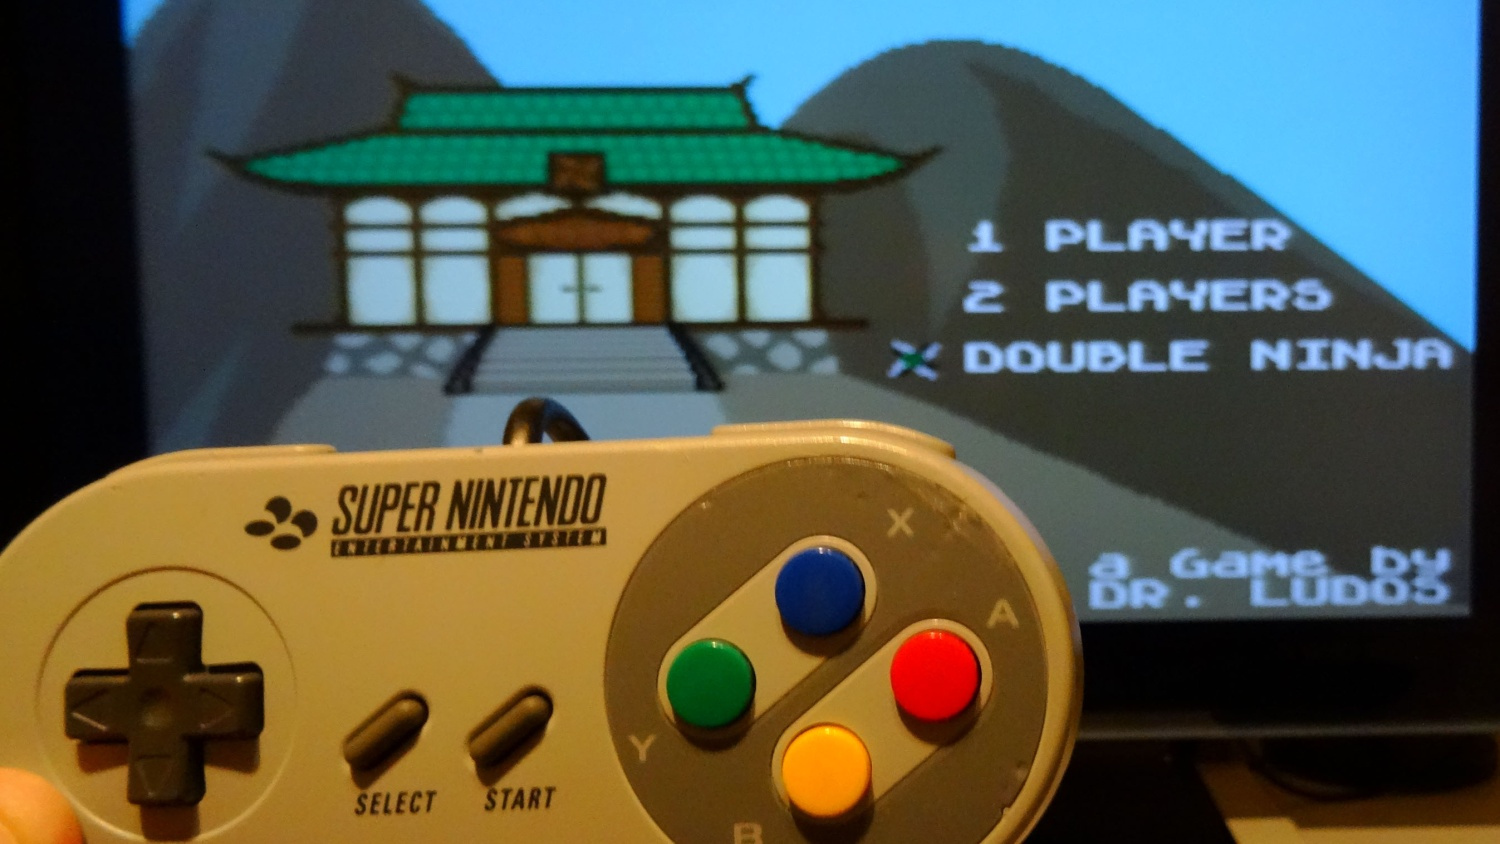
Yo-Yo Shuriken Is A Brand New Action Game That’s Just Released For The SNES
We’re positively swimming in new Nintendo Switch releases every week at this point – our constantly overflowing inbox serves as a regular, major indicator of this (send help) – but we don’t expect to see new games arrive for the nearly-30-years-old SNES.
That’s exactly what we’ve been treated to today, however, with the launch of Yo-Yo Shuriken. The game comes from the same developer who recently brought us a new Game Boy title, DMG Deals Damage, and is an action game designed for one to two players. An action game with ninjas and robots, no less.
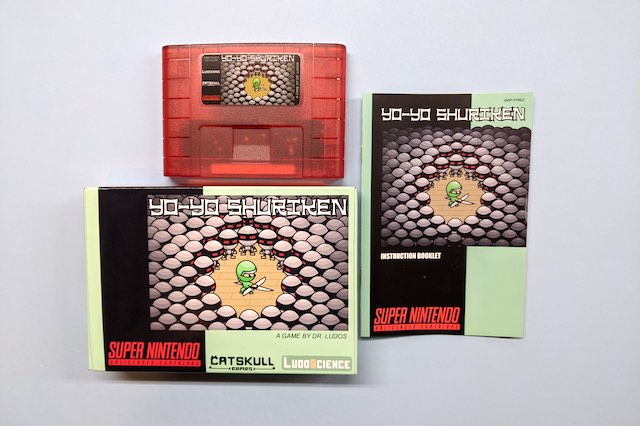
Its core gameplay revolves around shooting a single shuriken that you can magically recall at any time, which incidentally allows you to hit enemies both from the front or from behind. It’s available on an actual, working SNES cartridge with a cardboard box and manual, or you can buy a copy for emulation online.
If you fancy picking up the physical SNES cartridge for this, let us treat you to some money off with the following code: ‘BF2019’. This Black Friday discount will get you 10% off until December 2nd.
What do you think? Intrigued by a 2019 SNES game? Let us know your thoughts in the comments.
Black Friday Xbox One Deals: Console Bundles, Controllers, And More
It's unquestionable that the Xbox One has the most Black Friday deals out of all the consoles. Black Friday sales encompass items like Xbox One X and S bundles, controllers, and all sorts of accessories. If you've ever had your eye on something for the Xbox One, then Black Friday 2019 is the best opportunity to get it at a discount.
Tons of Xbox One games are also on sale, including Grand Theft Auto V, Castlevania Anniversary Collection, and Need for Speed Heat, as well as the full Assassin's Creed catalog. Make sure you browse Microsoft's official site, the Windows 10 store on a PC, or your nearest Xbox to take a gander at all the savings.
Black Friday Xbox One deals
Xbox One devices are getting discounts of up to $150 off. All Xbox One X console bundles are going for $350, while all Xbox One S bundles are $100 off, with several of them now costing $200. This also means you can get the Xbox One S All-Digital Edition for $150--that system is bundled with digital codes for Minecraft, Sea of Thieves, and bonus Fortnite content. Additionally, Xbox One controllers see lowered prices with up to $20 off, while Design Lab controllers get a $10 discount.
Microsoft is also offering new subscribers their first three months of Xbox Game Pass Ultimate for only $1. Ultimate bundles Game Pass for console and PC, in addition to Xbox Live Gold. New subscribers will also get six months of Spotify, as long as they're not already subscribed to the music-streaming service. On top fo that, new and existing subscribers get a free month of EA Access and three free months of Discord Nitro--like Spotify, you must also be new subscribers to both services.
Microsoft also recently announced that the Xbox All Access program is back for another holiday season. Anyone who doesn't want to pay the full price for a console upfront can instead opt for a monthly payment plan. The Xbox One S All-Digital Edition goes for $20/month, the Xbox One S for $23/month, and the powerful Xbox One X for $31/month. Each option runs for 24 months and comes with Xbox Game Pass Ultimate for the full duration of the plan.
The best part of this round of All Access is that you'll have the option to upgrade to Project Scarlett, the new Xbox console that is scheduled to arrive next holiday. Xbox One X All Access members will be eligible to upgrade after 12 months, but Xbox One S members will have to wait 18 months. All-Digital Edition members will also have to pay a $20 upgrade fee.
All upgrades must go through the retailer you purchased your original 24-month plan from, and you'll have to re-up to a new 24-month plan (with new terms and pricing). In the US, Amazon is currently the only retailer offering All Access--in the UK, customers can subscribe starting November 5 at Smyths and GAME.
You can check out the full sale at Microsoft and see some of the best discounts below. These prices will last until December 2, or while supplies last.
Update: Amazon is now starting to price-match some of these early Xbox One digital deals, too, so if you prefer to shop there, make sure to head over to Amazon and compare prices.
The Xbox One X is the most powerful console on the market that allows for 4K resolutions in some games. It also has quite a few bundles available at the moment that include games like Star Wars: Jedi Fallen Order and NBA 2K20. All of them are on sale for $350.
The Xbox One S may not have the power for 4K gaming, but it still has a huge library of fantastic games. There's also a big selection of Xbox One S bundles that pack in games like Star Wars: Jedi Fallen Order and Gears 5. Xbox One S bundles will be $100 off, dropping regular Xbox One S bundles to $200 and the Xbox One X All-Digital Edition to $150.
If you're looking for an extra controller for a friend or just want a new colour, then the Microsoft Store is discounting its pads by up to $20. This includes Special Editions like the Night Ops Camo, Sport Blue, and Gears 5 Kait Diaz controllers.
The Xbox One Design Lab lets you customize a controller by changing its color and adding rubber grips for an additional fee.
Xbox One Design Lab Controllers | $10 off
For a more personal touch, Microsoft offers its line of Design Lab controllers, which let you customize the color of pretty much every part of the pad. They cost a little more, but Microsoft is taking $10 off the price for Black Friday.
Turtle Beach Elite Pro 2 Headset + SuperAmp Pro Performance - Up to $125 off.
Turtle Beach gaming headsets | up to $125 off
Microsoft has a selection of Turtle Beach gaming headsets discounted up to $125. If you're looking for one that works with your Xbox One, Turtle Beach makes some good quality headsets.
If you play a lot of games and want to keep them ready to go on your Xbox One, then an external hard drive is absolutely essential. Microsoft has a couple of drives going on sale right now for slightly cheaper than normal.
Today is all about Black Friday, naturally, so make sure you check out our dedicated post for the latest app deals we’ve spotted. Back in the day when Apple still offered their affiliate scheme this used to be a great day for us, but now it’s less so. Still – public service and all that, and the deals ARE pretty good, so we want to make sure you’re all aware of them.
Apologies it’s been a bit slower on the content front this week – we finally got out Football Manager 2020 review done. It’s unlikely we’ll review the iPad-specific Touch version, in case any of you were wondering. Also, despite having two Apple Arcade Roulette drops in as many weeks, there’s unlikely going to be one next week as I’ve got everyone working on other things. This Arcade thing is still proving a difficult one to tackle in terms of worthwhile coverage, but I hope everyone who is reading our columns is enjoying them.
Meanwhile, thousands of miles away…
Out Now
We’ve struggled to get code in advance of Weekender columns recently, so the below shout-outs aren’t based on any actual play-time, but they’ve appealed to us for specific reasons which we’ll go into.
GRID Autosport
We’re not massively into our racing games here, but we are fans of the work Feral Interactive does in terms of porting games to mobile. Company of Heroes next month is what we’re really looking forward to, but if you’re a fan of GRID Autosport you might be pleased to know that it’s finally made its way over to Android. Check here for a list of supported devices and requirements:
Wanna Survive
Any strategy game with a premium price-tag gets a look in here, and Wanna Survive is exactly that. It’s a stream-lined turn-based tactics game which seems to be more puzzle based than anything else. Movement and actions are simplified, and it’s about making using each character’s turn to maximum effect (i.e, kill as many zombies as possible). It looks interesting enough that I might add it to the review list, although be warned there are IAPs for ‘Coins’, and as yet we don’t know what this means. Available on iOS and Android.
Little White Rocket
We got an email about this one earlier in the week. It’s a very mellow, one-touch game where you need to guide a rocket through levels while also reading some inspired poetry. Might be a nice change of pace from all of the action-heavy games we’re used to, although this one’s only on iOS.
There’s also been a new DLC released for Talisman: Origins called The Eternal Conflict that costs £1.99
Updates
Lots of minor updates to various games this week, and of course there’s the big Stardew Valley 1.4 update, but it’s yet to officially hit mobile so we’ll probably cover it in more detail when it does.
Meanwhile DOTA Underlords has received a new update this week that adds a new alliance, and a new quicker gamemode. ‘Knockout’ mode gives players a choice of five pieces to start with, and you’re knocked out when you lose four times. There are other rules like only needing two copies to combine for a four-star, and players level up automatically every other round. Overall matches last about 10 minutes, and Knockout is meant to offer a quicker way to play the game.
Toolbox allows you to sort and manage your development environments in containers without requiring root privileges or manually attaching volumes. It creates a container where you can install your own CLI tools, without installing them on the base system itself. You can also utilize it when you do not have root access or cannot install programs directly. This article gives you an introduction to toolbox and what it does.
Installing Toolbox
Silverblue includes Toolbox by default. For the Workstation and Server editions, you can grab it from the default repositories using dnf install toolbox.
Creating Toolboxes
Open your terminal and run toolbox enter. The utility will automatically request permission to download the latest image, create your first container, and place your shell inside this container.
$ toolbox enter

No toolbox containers found. Create now? [y/N] y

Image required to create toolbox container.

Download registry.fedoraproject.org/f30/fedora-toolbox:30 (500MB)? [y/N]: y
Currently there is no difference between the toolbox and your base system. Your filesystems and packages appear unchanged. Here is an example using a repository that contains documentation source for a resume under a ~/src/resume folder. The resume is built using the pandoc tool.
$ pwd /home/rwaltr $ cd src/resume/ $ head -n 5 Makefile all: pdf html rtf text docx pdf: init pandoc -s -o BUILDS/resume.pdf markdown/* $ make pdf

bash: make: command not found

$ pandoc -v

bash: pandoc: command not found
This toolbox does not have the programs required to build the resume. You can remedy this by installing the tools with dnf. You will not be prompted for the root password, because you are running in a container.
$ cd BUILDS/

$ pandoc --version || ls

pandoc 2.2.1

Compiled with pandoc-types 1.17.5.4, texmath 0.11.1.2, skylighting 0.7.5

...

for a particular purpose.

resume.docx resume.html resume.pdf resume.rtf resume.txt

$ exit logout

$ pandoc --version || ls

bash: pandoc: command not found...

resume.docx resume.html resume.pdf resume.rtf resume.txt
You retain the files created by your toolbox in your home directory. None of the programs installed in your toolbox will be available outside of it.
Tips and tricks
This introduction to toolbox only scratches the surface. Here are some additional tips, but you can also check out the official documentation.
Toolbox –help will show you the man page for Toolbox
You can have multiple toolboxes at once. Use toolbox create -c Toolboxname and toolbox enter -c Toolboxname
Toolbox uses Podman to do the heavy lifting. Use toolbox list to find the IDs of the containers Toolbox creates. Podman can use these IDs to perform actions such as rm and stop. (You can also read more about Podman in this Magazine article.)
Power Stone-Style Brawler LastFight Is Launching This Week On The eShop
Update: The game’s eShop release has been delayed until the 30th November, but the physical release is out there.
Original Story [Tue 26th Nov, 2019 14:45 GMT]: Remember LastFight? We’ll forgive you if you don’t, but we covered it a while back when it was just a ‘maybe’ for a Nintendo release (it launched elsewhere in 2016).
Fast forward to the present day, and the game has – according to the publisher – just surprise-launched on the console; it wasn’t even mentioned as part of the North American or Europe download updates last week.
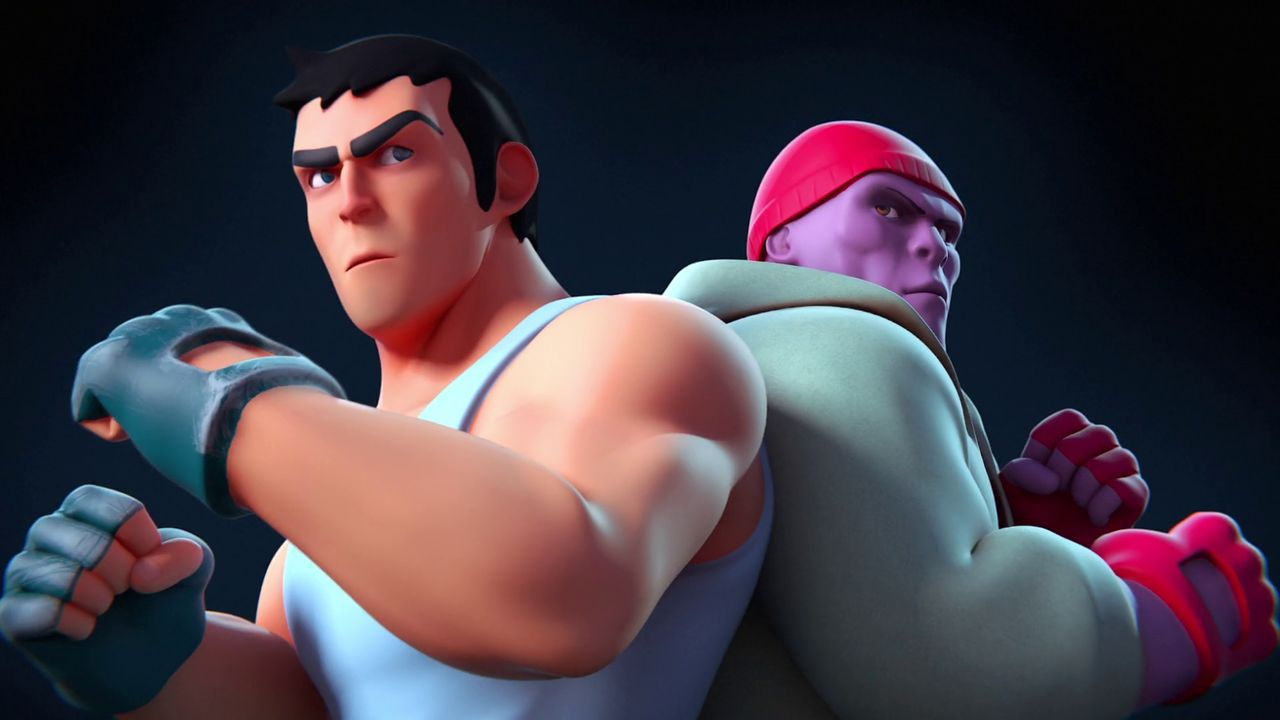
Based on the French comic series Lastman, Last Fight is a Power Stone-style arena brawler where the aim is to eliminate your rivals using either your fists or nearby objects.
The game apparently hit European retail stores on November 20th, and was released on the eShop two days later. However, we’ve checked both the NA and EU eShops and it’s nowhere to be seen – and, judging by the replies to the initial launch tweet, it would appear that other people are having the same problems. We’ve reached out to the publisher to find out what’s happening and will update this story if we hear back.
Have you managed to pick up a physical copy of the game? Is LastFight available in your region’s eShop? Let us know with a comment below.
Posted by: xSicKxBot - 11-30-2019, 04:57 AM - Forum: Lounge
- No Replies
Black Friday Costco Deals: 4K TVs, Xbox One Bundles, And More At Costco
Costco has some big Black Friday and Cyber Monday deals lined up this year. Costco's Black Friday ad includes deals that last into early December, so if you're looking to nab some big savings even after your initial holiday shopping run on Friday, you can get some deals on gaming laptops, 4K TVs, and more.
Members still save the most from Costco's deals, as they get the steepest price drops during Black Friday. Non-members can shop on Costco.com, but note that there's a 5% surcharge for non-members. You can, however, sign up for a Costco membership (which is $60 a year) to try it out and cancel at any time for a full refund. Member or not, these are some great deals, so you can always check them out online, see if there are any discounts that catch your eye, and decide then. There are tons of other retailers that don't require memberships boasting great savings this holiday season, so fear not!
Keep scrolling to see some of the best deals across gaming and tech that will be available at Costco ahead of and during Black Friday this year. You can also check out the full 31-page Black Friday ad below at Costco Insider. Please note that for some of the Xbox bundles, only the discount has been announced, not the actual price you'll pay, and members can sign in to see some prices. Don't miss these doorbuster deals!
You can find the best online and in-store deals from your favorite retailers in our Black Friday deals roundups below. This year, you can grab a ton of awesome games on sale and even find great savings on consoles like the PS4 and Switch Lite. Black Friday discounts are in effect as early as right now! Find out what's on sale below.