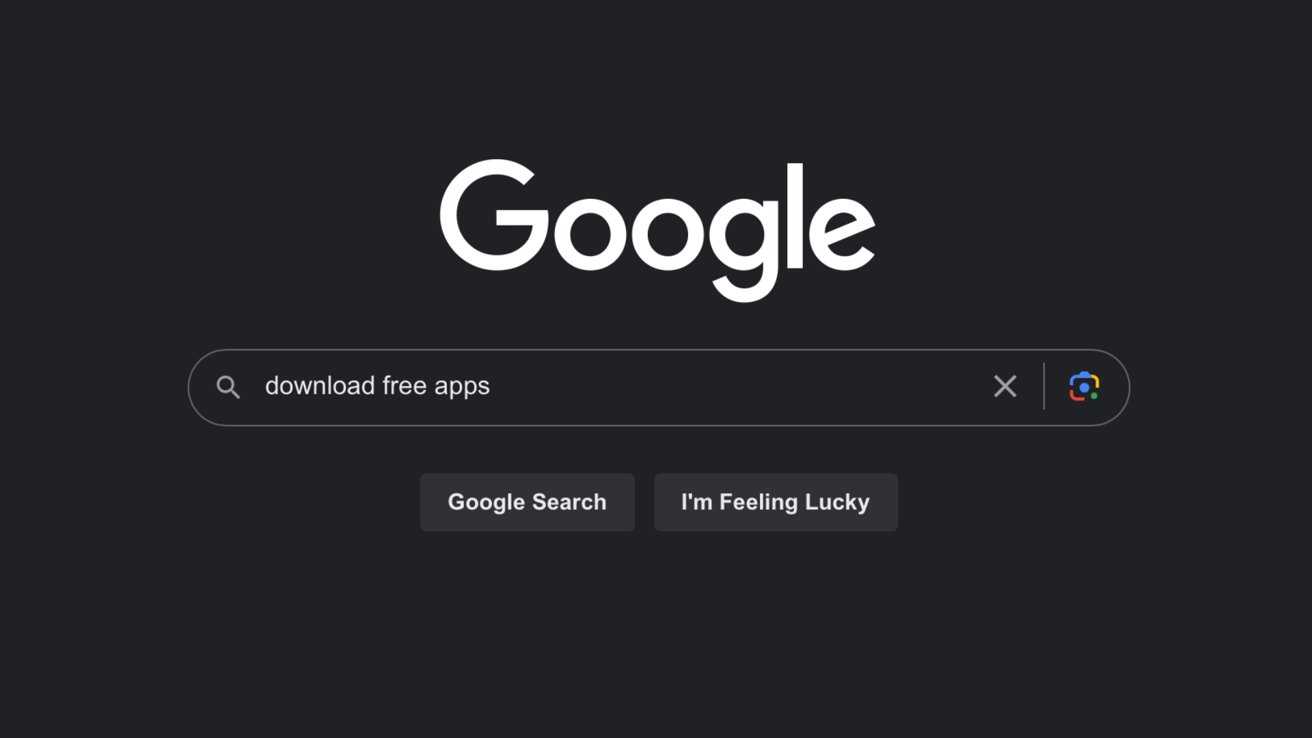
Google search can turn up malicious ads

A macOS malware discovered in April has found a new vector of attack, with people searching for software on Google finding malware presented as legitimate ads.
The malware payload known as Atomic macOS Stealer (AMOS) first appeared in April being sold on Telegram for $1,000 per month. Once installed, it collects the user’s system password via aggressive pop-ups and then siphons off sensitive data like passwords, crypto, and files.
According to a report from researchers at Malwarebytes, AMOS is being delivered via a Google ad scheme to unsuspecting searchers. The ads are legitimate and paid for but disguise themselves as the website or software the user is searching for.
This attack relies on users’ trust in Google when clicking on ad search results. It appears at the top of the page and has Google’s ad stamp of approval, so users click through without inspecting for suspicious URLs or domain owners.
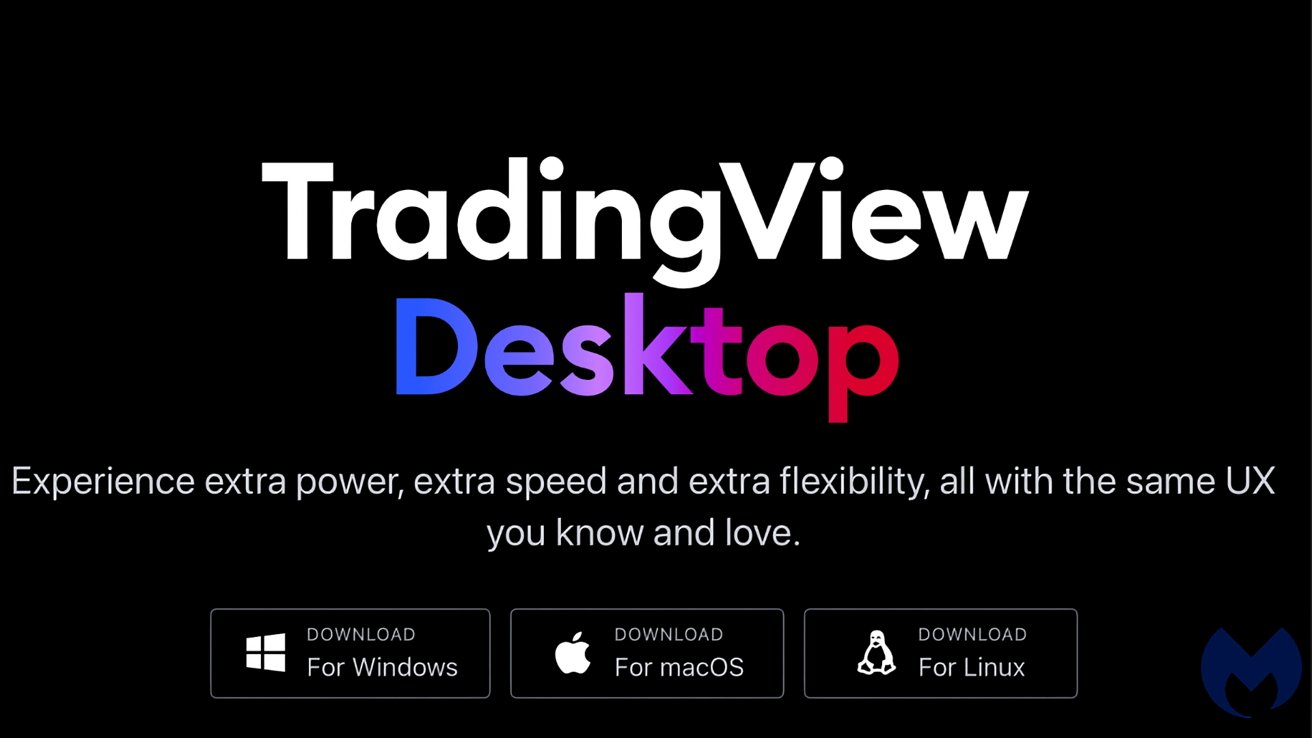
Once the user clicks the link, they are presented with a normal-looking page. The attackers create a near-perfect clone of the website users expect, so they click through and download the software.
AMOS doesn’t need to go through the normal installation process through Gatekeeper since it is an ad-hoc signed app. Users are directed to right-click and open the software from the mounted .dmg file.
After the file is opened, a fake prompt for the system password keeps popping up until the user relents and enters their password. It then harvests what data it can from the user’s Keychain, file system, and crypto wallets and sends it to the malware operator.
A disguised malware delivery page. Source: Malwarebytes
How to protect yourself from AMOS
Google isn’t a foolproof tool. It delivers information based on the user’s account data and keywords, and malicious ads aren’t always going to get caught on review.
The number one security rule of the internet is paying attention to the URL. In the example given by Malwarebytes, the URL is trabingviews.com.
Users should exercise caution whenever they choose to download software from the web. The Mac App Store is the safest route for Mac users, but that won’t always be an option.
Pay attention to Google’s results, the URL you’re directed to, and the software installer itself. Be wary of how the software asks to be installed. Most software shouldn’t ask the user to bypass Gatekeeper.
A potential red-flag is software that demands the user open the app in place, on the installer image. As a general rule, it should ask the user to drag the installed app to the Finder.
Also, be wary of random requests for the system password, especially right after installing new software. Inspect the dialog for design irregularities or typos.