
Previously in our guide to Zelda: Link’s Awakening, Link earned himself some fresh new kicks (the Pegasus Boots) and dashed through the Key Cavern. Part five will see him seeking out Yarna Desert, serenading a sleeping Walrus, and entering the Angler’s Tunnel to deliver cold steel straight to a fish’s illicium (oof!). Additionally covered: getting the ocarina from the dream shrine, and three conveniently placed steps in the trading quest.
Walkthrough: Animal Village, Yarna Desert, Angler Key and Mountain Waterfall
Learning about your next destination

As you leave the Key Cavern you’ll immediately be stopped by the Owl, who as usual, establishes your goal in the next chunk of the adventure:
Hoot! How many instruments have you gotten so far?
When you play the instruments in front of the egg, the Wind Fish will wake and you will leave this island.
Now, you must hasten to the Yarna Desert!
The dark, monstrous inhabitants of the sand will show you the way! Hoot hoot!
With Roc’s Feather, the Power Bracelet and Pegasus Boots in your possession, Koholint Island really opens up – you will be able to reach most sections of the map and may want to wander off in search of heart pieces, secret seashells and other paths. The route towards Yarna Desert is quite specific and we’ll get to it in due course – there are two detours we recommend taking first.
Detour: Dream Shrine and the Ocarina
Before we head off in search of the Yarna Desert, it’s worth returning to Mabe Village to complete the Dream Shrine now that you have the Pegasus Boots. This detour is non-essential, however getting it out of the way now will ensure that you can pick up a very useful song for the Ocarina immediately after the upcoming dungeon.
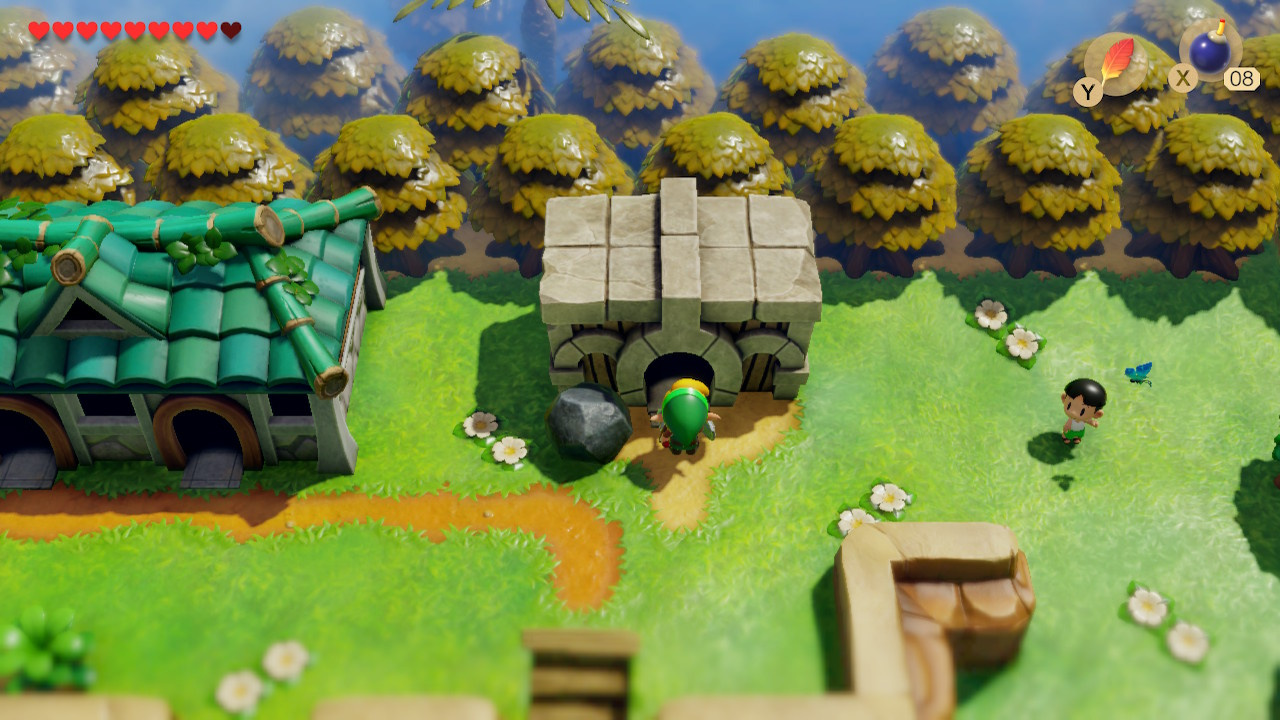
The Dream Shrine is in the northeast of Mabe Village, behind some rocks. Enter and get into the bed.

You will enter a single room dungeon filled with Arm-Mimics mirroring your movement while standing on crumbling tiles. Charge up a dash attack and run along the four sides of the shrine to take the mimics out.
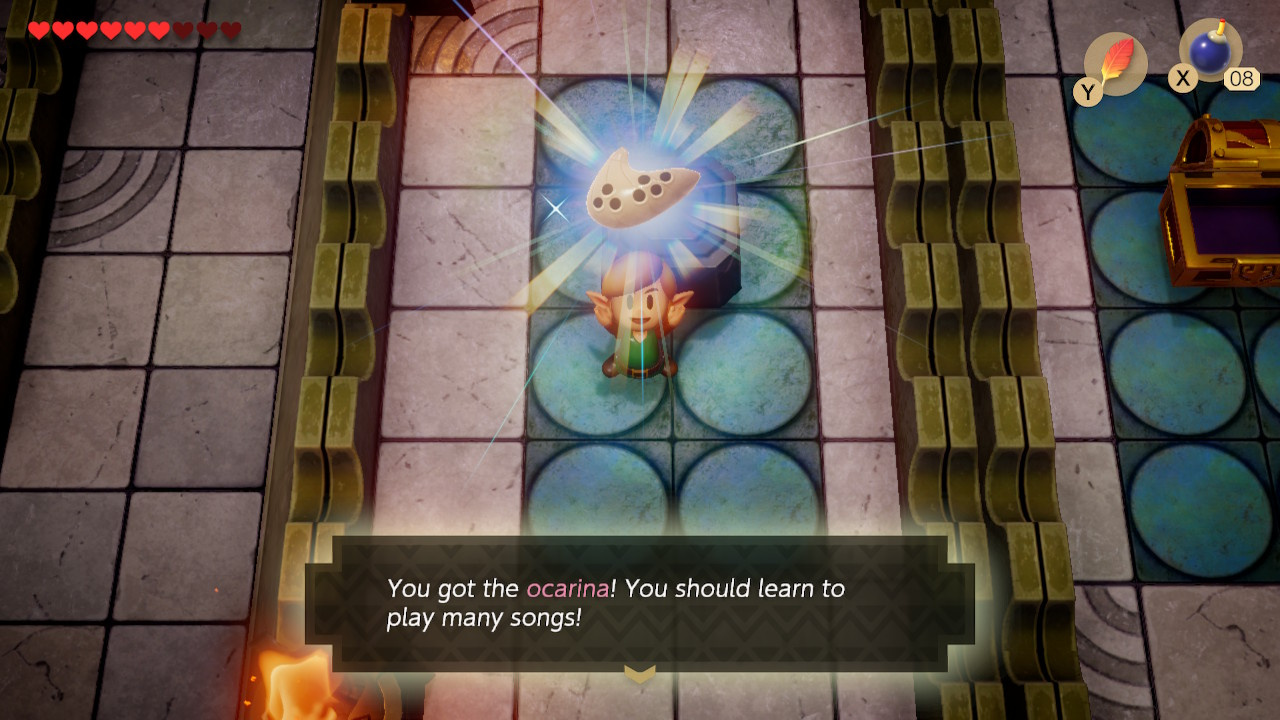
Check both pedestals in the centre area for 100 Rupees (righthand chest) and the Ocarina (lefthand chest).
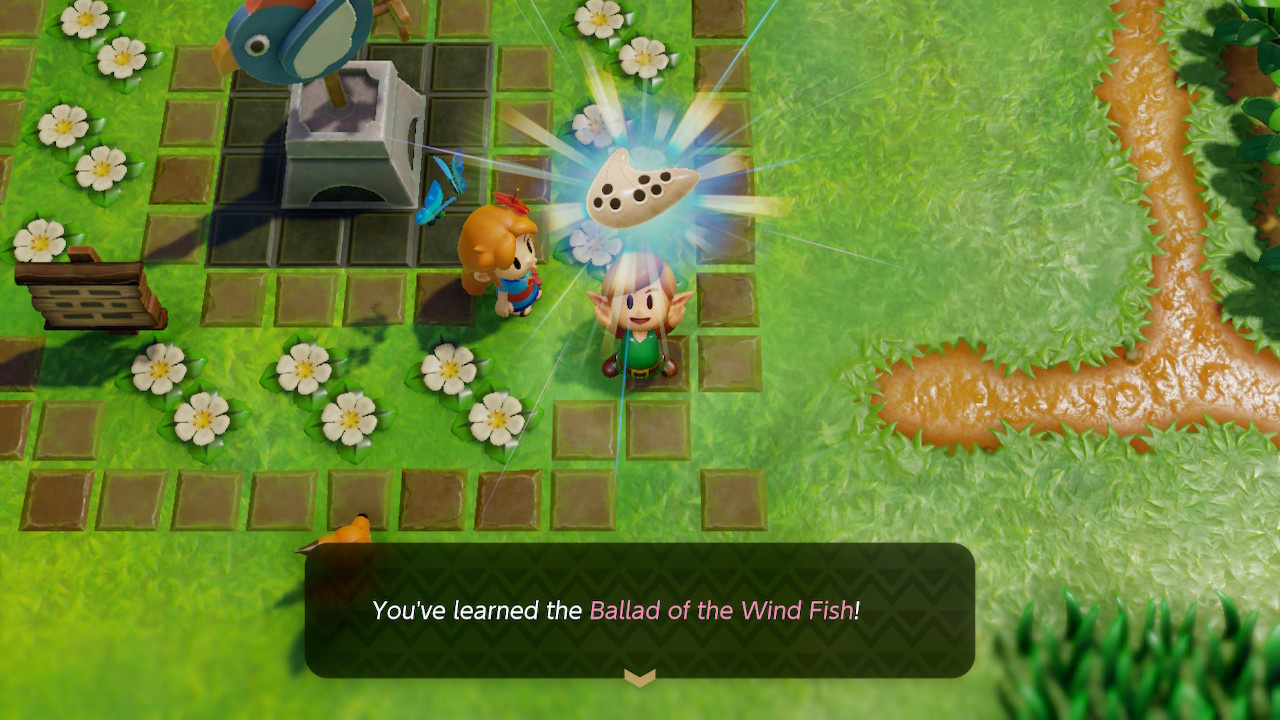
The Ocarina can be used to learn a small number of songs from certain characters around Koholint. After exiting the Dream Shrine you should head to the Mabe Village wind vane to find Marin – she will teach you the Ballad of the Wind Fish in a sweet scene (though the song doesn’t have any particular function).
The Link’s Awakening Trading Sequence: Part Three – Step Six: Stick for Honeycomb
In the previous guide, the trading sequence intersected with the main quest and we received a Stick. The next two steps in the sequence coincide with our travels towards the next dungeon, so it is worth keeping up with the quest.
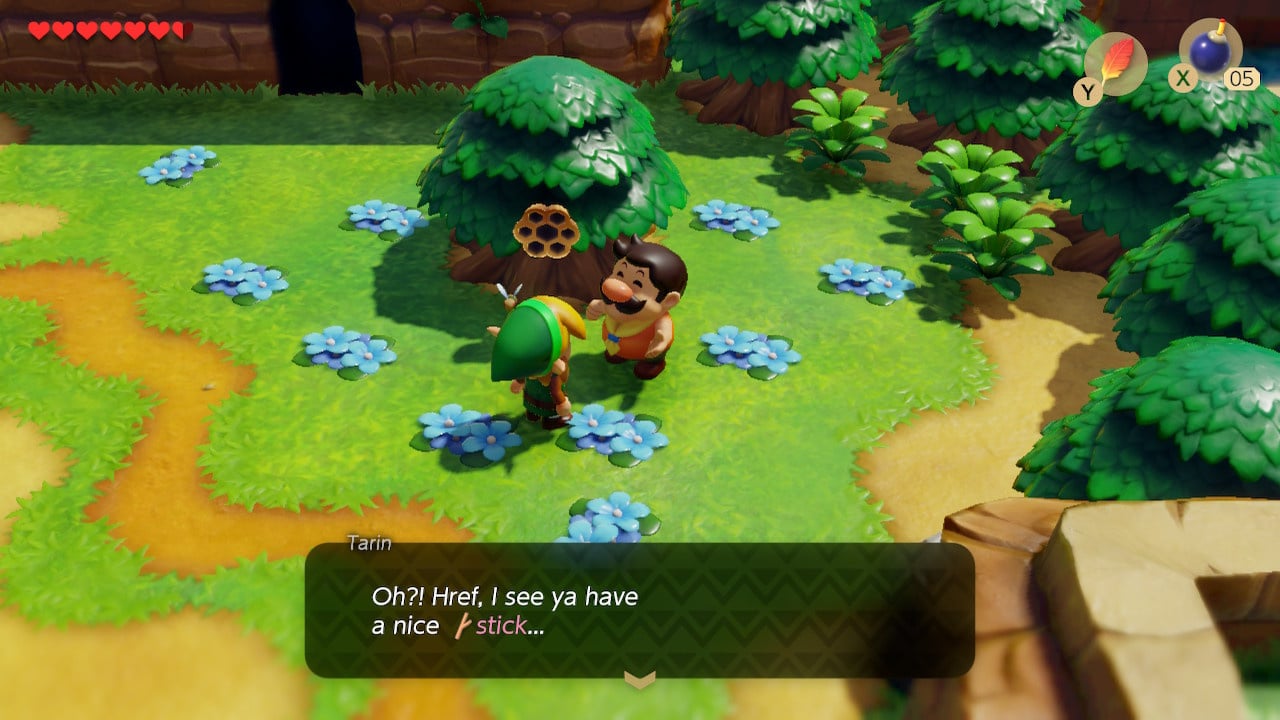
Head to Ukuku Prairie and look for a tree north of the lake and smallest hill – Tarin is here looking at a bee’s nest
Oh?! Link, I see ya have a nice Stick…
Can I borrow it for a second?
Hand it over and things go exactly the way you expect: Tarin gets chased by a swarm of bees.
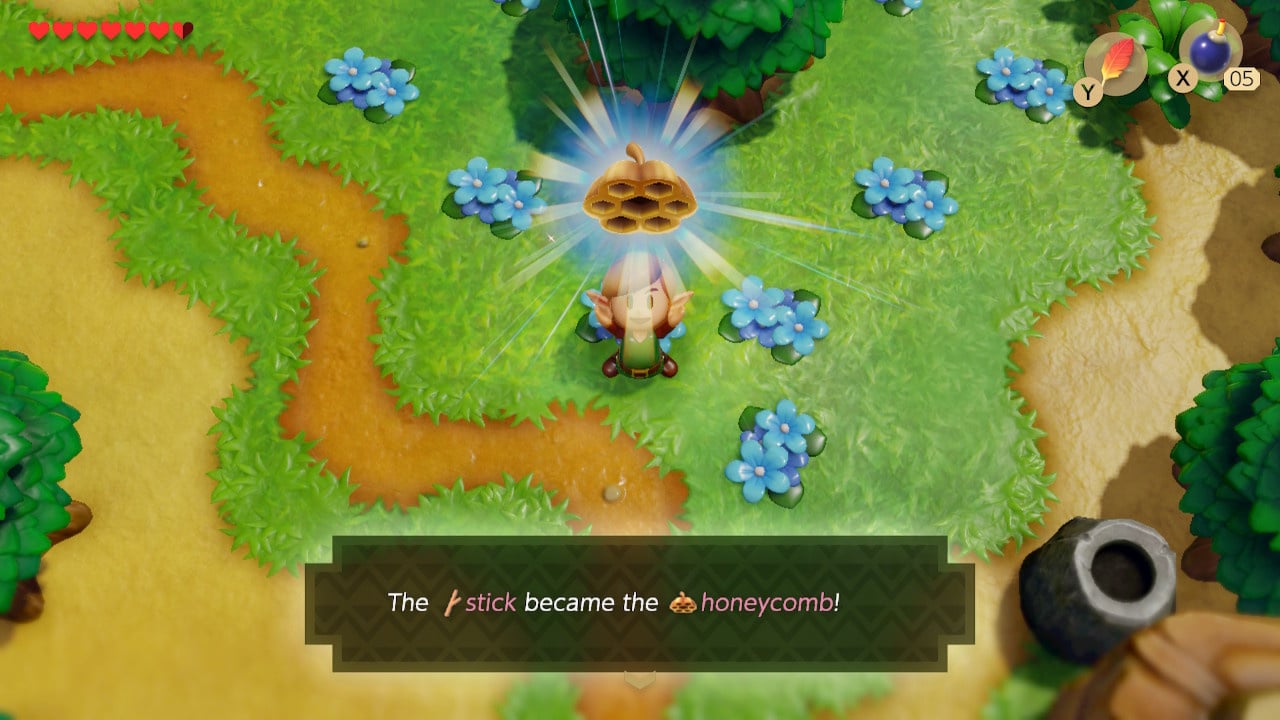
Tarin’s loss is your gain – Link will lose the Stick and receive the Honeycomb. We’ll find a recipient for that item just a little later in this guide.
Heading to Animal Village (on the Way to Yarna Desert)

The way to Yarna Desert can be a little tricky to find. Your access point – a set of stairs under a river – is actually discretely hidden under a bush. Head to the small wooded area below Kanalet Castle and the Shell Mansion – walk to the river to the east. Across the water you can see a set of stairs with no obvious counterpart. Swipe your sword at the bush on your shore to expose the stairs. Head through the tunnel and emerge on the other side. Head south.
To the east is Animal Village. The characters here speak fondly of Marin and a few will note that the way to Yarna Desert is currently blocked. Take a look around the south of the village and you will find a hugely useful warp point, as well as a house standing slightly apart from the others in the south-eastern corner.
The Link’s Awakening Trading Sequence: Part Three – Step Seven: Honeycomb for Pineapple
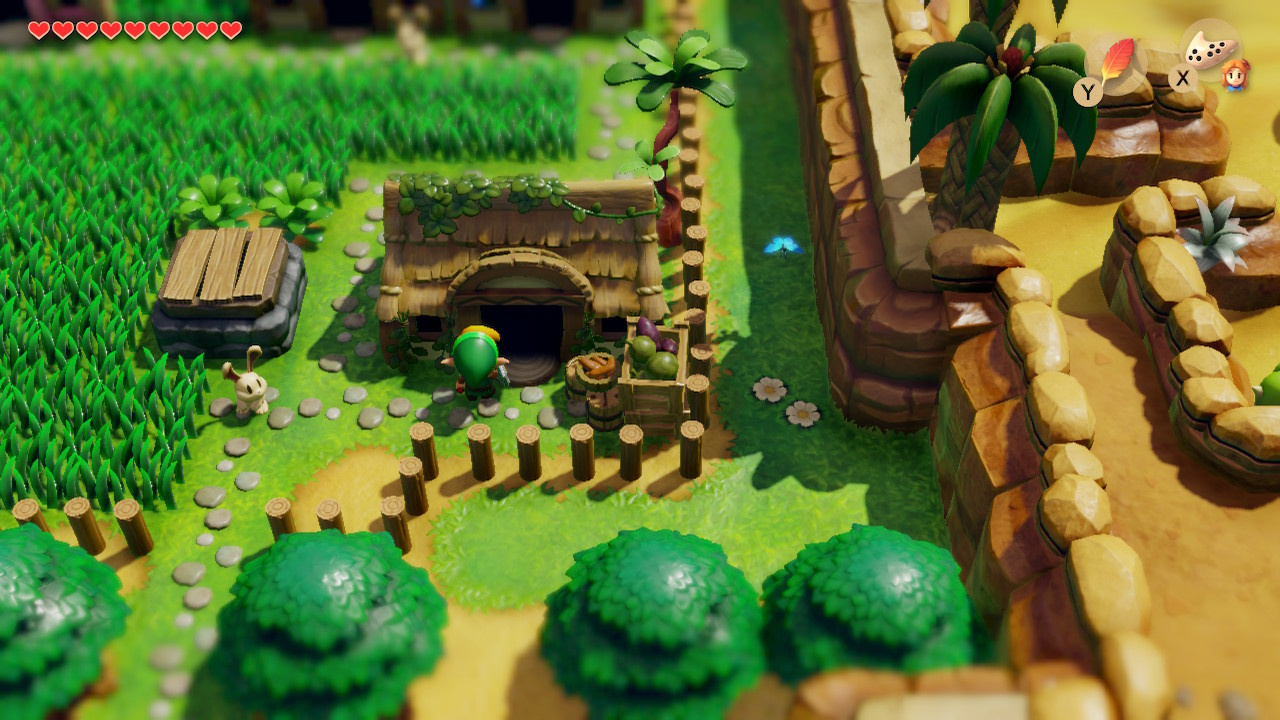
Head into the house in the south-eastern corner to meet Chef Bear, who sniffs out your honeycomb:
Hi ho! Hey, you! Is that possibly a honeycomb you have?
I just ran out! Will you swap it for a Pineapple?

Hand the honeycomb over for the Pineapple. Again, we’ll find someone who’ll take that item off your hands later in this guide.
Finding Marin and waking the Walrus
Chef Bear also has some helpful information about the Walrus blocking the entrance to Yarna Desert.
Hi ho! Yeah, I know, that tub of goo is asleep right in the way to Yarna Desert!
Once he’s asleep, he won’t budge for a loooooonng time.
But hey! Take Little Marin and wake him up with her singing!
If you want to confirm it for yourself, head out of the village, turn south and then east to find the Walrus, who is loudly snoring and somehow articulating little Marin emojis.

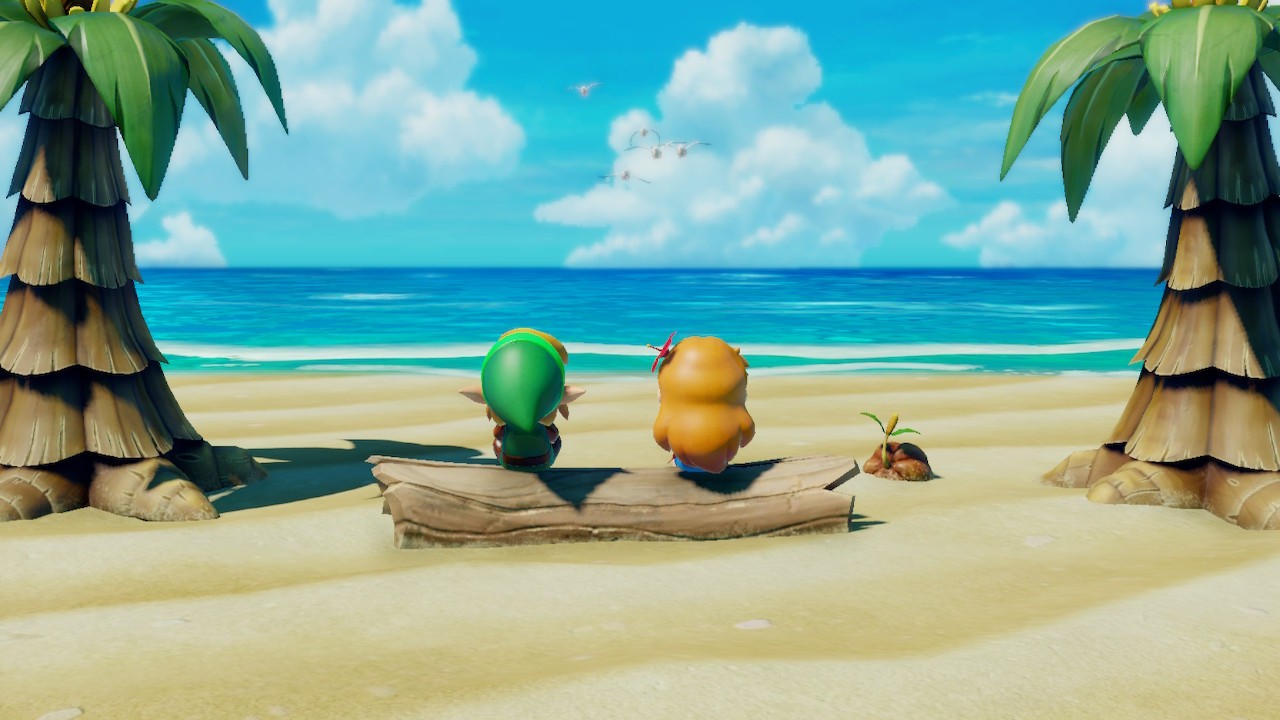
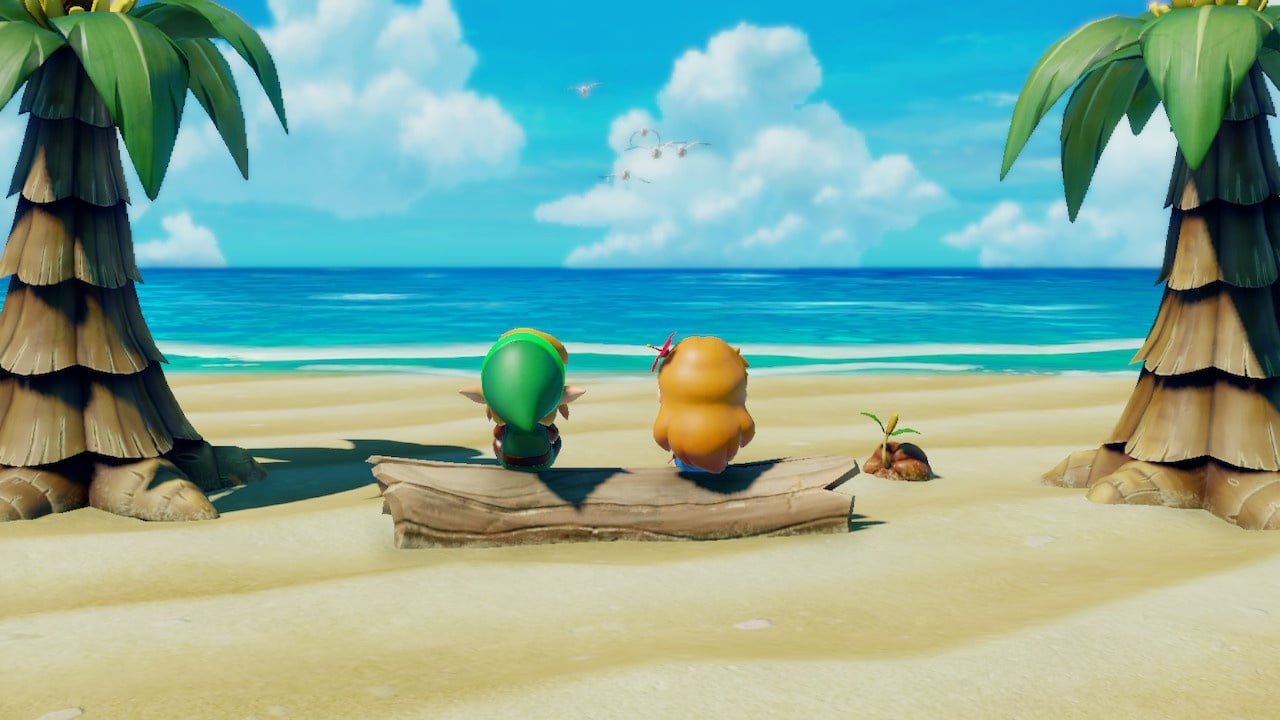
Return to Mabe Village (ideally, using the warp point in nearby Ukuku Prairie) and you will find that Marin isn’t in her usual spot by the weather vane. Head to the beach and go east – beyond the banana plantation is a small, isolated bay with a log – Marin is here, looking out at the horizon.
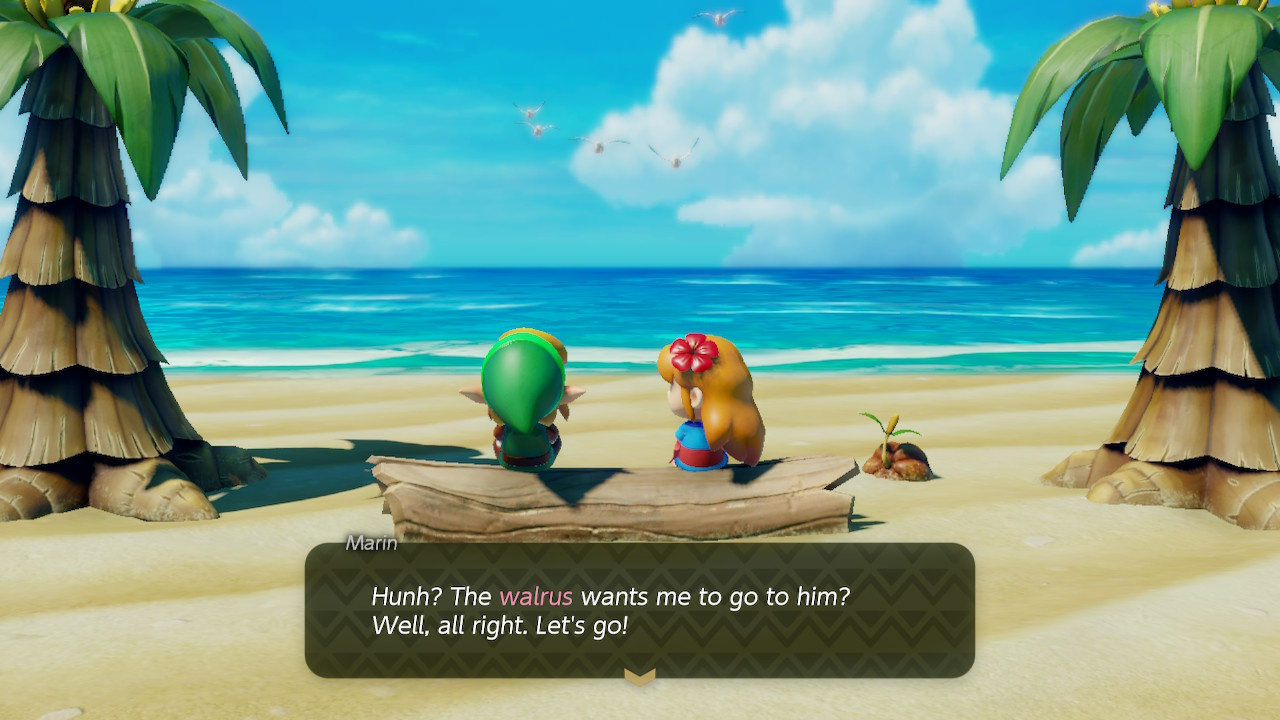
Approach her and watch a cute scene between Link and Marin:
I wonder where these coconut trees come from? …
Tarin says there is nothing beyond the sea.
But I believe there must be something over there…
…
When I discovered you, Link, my heart skipped a beat!
I thought, this person has come to give us a message…
… … … …
If I was a seagull, I would fly as far as I could!
I would fly to faraway places and sing for many people!
If I wish to the Wind Fish, I wonder if my dream will come true…
The conversation turns to the Walrus and Marin agrees to come with you, with the following bizarre visual:

Marin will follow behind you and is ok to travel through warp points, so head back to the Animal Village and the Walrus (head south from the village, then east).

Marin will sing and the Walrus will jump with a start before agreeing to slide into the sea. Marin will head back to Animal Village for now. Finally, you can get into Yarna Desert!
Yarna Desert and Lanmola Miniboss

Aside from a number of buried secret shells, there’s not a lot to do in Yarna Desert besides heading north to the enclosed area with the quicksand. As you enter the arena, a voice sneers:
Annoyance! You are only getting in the way!
A red, centipede-like enemy called a Lanmola will burst in and out of the sand – hit his head repeatedly with a charge attack to do damage and avoid the vortex at the centre of the arena (you will survive being drawn in, but the boss will be fully healed when you return).
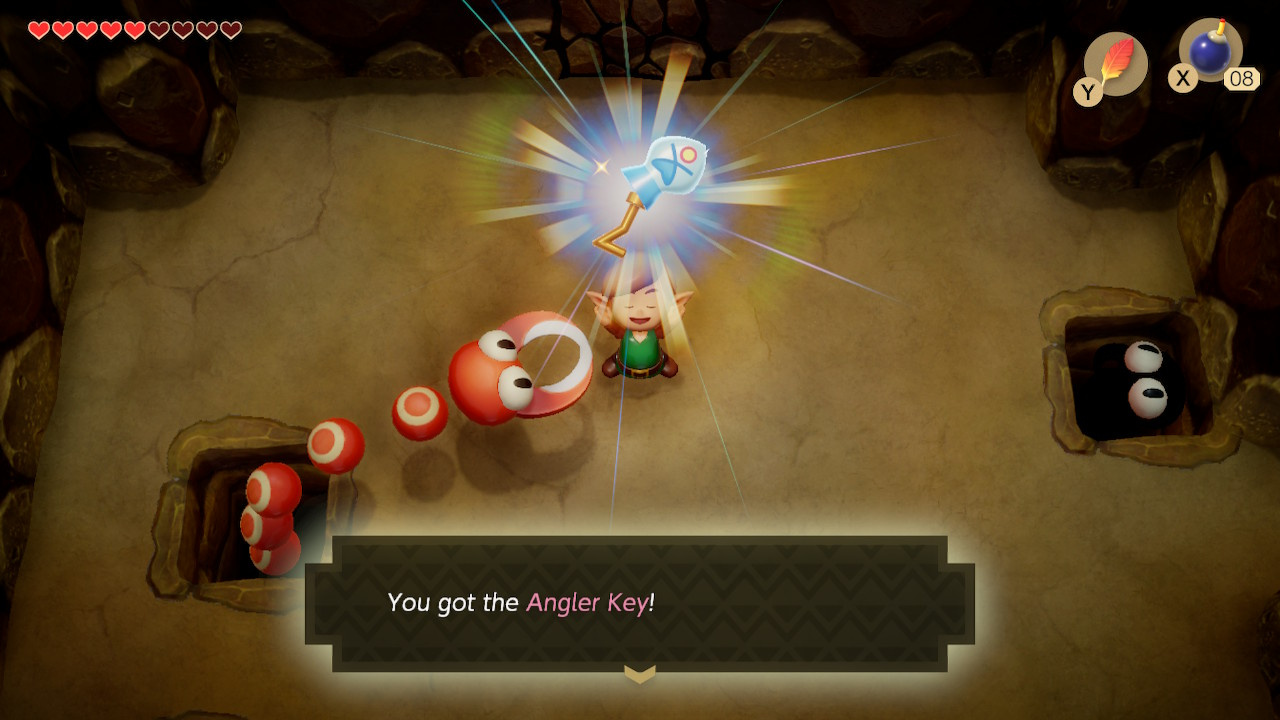
After several hits he will explode and relinquish the Angler Key, which will get drawn in by the quicksand. Follow the key and pick it up.
Using the Angler Key to reveal the Angler’s Tunnel Entrance
Angler Key in hand, exit Yarna Desert to encounter the ever-helpful Owl:
Hoot! The shape of the key shows a fish, swimming up a cascade of water!
Go now to the mountain waterfall!
A leap from the top and you will reach your goal!
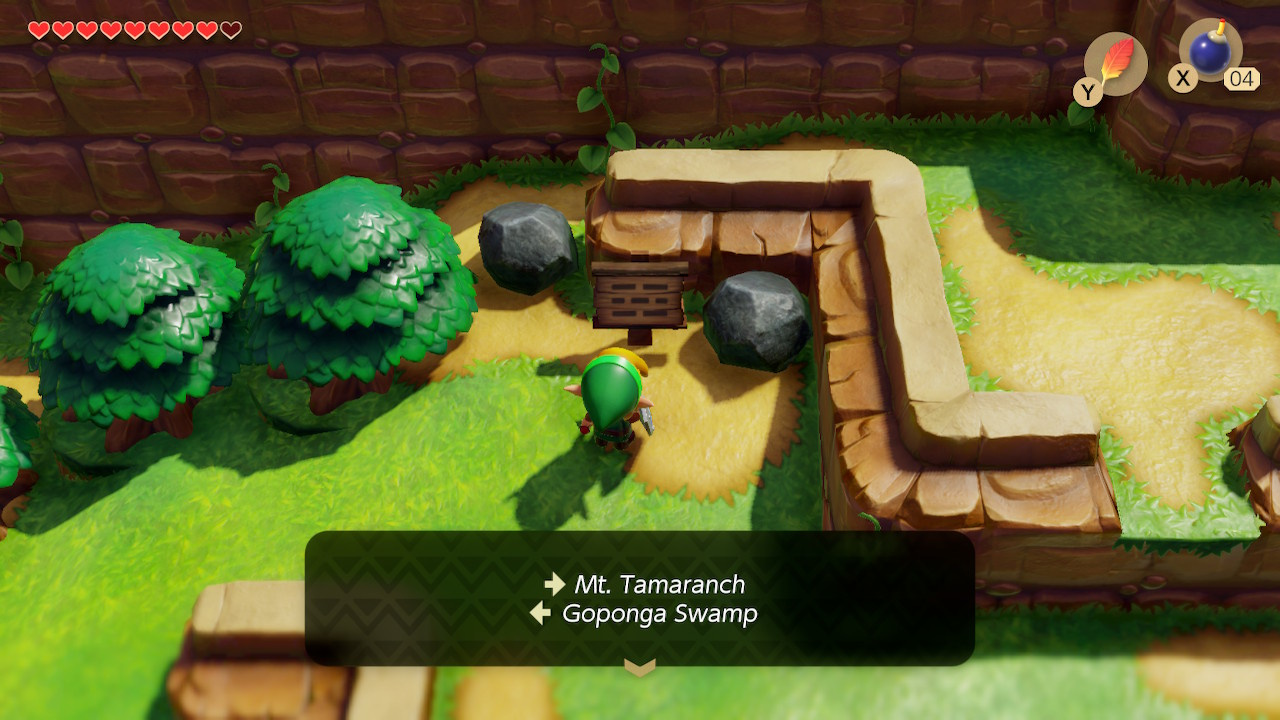
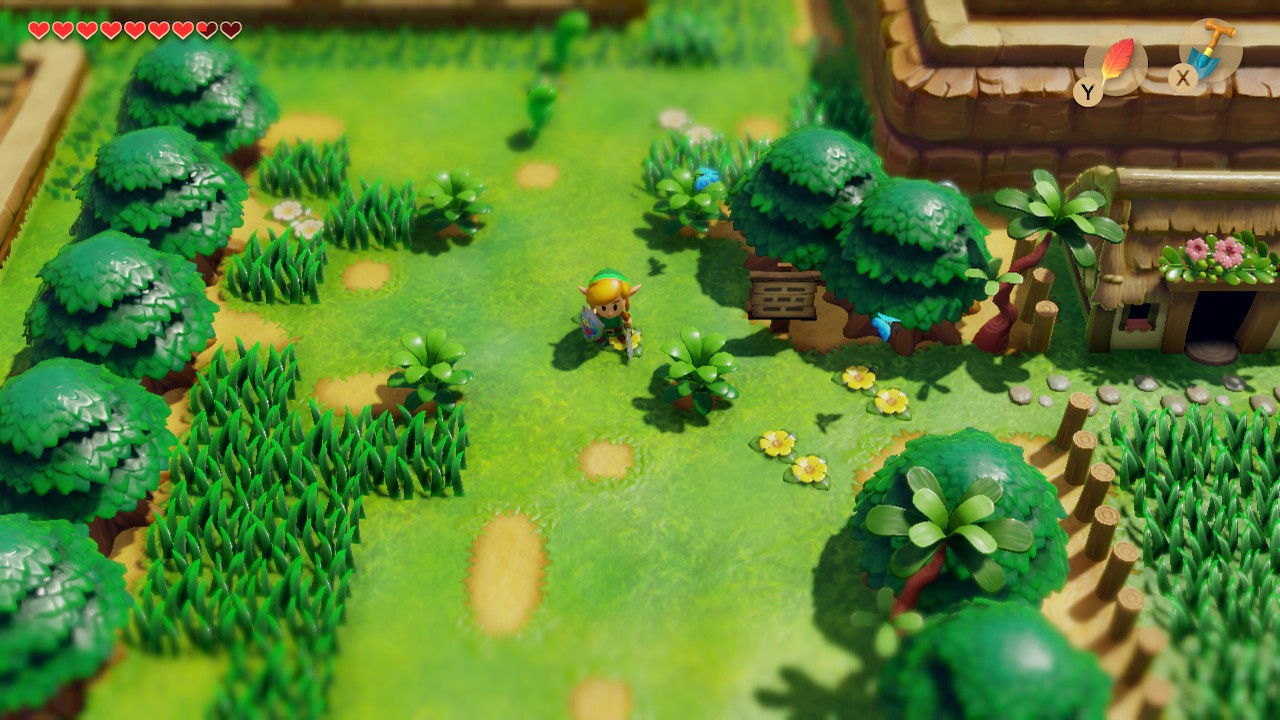
The mountain area in question is in the north-east of the map. If your travels haven’t already taken you there, you will need to head north from Koholint Prairie (above the Moblin Cave from which you rescued Bow-Wow, and in the Switch version, Dampe’s Hut). Head east below the cliffs, but pass the two ladders leading up and stick to the grassy area for now.

Continue heading east until you find a ladder down. Continue to head east here, defeating the Pig Warriors as you go.
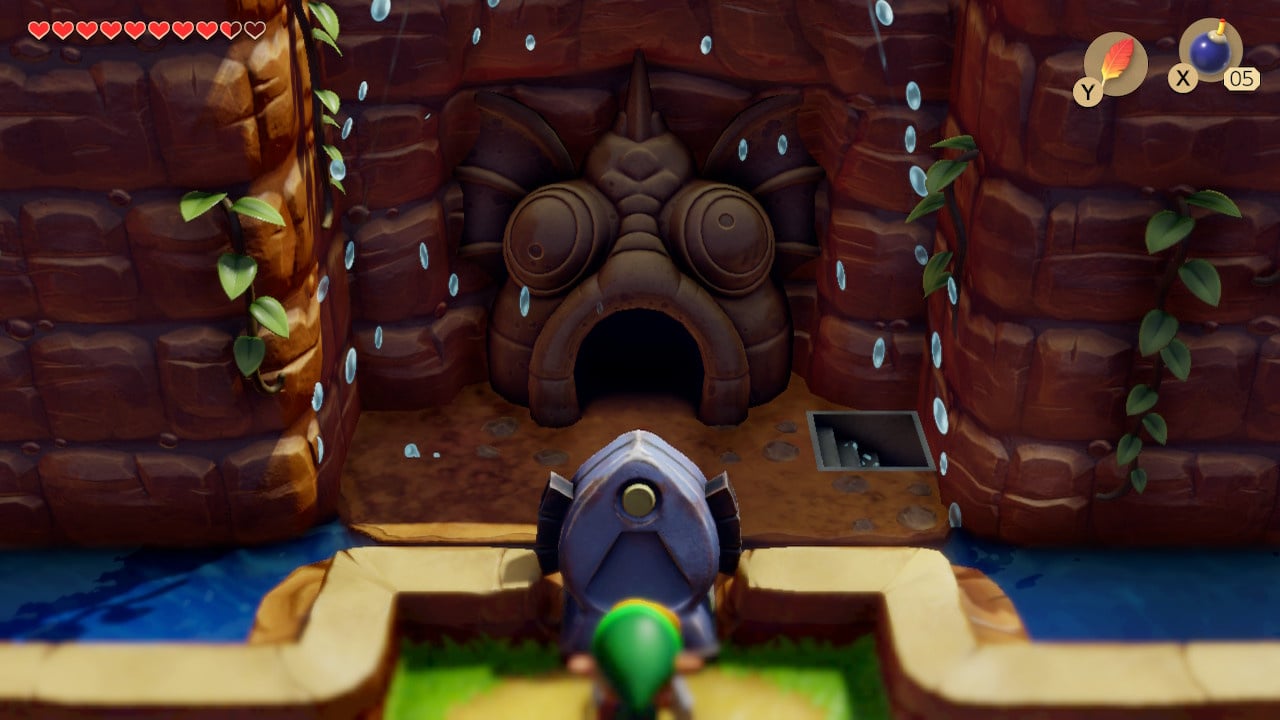
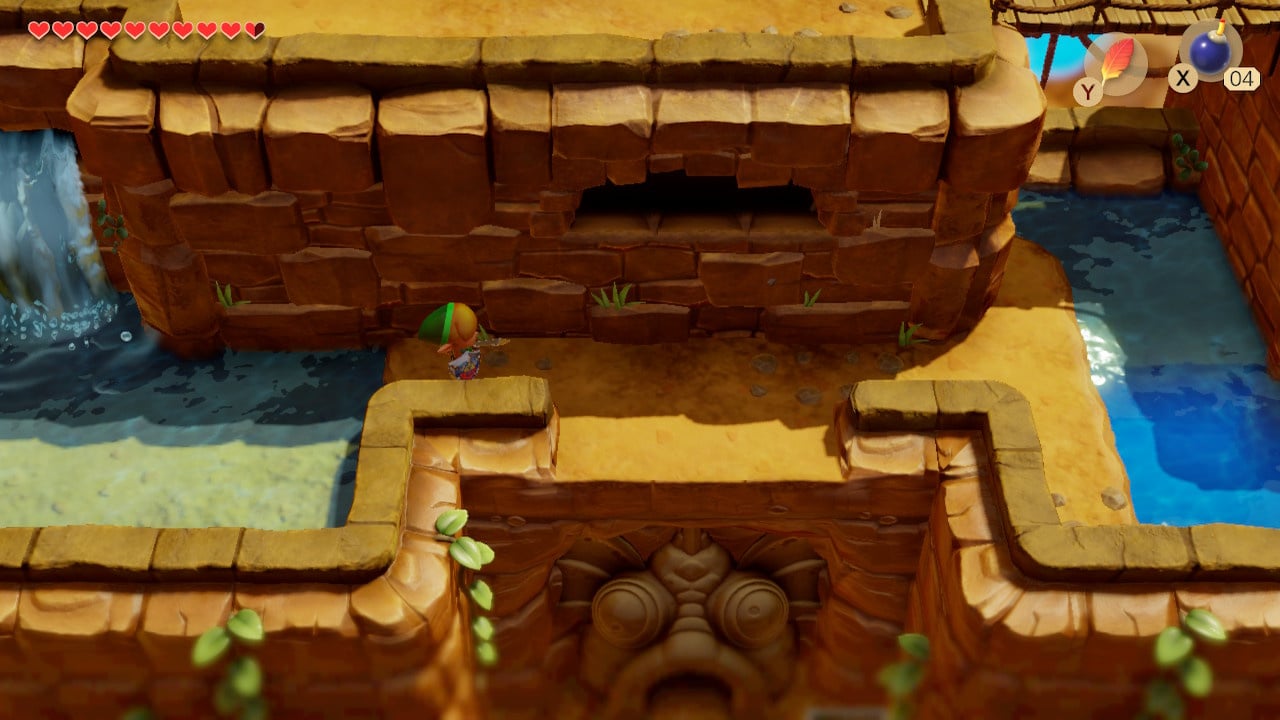
About halfway along this plateau you will find the fish-shaped keyhole for the Angler’s Key opposite a huge waterfall. Insert the key and the waterfall will part to reveal the entrance to the Angler’s Tunnel.
Climbing to the top of the waterfall requires you to head back to the west (though for now you should quickly detour east to activate a warp point for Tal Tal Heights)
Climbing the Mountain Waterfall
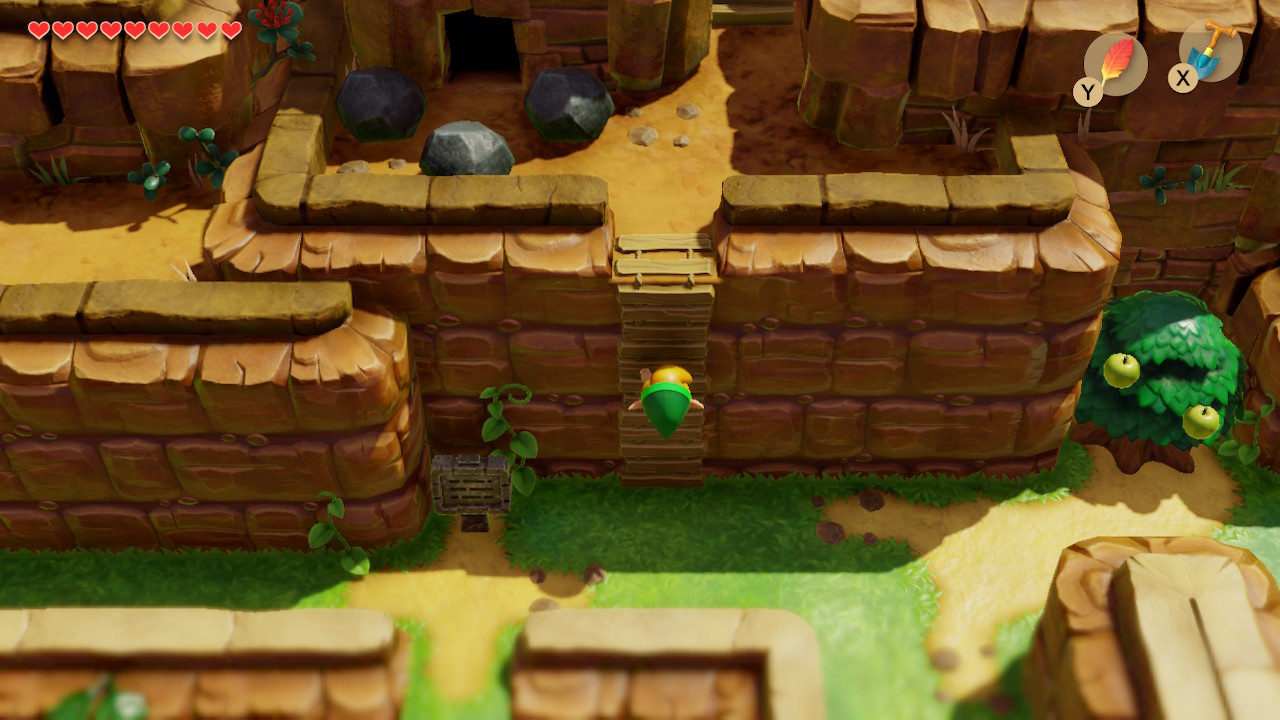
Head back east and climb back to the level you were at previously. Continue back east and climb the first of the two ladders on this level – this leads you to the Tal Tal Mountain Range. Chuck the rocks aside and enter the cave.

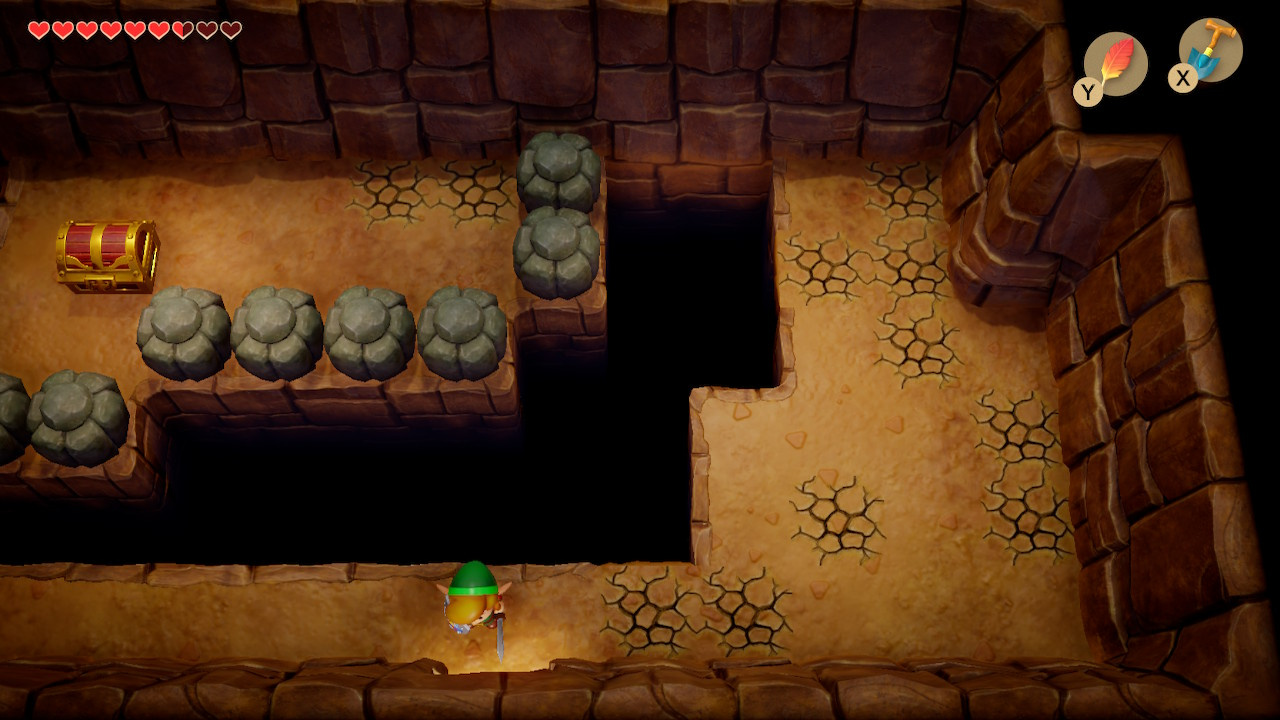
Inside the cave, head right. Use your sword to quickly destroy the upper left purple crystal (don’t be too slow, otherwise the floor will crumble). Jump the gaps and push the two central rocks up to create a path to the stairs (you can get to the heart piece by pushing the middle of the lower right rocks down twice – you’ll create a pit and take some damage, but you can jump due right over this gap and rush to the heart piece).
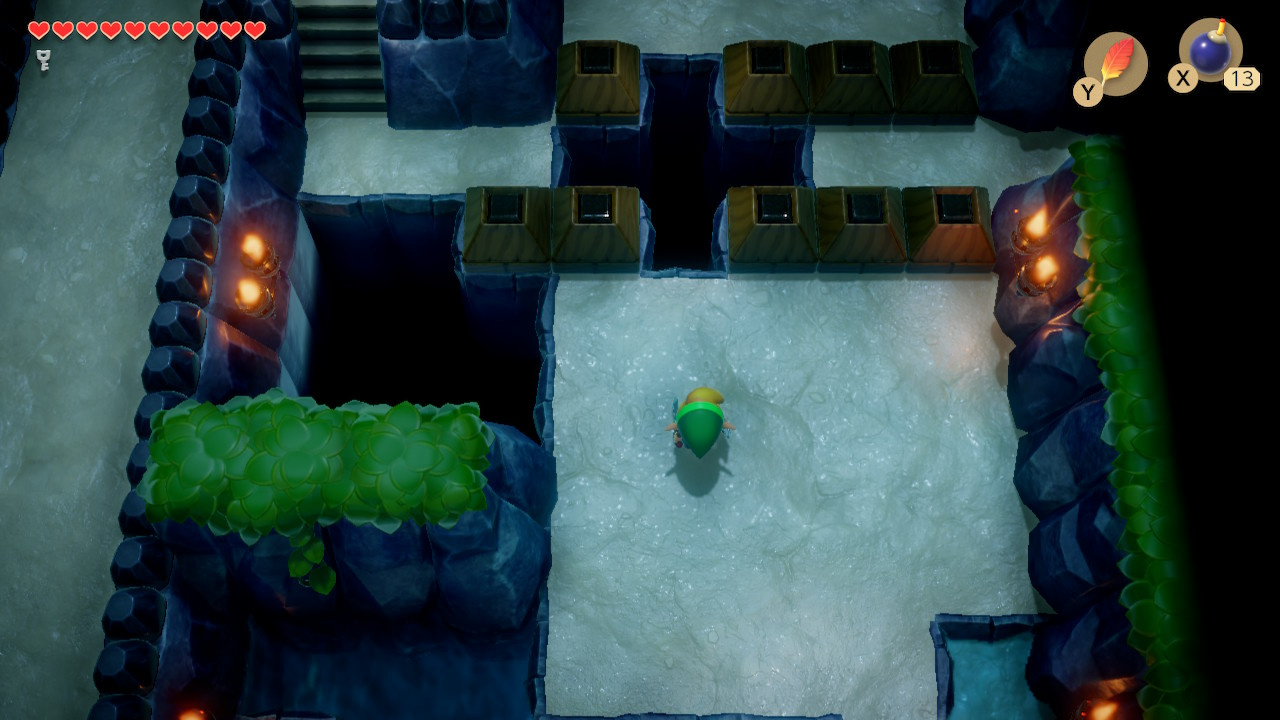
Head east through the next tunnel and climb the stairs. In the next room there are two exits on the lower wall – the first leads to a chest and the second leads to where you need to go next.

Step outside and you’ve nearly made it to the top of the waterfall – but wait, who’s that on the upper level? Head into the cave east of the outcrop he’s standing on.
The Link’s Awakening Trading Sequence: Part Three – Step Eight: Honeycomb for Hibbiscus
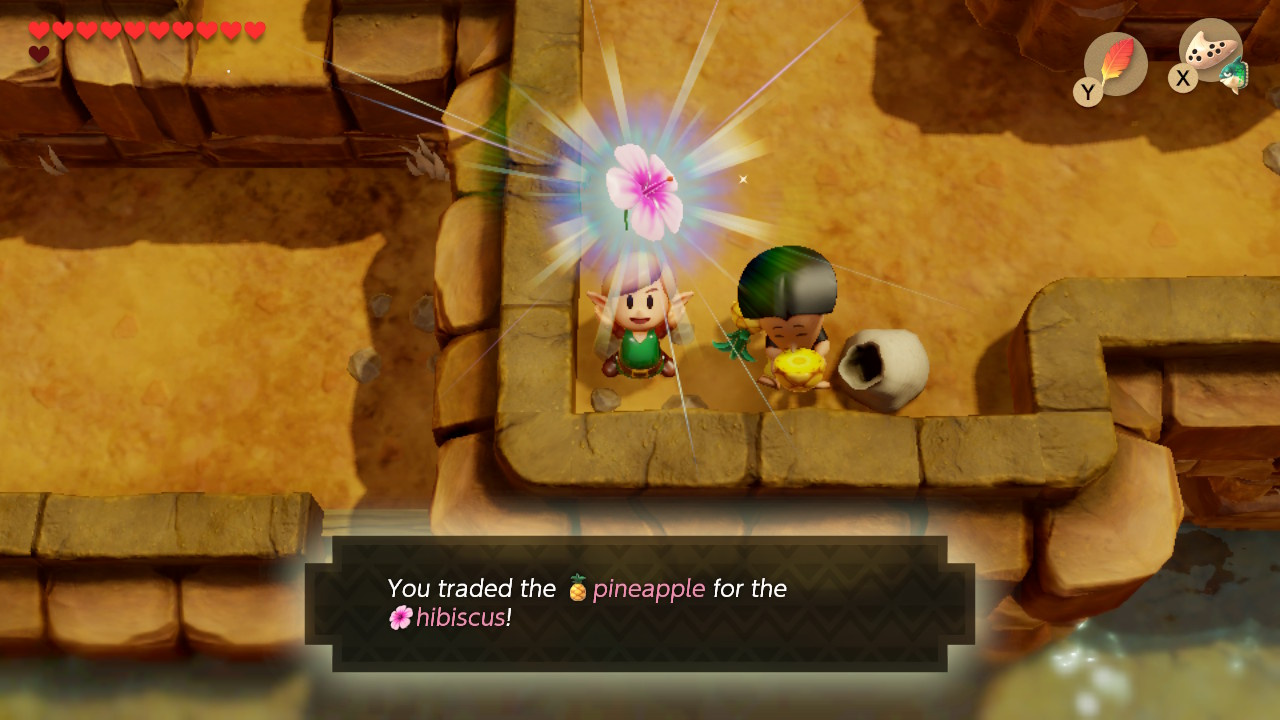
Head up through the cave system and you’ll meet Papahl, husband of the mother you gave the Yoshi Doll to earlier. His prediction came true – he’s lost and hungry, Thankfully, you recently became the proud owner of a succulent Pineapple, which Papahl is all too happy to relieve you of. In exchange he’ll give you a Hibiscus – a flower that you may have heard someone in the Animal Village asking after. Technically you can advance the trading quest further right now, but as we’re so close to the Angler’s Tunnel already, we’ll follow the trading sequence up in Part Six.
Jump down from the ledge and head east. Jump to the Angler’s Tunnel entrance below and head inside. The steps to the right will return you across the river and are useful if you fancy wandering off to tackle something else.
Angler’s Tunnel Walkthrough
Angler’s Tunnel: Acquiring the Compass, Stone Beak and Dungeon Map
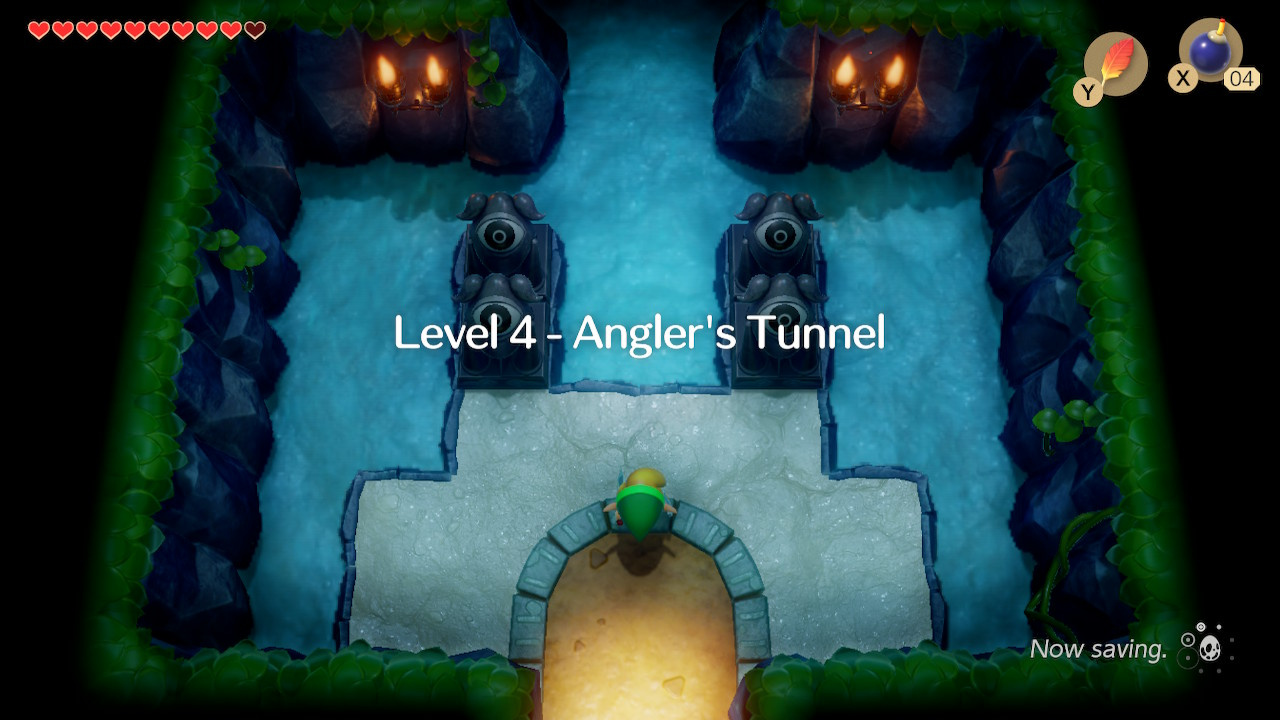
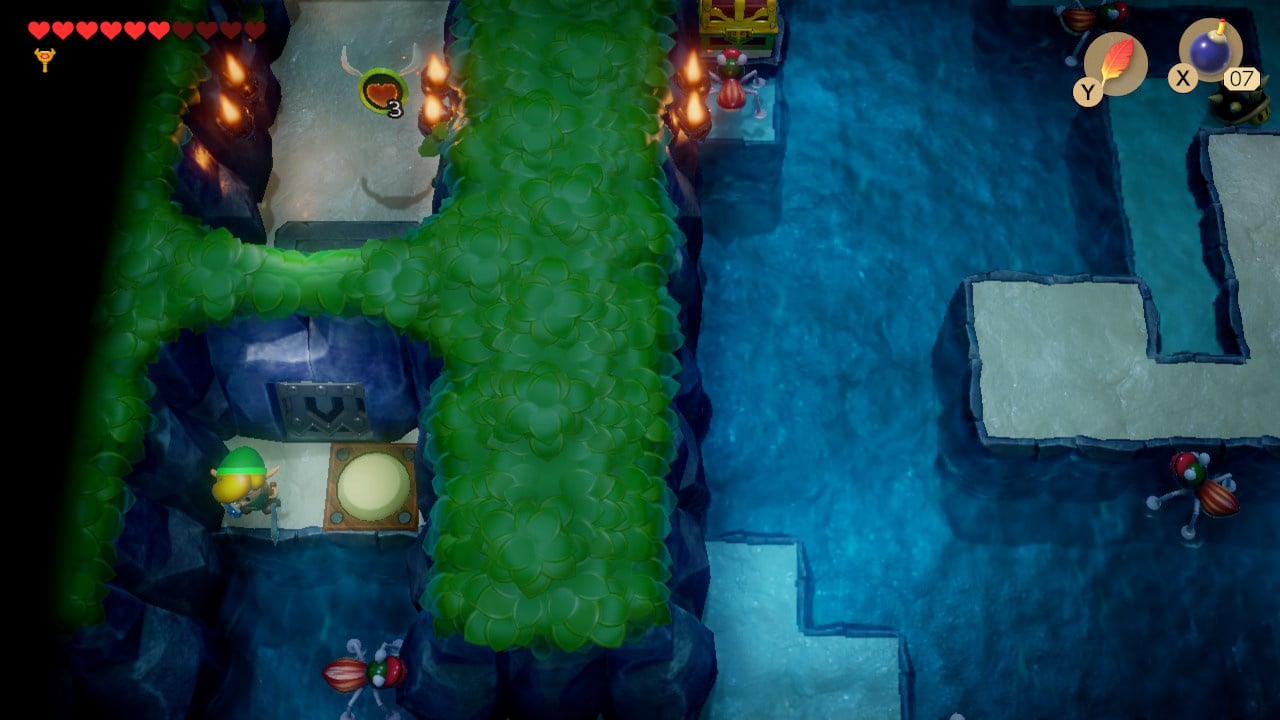
Well, your travels on the surface of Koholint Island certainly took you far and wide. Thankfully, the Angler’s Tunnel is a relatively small dungeon. In fact, you can actually get yourself three crucial items in quick succession. Head north from the entrance and step through the shallow water – keep an eye on the difference between this water and deeper areas as you proceed, as you cannot swim (yet!)

Dispatch the red gel and spiked beetles to open the door to the right (remember to flip the spiked beetles with your shield). Head through.
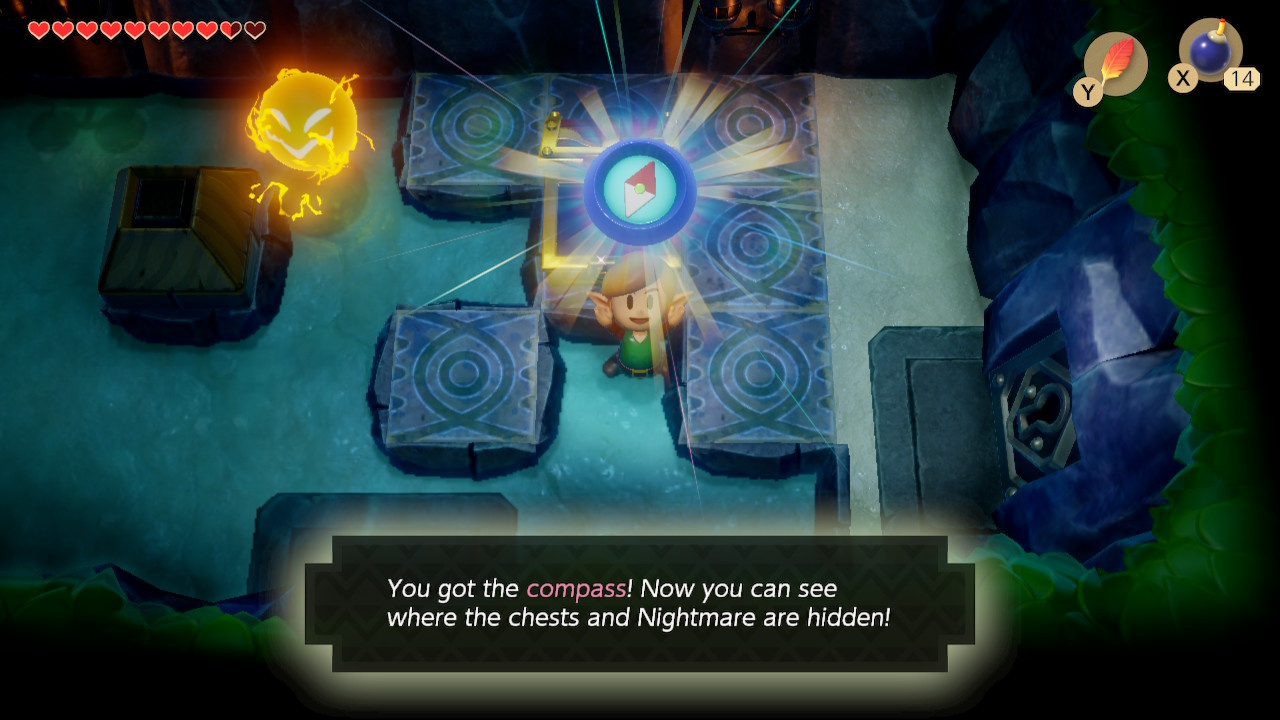
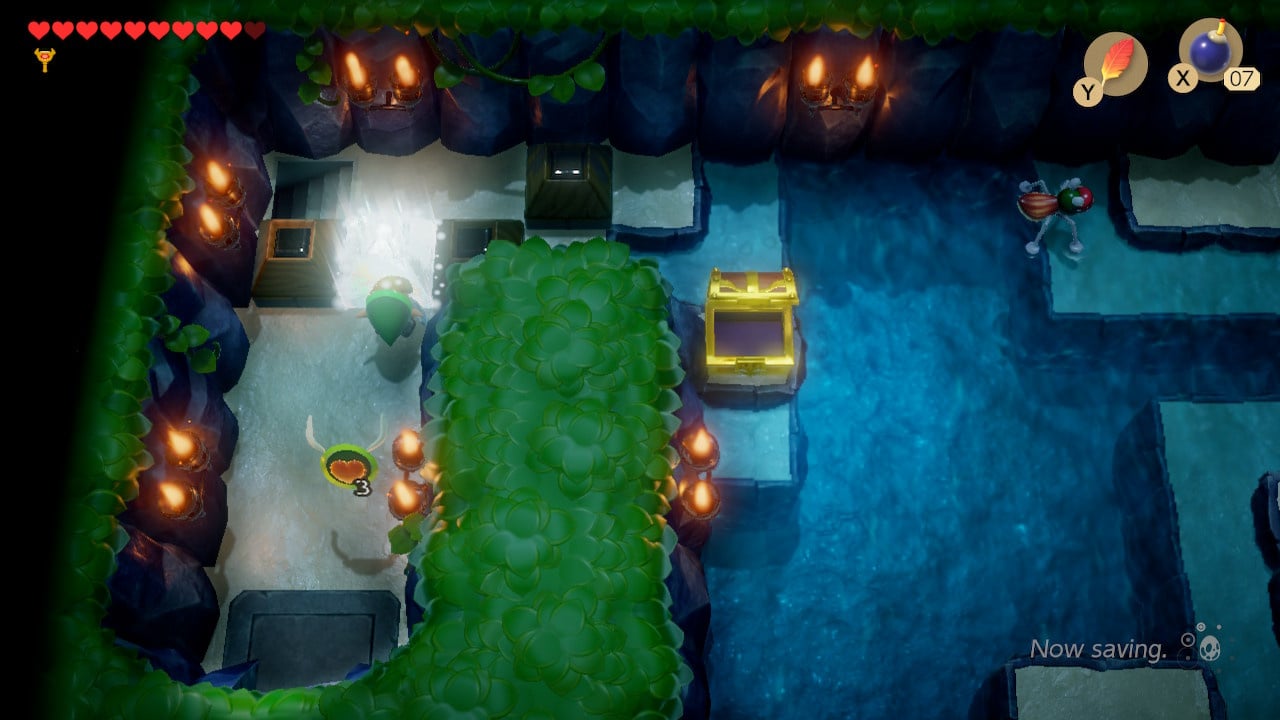
Claim the compass from the chest. We’ll return to this room in a bit, but for now, go back through the door you just entered, climb the stairs to the upper level and head right.
Take the exit in the lower right corner of the upper area.
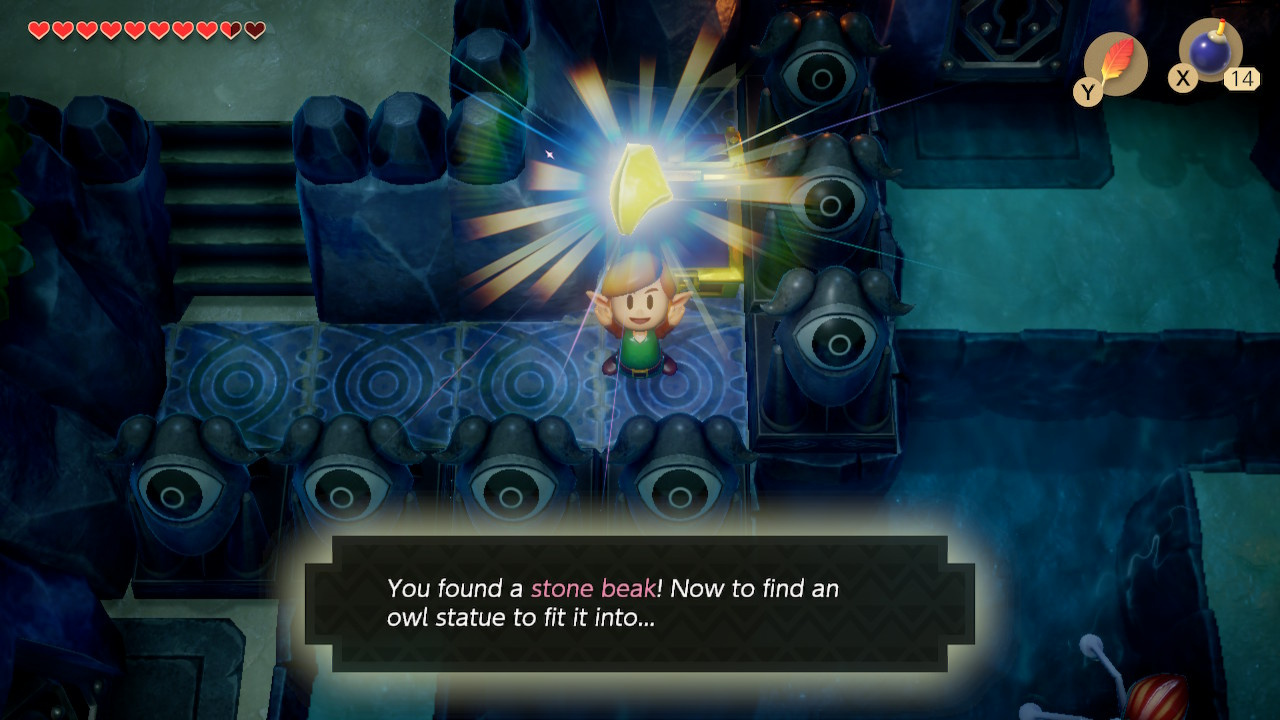
Head down the stairs and open the chest for the second dungeon item – the Stone Beak.
Return to the upper area and head up and along the long path.
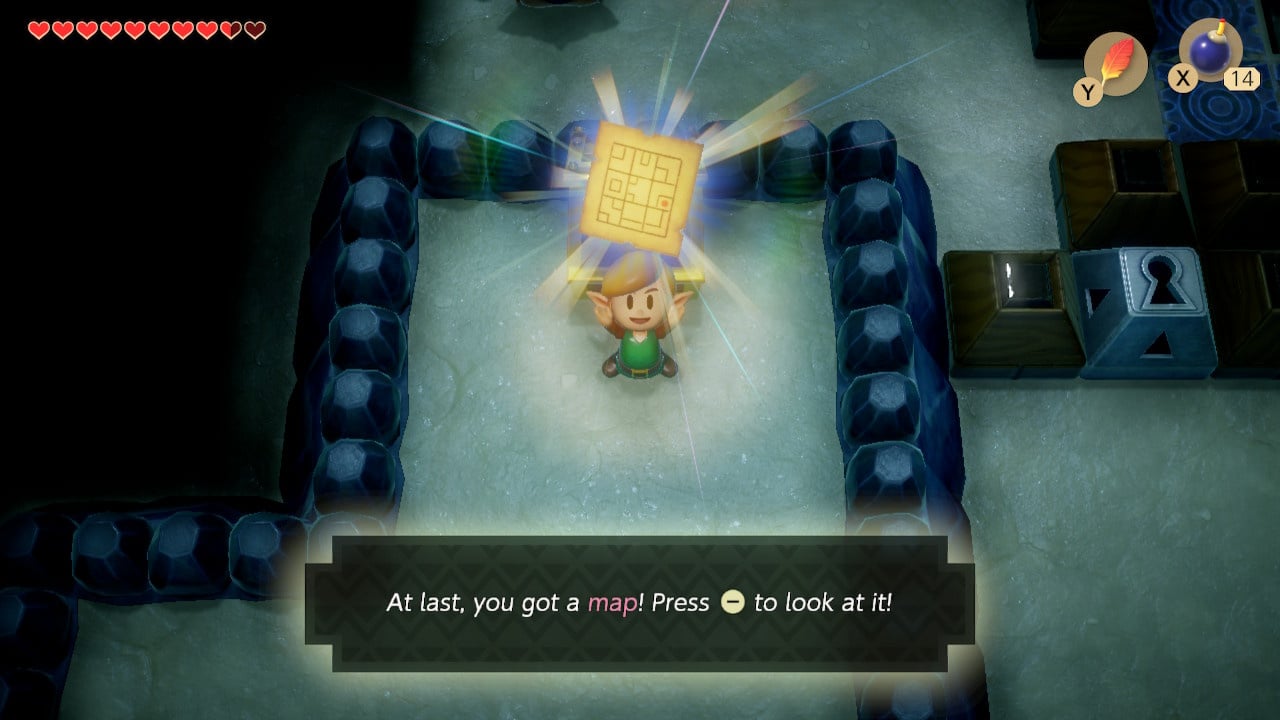
At the top of the path is another chest and within is the third dungeon item – the Dungeon Map.
Angler’s Tunnel: Small Key Round Up
Immediately below the chest is a set of stairs. Jump the chasm with a dash jump and continue heading right.
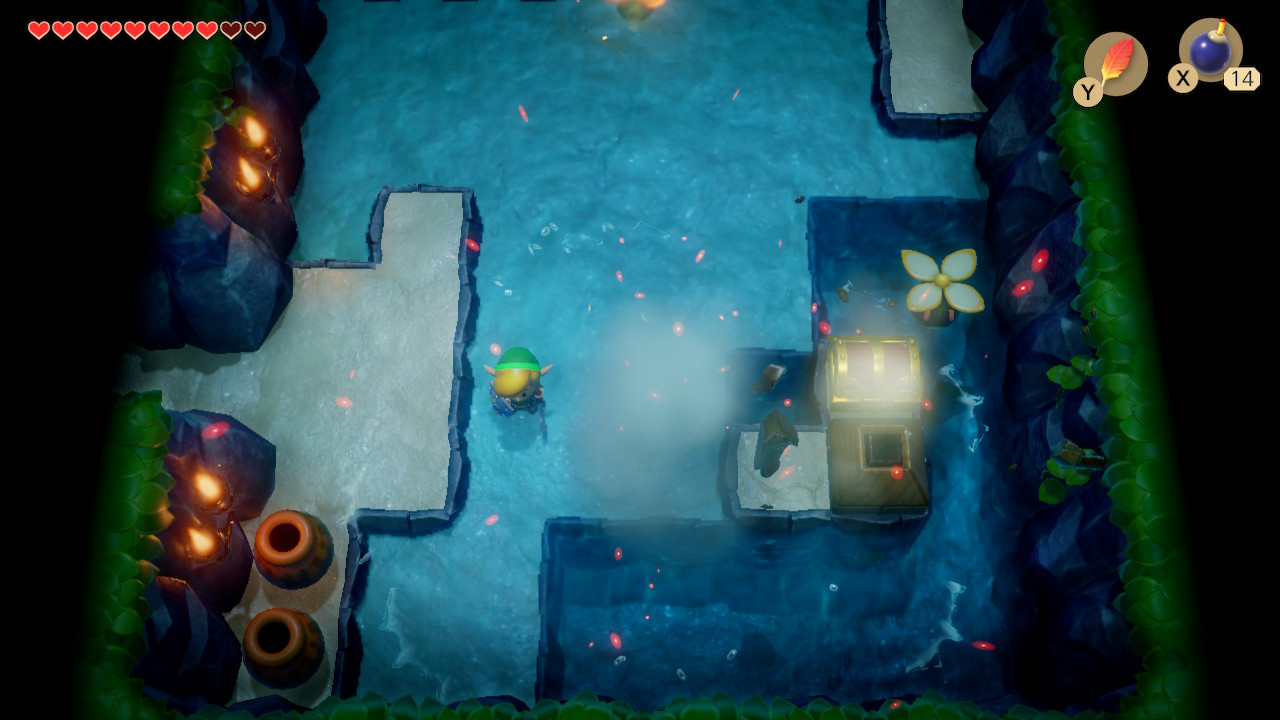
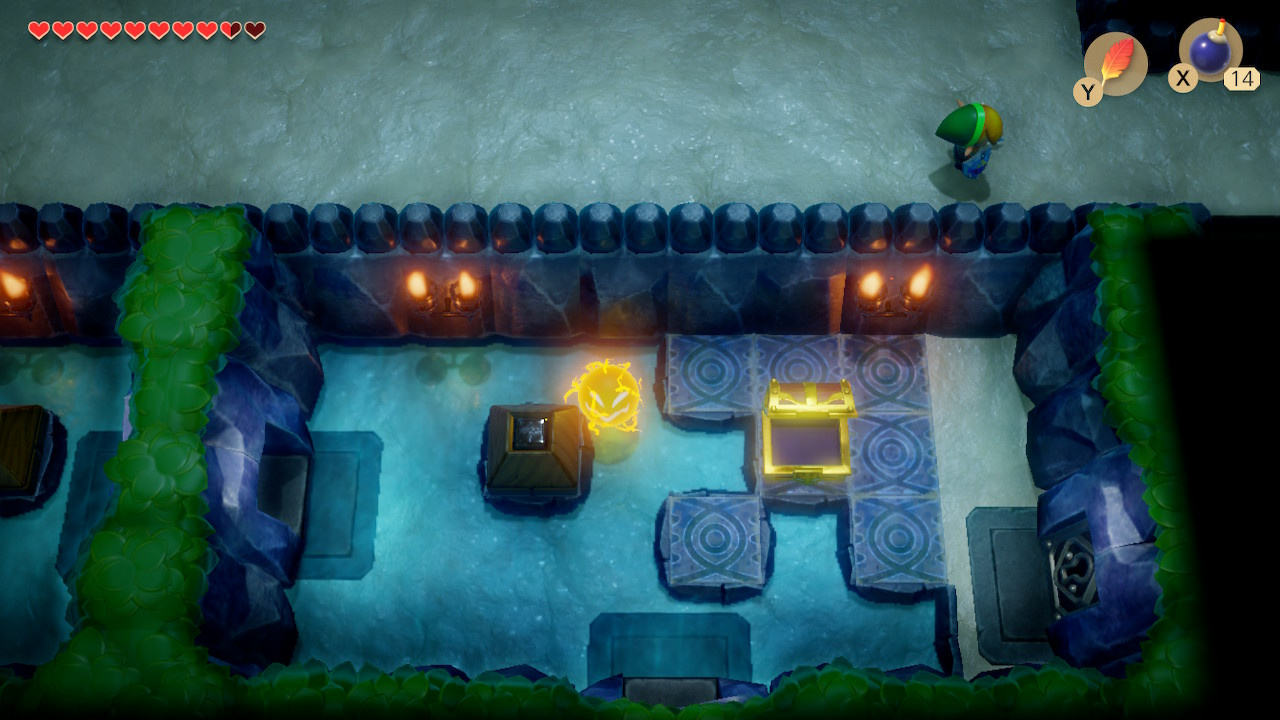
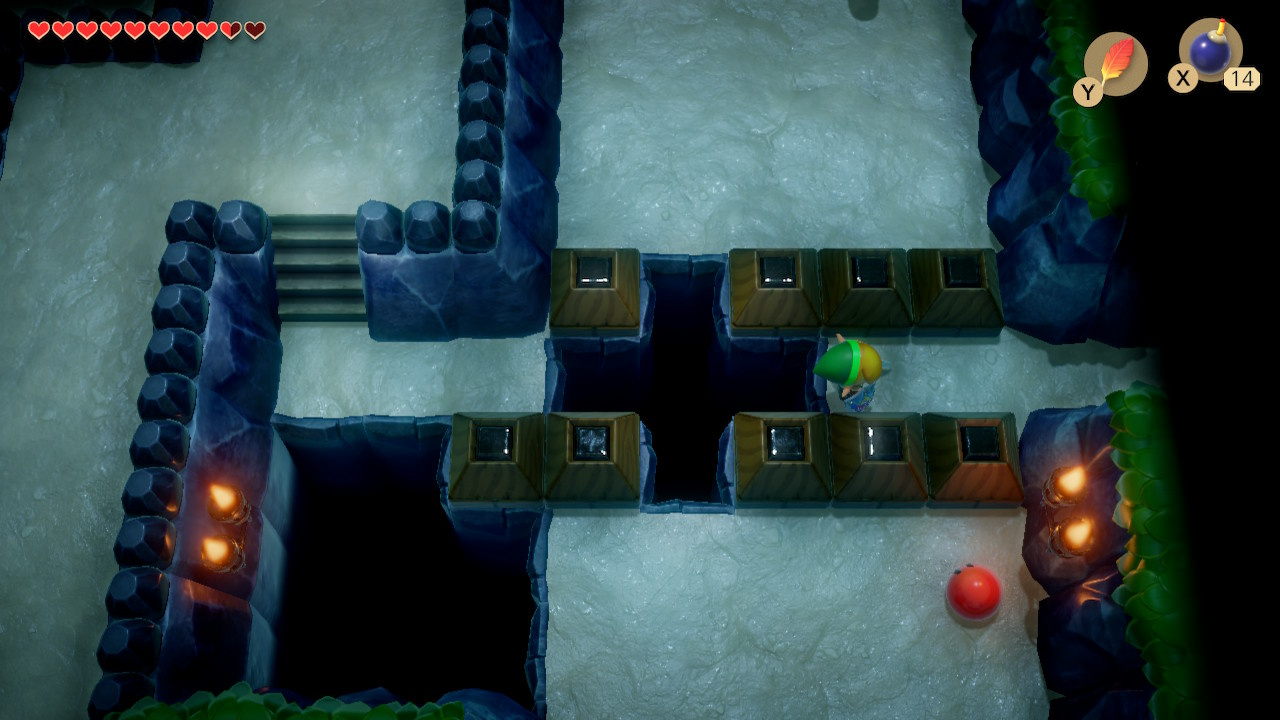
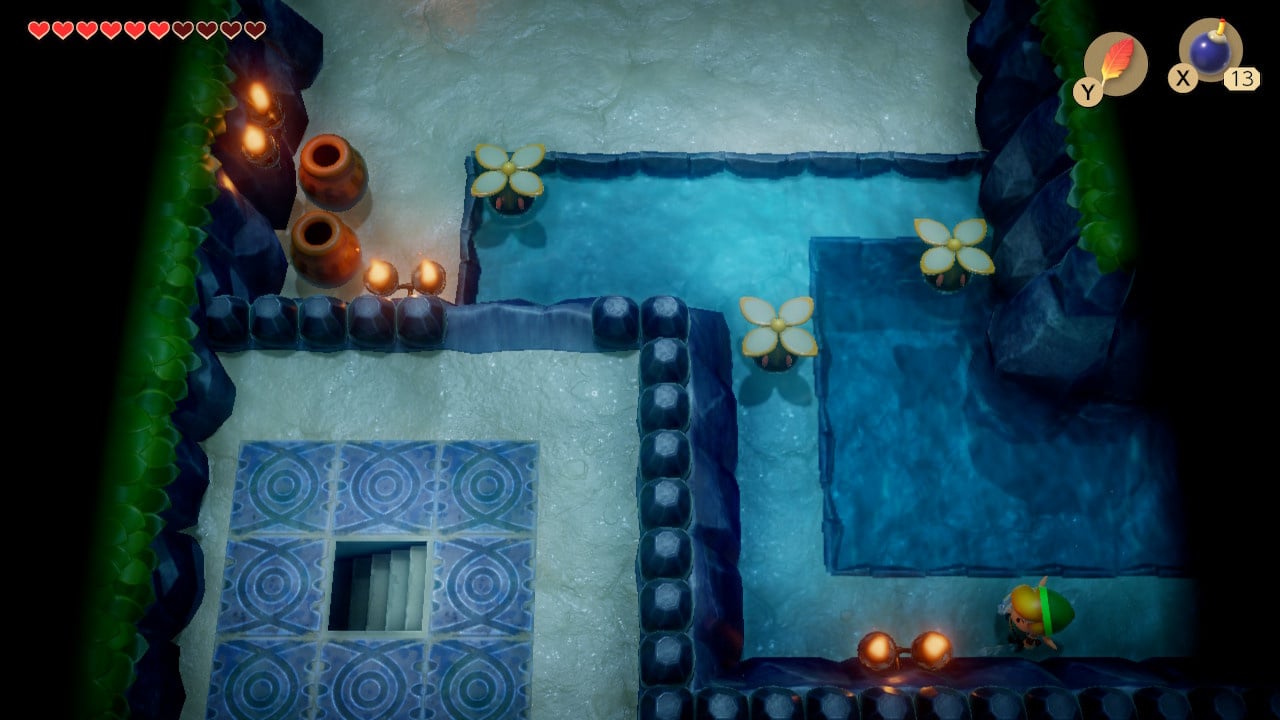
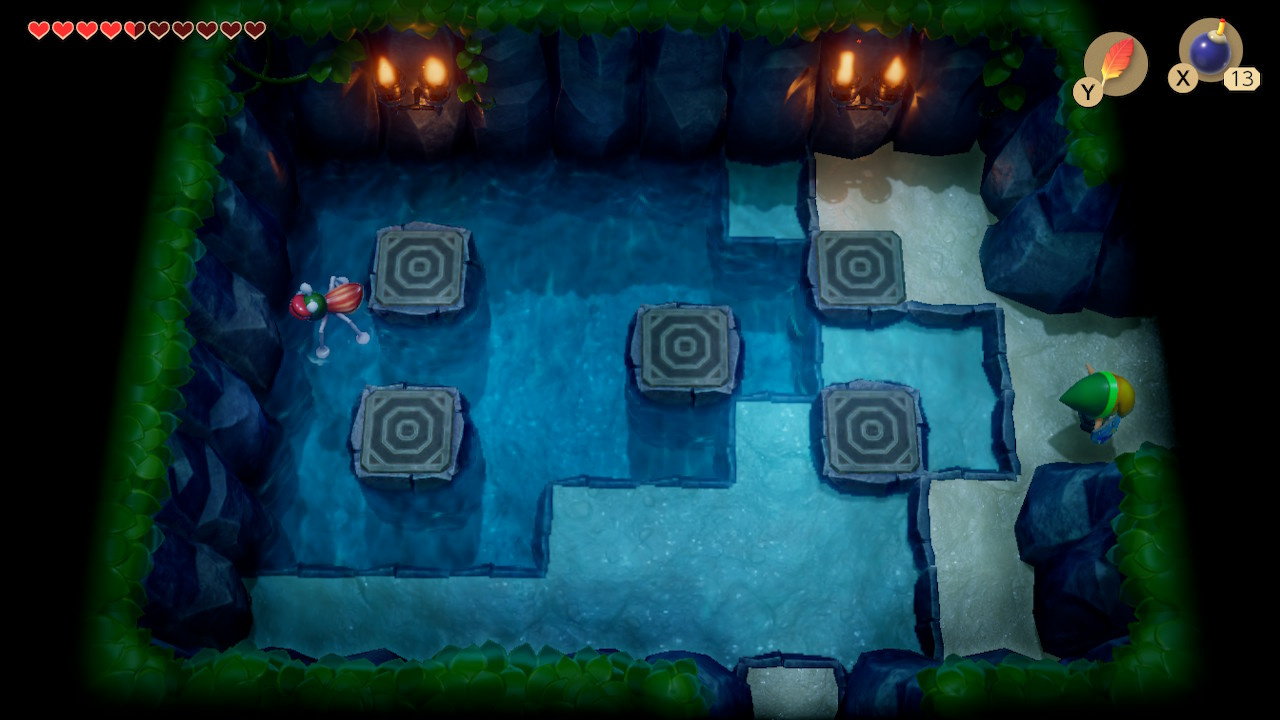
The next area is flooded – mind not to fall into the deeper sections. As you enter you will see a pair of pushable blocks – the lefthand one is cracked. Place a bomb next to it to destroy it. Push the remaining block into the water. Open the chest and claim a Small Key – the first of five.
Exit the first flooded room by heading north. The next room is similarly flooded, with even less walking space. Bomb the cracked blocks and open the chest for your second Small Key.

Head back to the start of the dungeon and return to the room with the first chest where you found the compass. Head through the open door to the south.
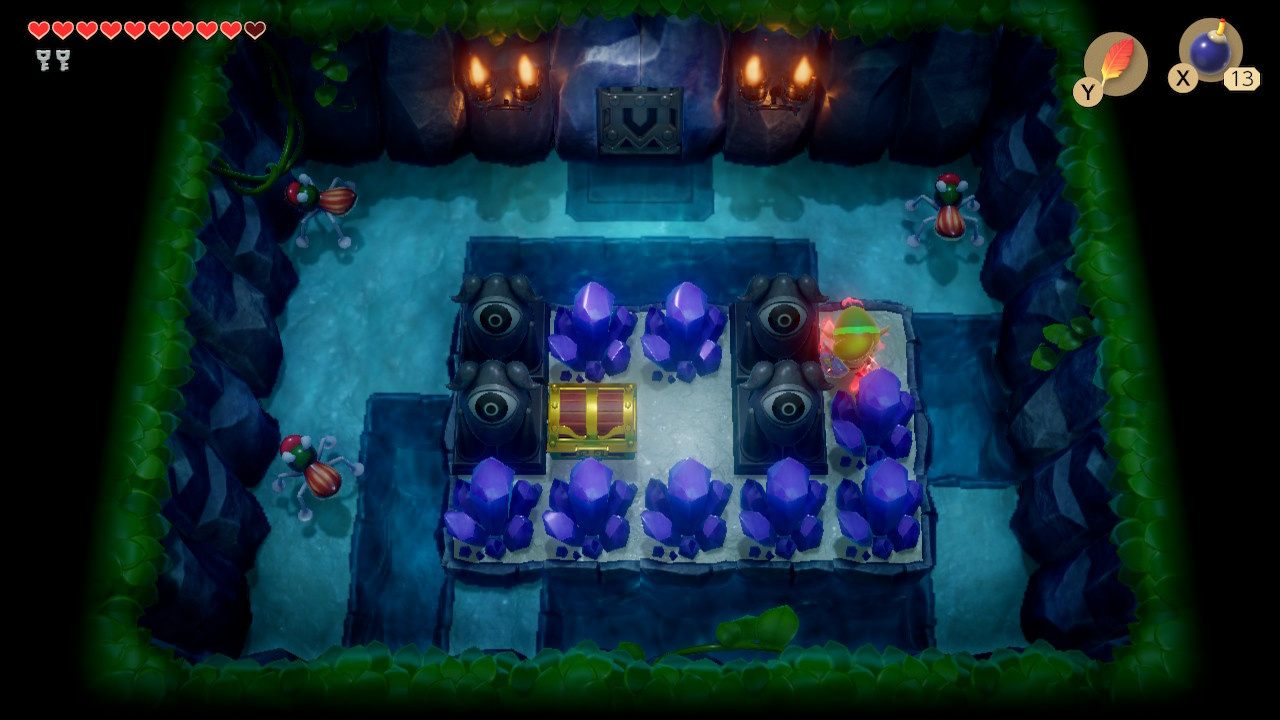
Swing your sword at the purple gems to gain access to the chest. Open it up for your third Small Key. Return to the previous room and exit through the locked door to the right. Unlock the door in the next room too.
You’re now approaching the chasm from earlier from a different angle – execute a dash jump to clear the gap and continue heading north.
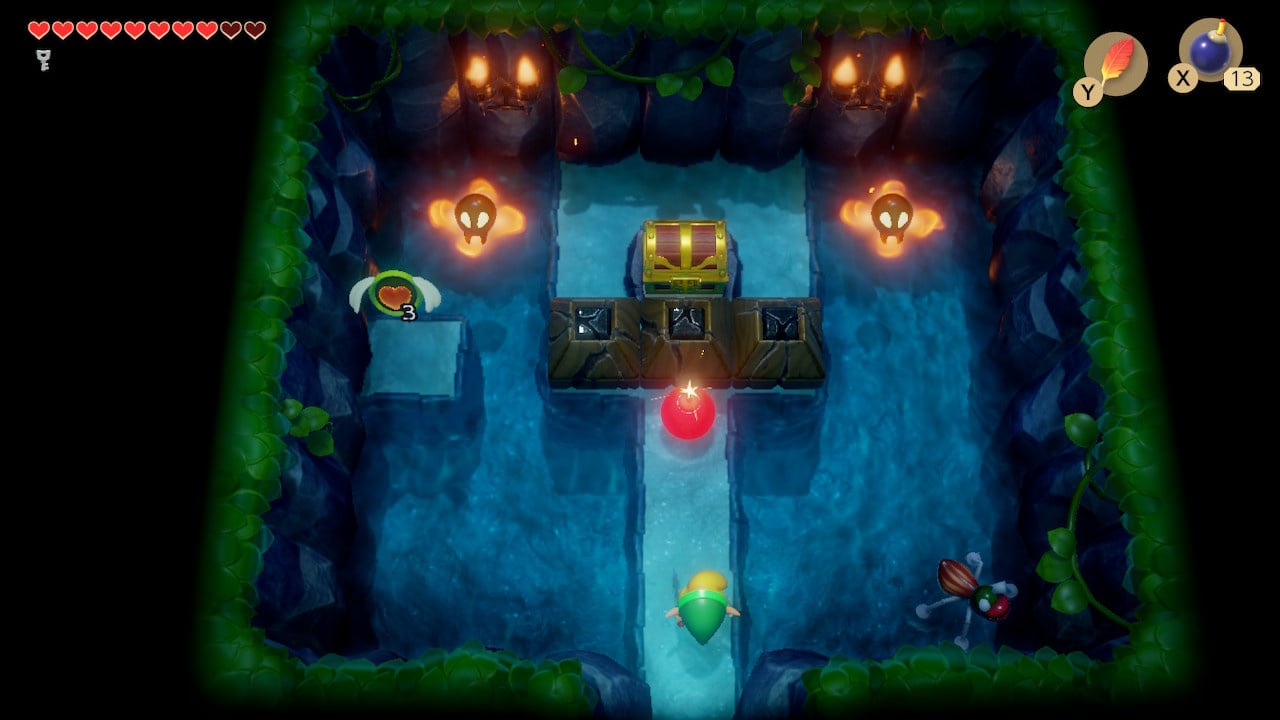
On the other side of the chasm you will find an arrangement of blocks. Unlock the lock block and push the block above where the lock block was up. Head left.
Kill the red gel enemies in this room and the fourth small key will drop from the ceiling – and fall immediately into the lefthand pit. In the previous room, the staircase we blocked off contains a sidescrolling area into which the key has now fallen – however, the key is now in deep water and is not currently within reach. For now, you should head down.
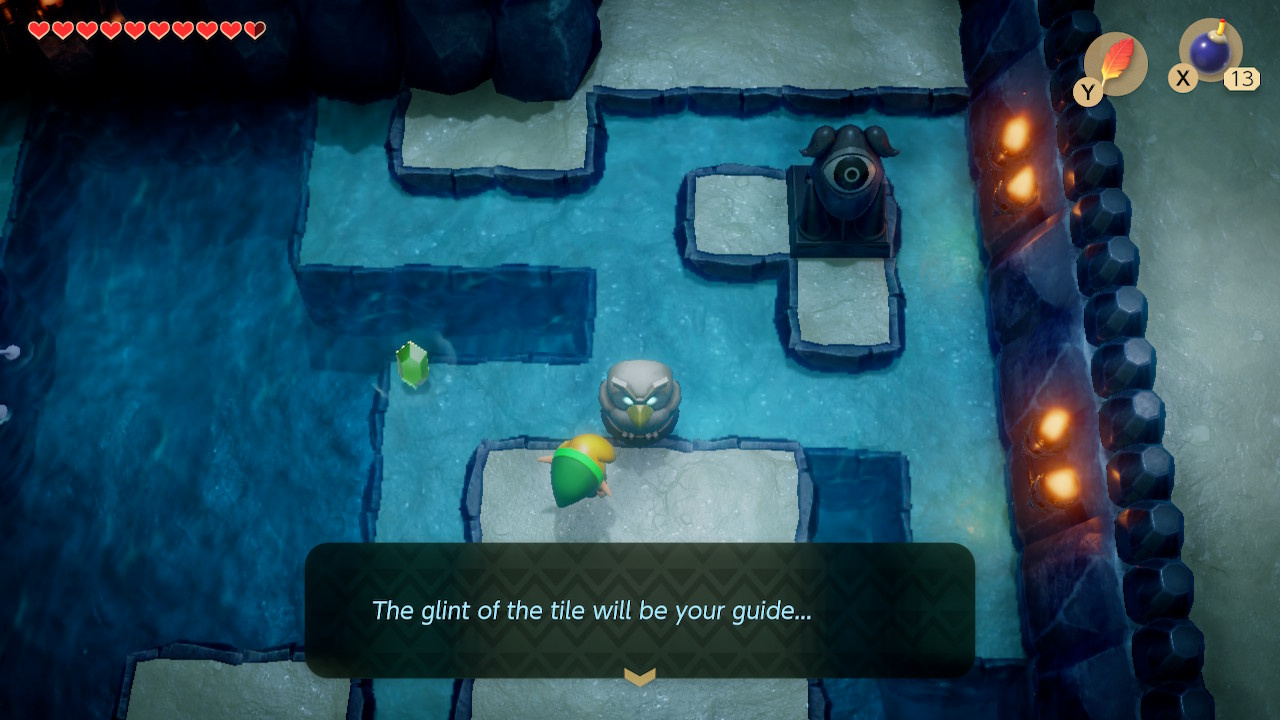
Heading down you will enter a large flooded room. Talk to the Owl statue for some words about an upcoming puzzle:
The glint of the tile will be your guide…
Continue heading down and turn left when the shallow water allows.
Climb out of the water and head north in the next room.
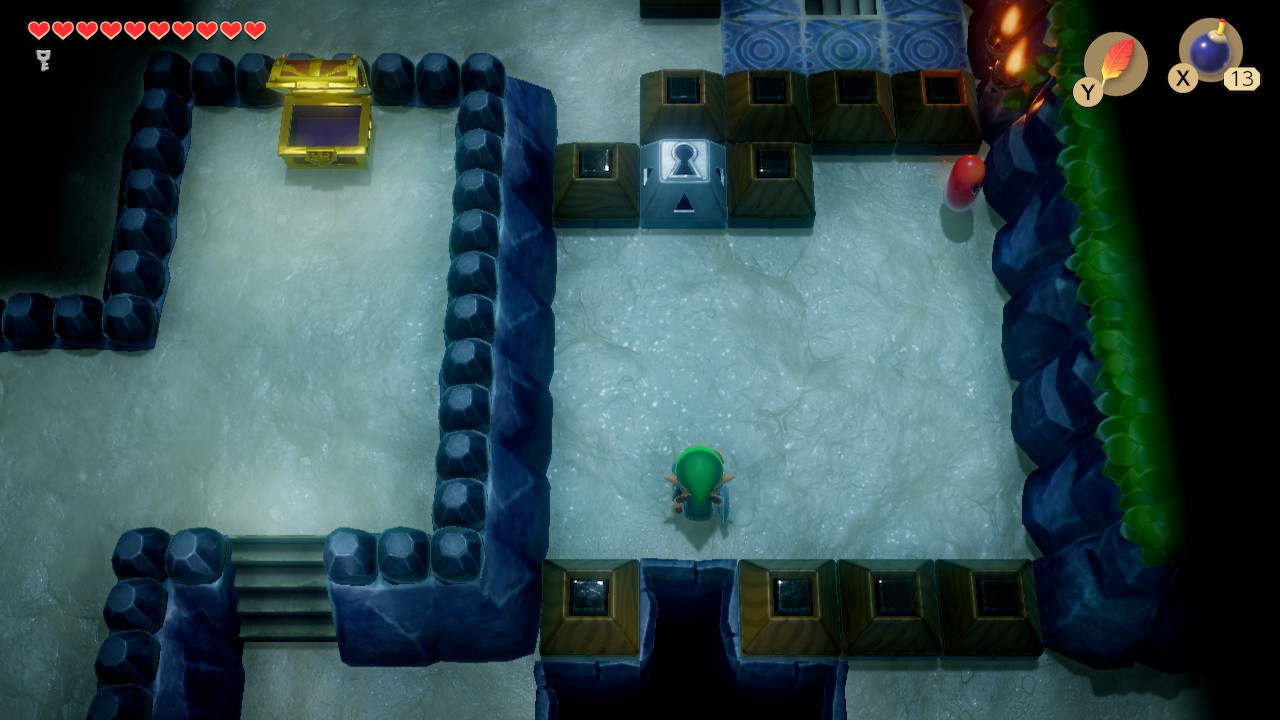
The next room contains the puzzle that the Owl Statue was referencing – however, you cannot yet reach the upper left tile (without first stepping on another tile), so the puzzle is unsolvable for now. Just head right for now.

You will find a chest in a small annex of a larger room – here you’ll find the dungeon’s fifth and final Small Key (though the fourth remains in deep water for now).
Angler’s Tunnel: Fighting the Miniboss, Cue Ball

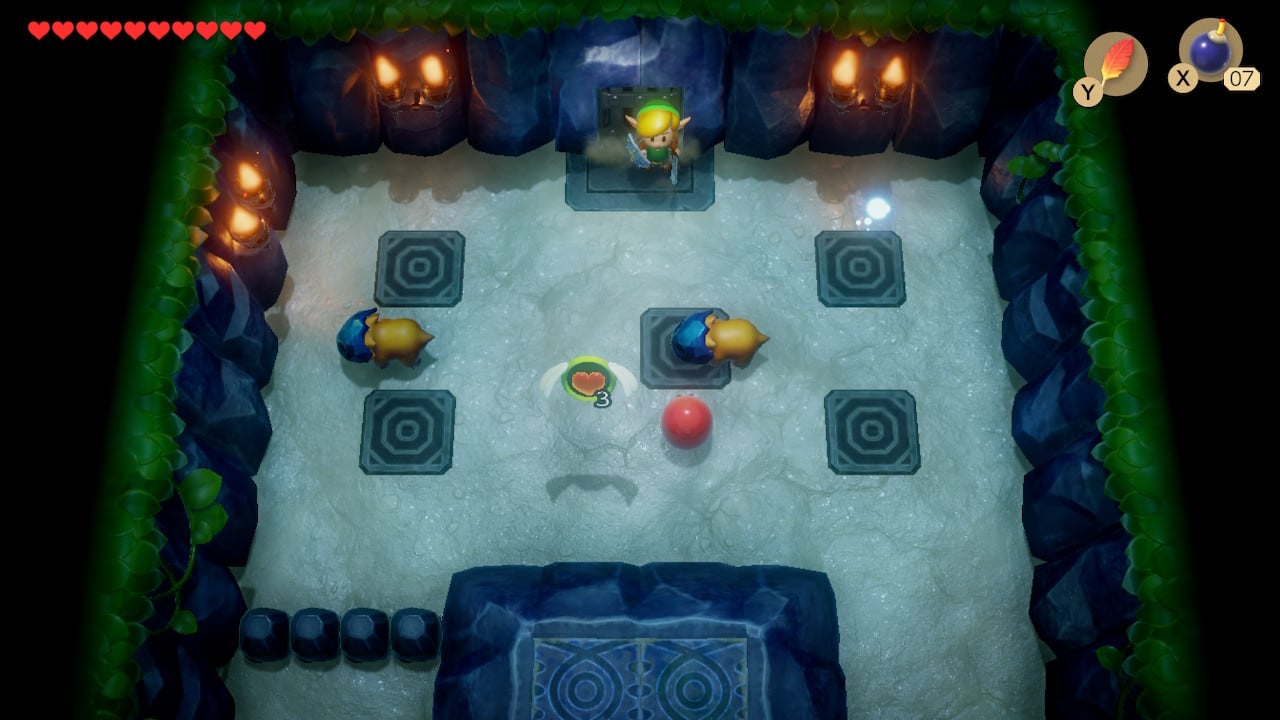
With the one unspent key in your inventory, circle back around the rooms you’ve just been in until you reach the locked door (in the room where you saw the fourth key fall). Head through to encounter the Angler Tunnel’s miniboss, Cue Ball.
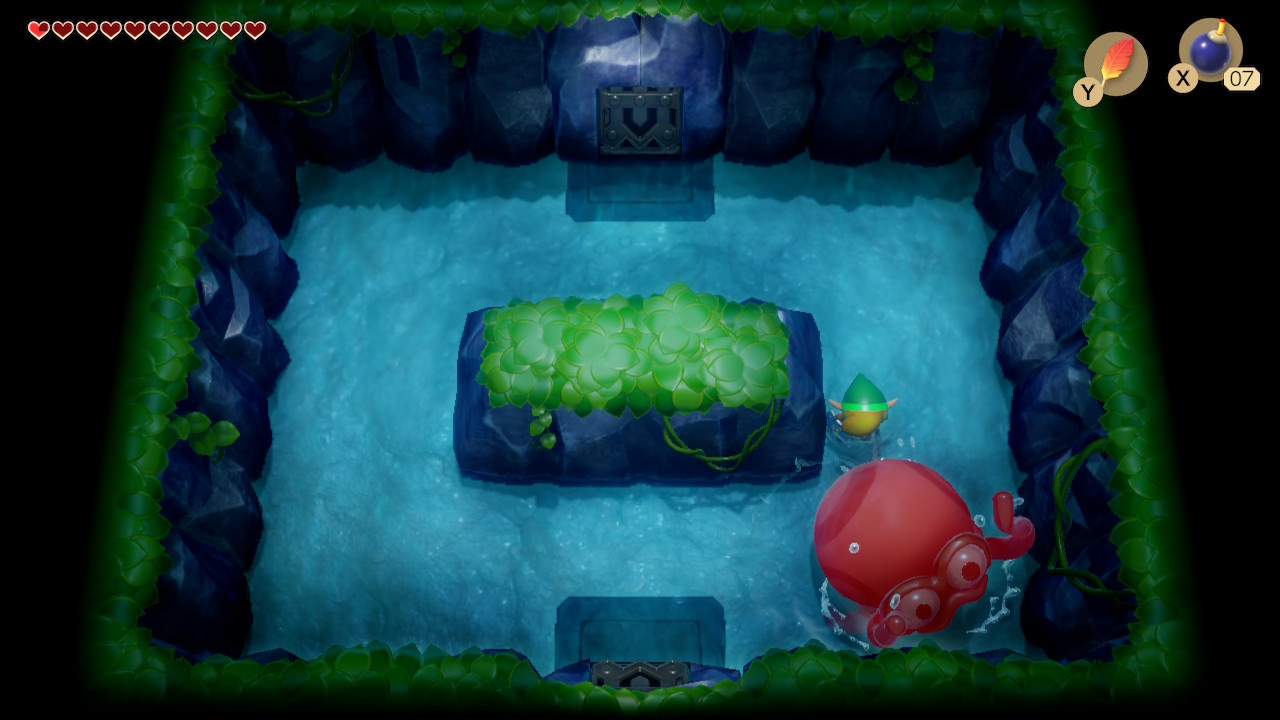
Cue Ball charges along the edges of his boss room, moving faster than Link – he’s also impervious to your sword swings from the front – you need to get at him from the back. There are two ways to achieve this – firstly, use Roc’s Feather to jump him as he charges you, then turn and get a few hits in. Secondly, you can get hits in from the side because he stops for a beat or two before each turn. Head north once Cue Ball is dead.
Angler’s Tunnel: Finding the Flippers
As you enter the next room, two blocks will start to slide into place covering both the entrance and exit. Their movement is linked to a long lever on the upper right of the room – pull it back down to reset the blocks, and head through the left exit (making sure to time letting go of the lever with the movement of the Spark).
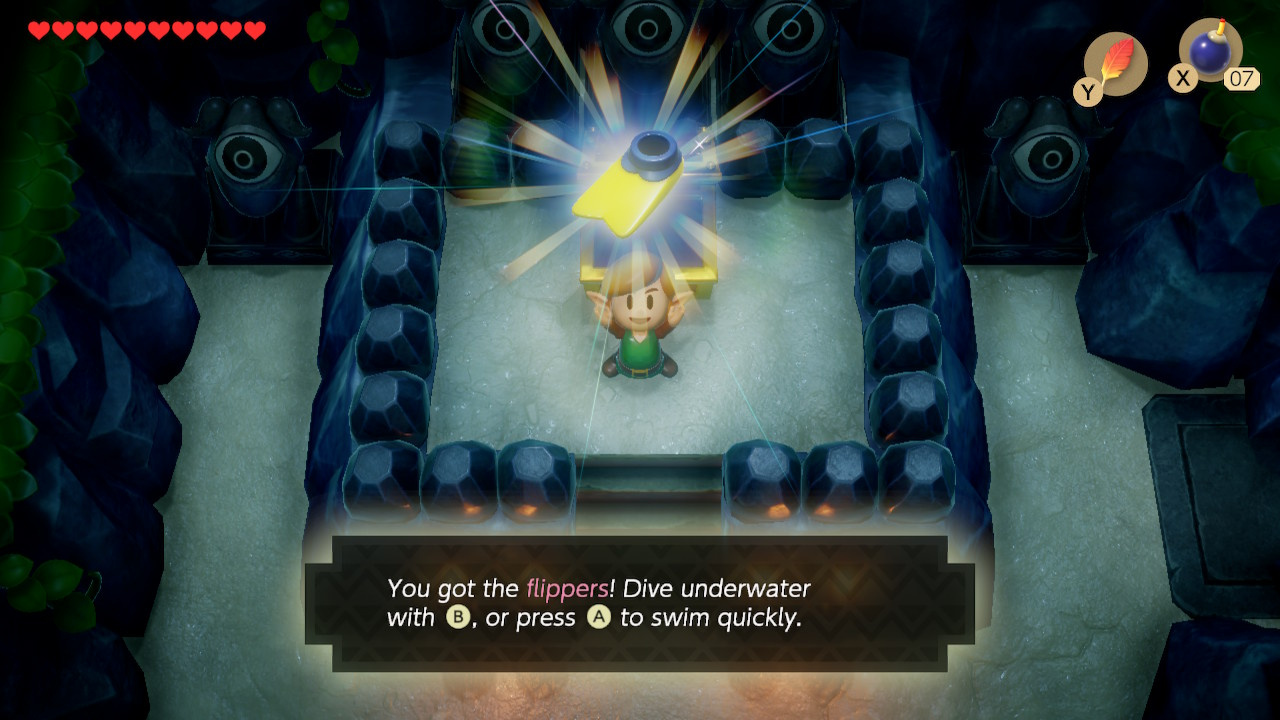
Dodge the fireballs as you enter the next room and climb the pedestal to open the chest – inside you will find the Flippers which allow you to enter and dive in deep water, something that is going to be hugely useful in both this dungeon and the many lakes and rivers of the overworld. Head down and exit the room.
Angler’s Tunnel: Finding the Nightmare Key
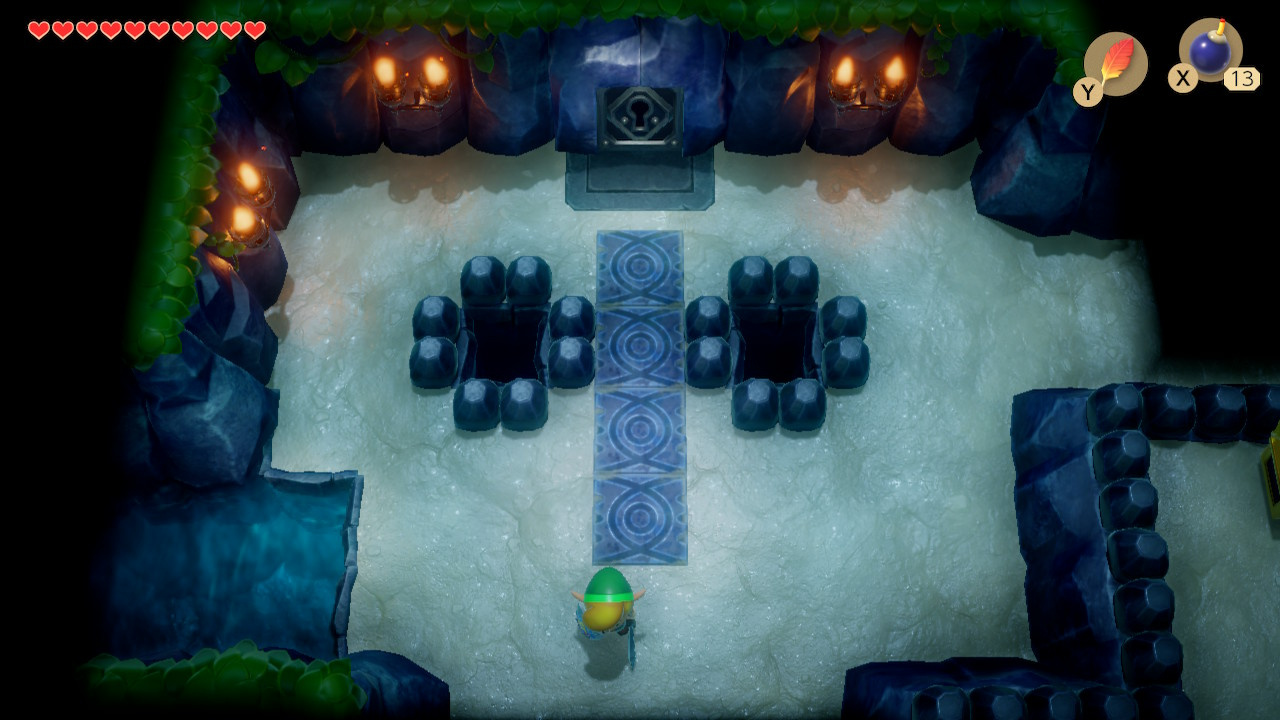
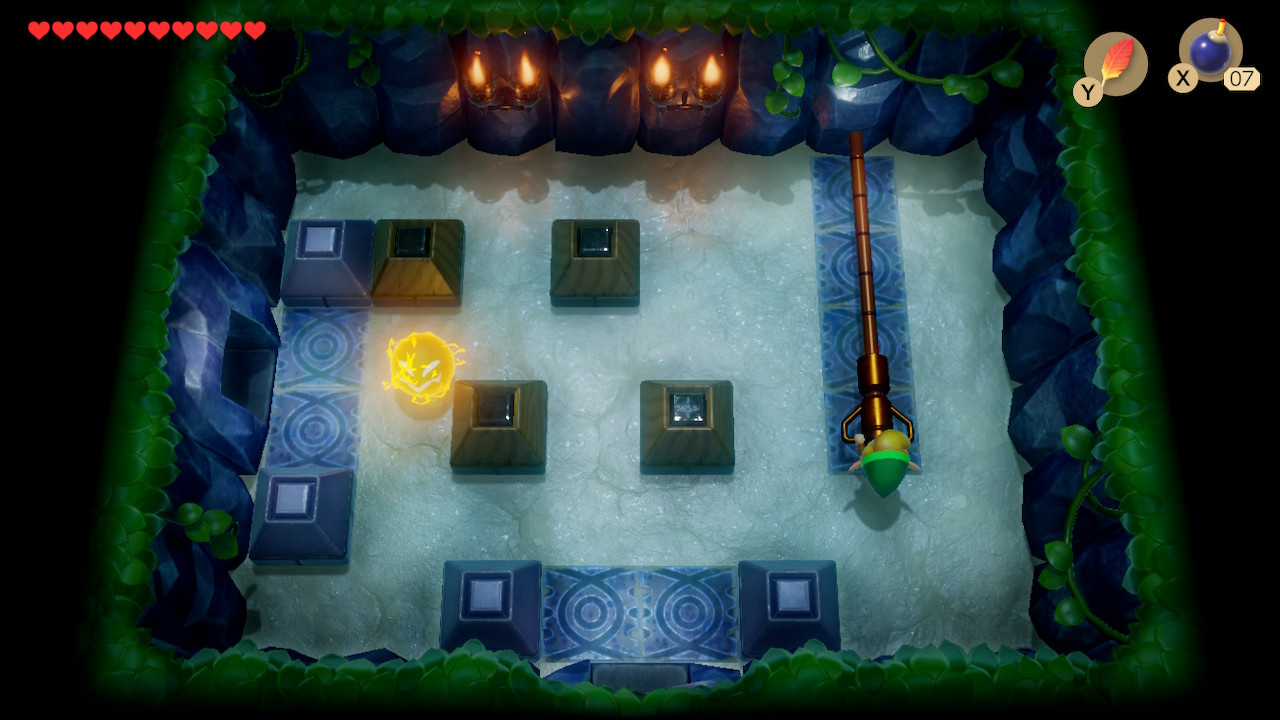
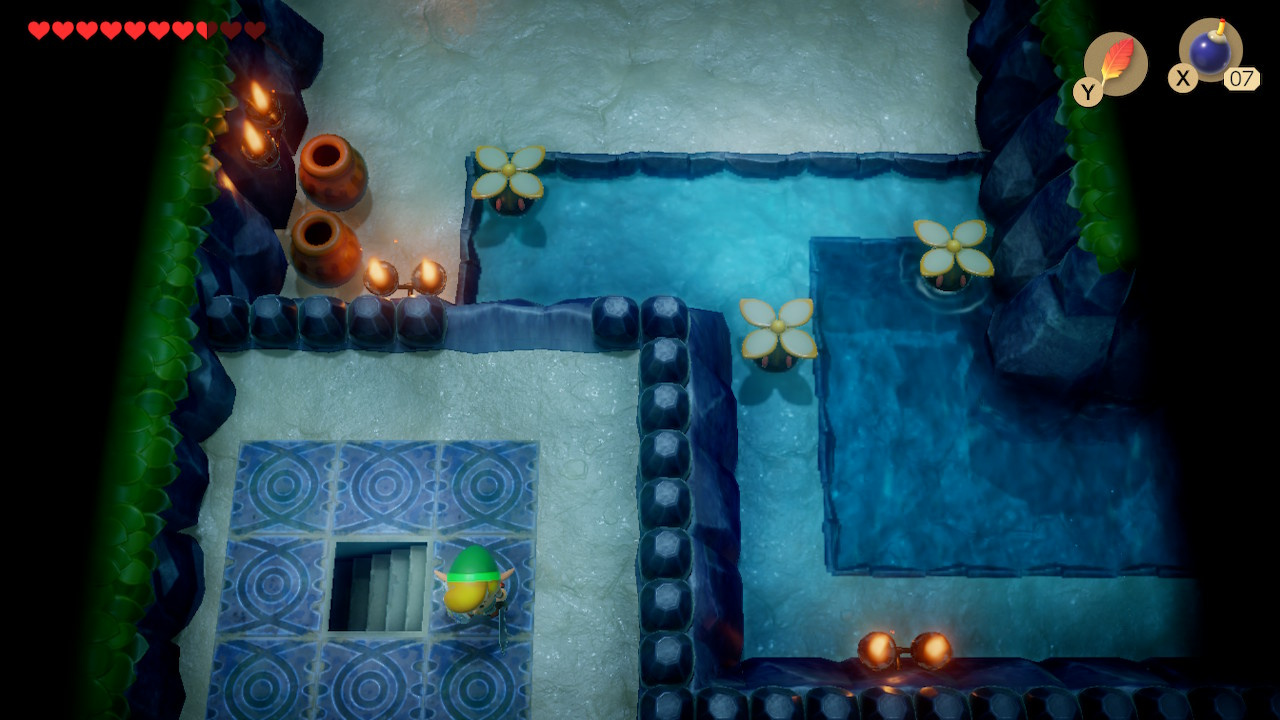
The next room contains the light-up tile puzzle we saw in the partially flooded room earlier, though this one has a floating ball of light hopping from tile to tile. Step on the first tile and follow the sequence that the light takes: Upper right, upper left, centre, lower left, lower right. Note that following the sequence doesn’t actually achieve anything in this room. Head down-screen, push the block out of the way and then head left.

You’ve arrived back in the flooded room with the light up tiles. The version you just left was (literally) a dry run for this one, so enter the sequence you just followed again: Upper right, upper left, centre, lower left, lower right. Once the pattern is complete, a set of stairs will appear in the upper right. Take it.
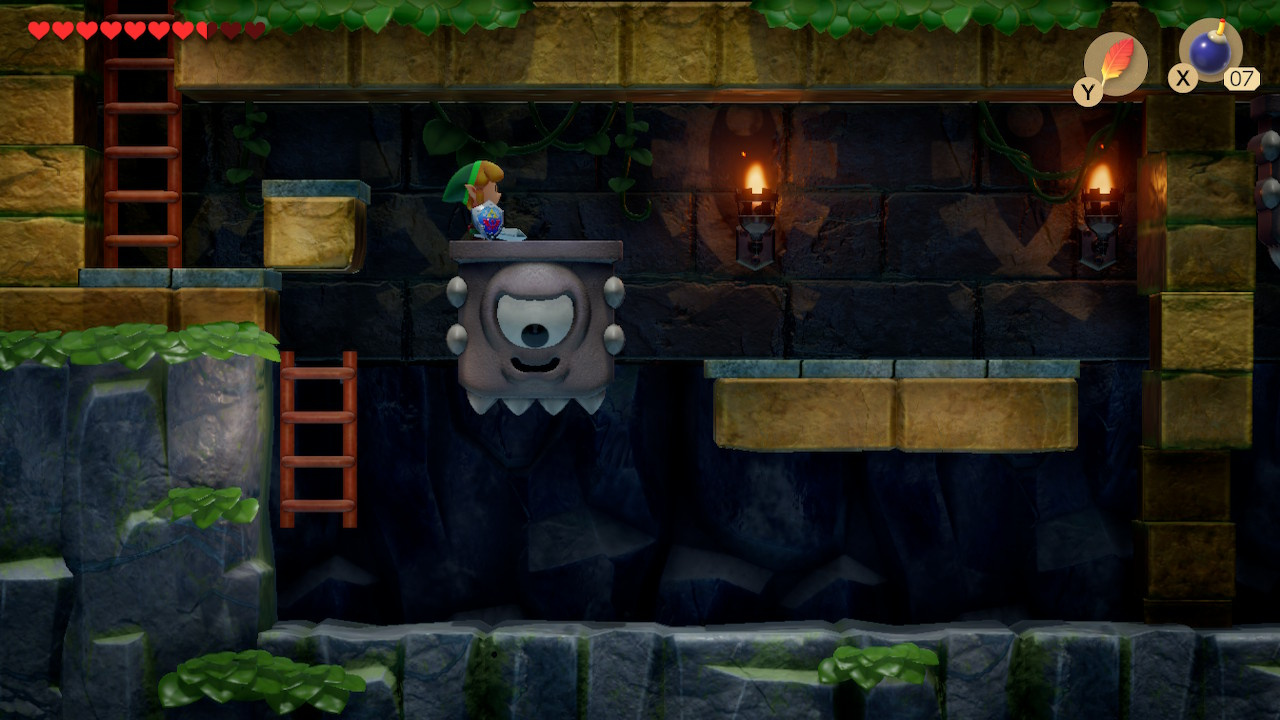
You enter an underwater sidescrolling area with some thwomps to dodge – they fall as you get close, and you have to swim quickly under them before they return into place. The leftmost thwomp can be tricky to get on top of – you need to trigger it, quickly climb the ladder and jump using Roc’s Feather (it can be quicker to climb only two-thirds of the way up the ladder).
Exiting the sidescrolling area you find yourself in the lower corner of one of the flooded rooms from earlier – don’t jump down the ledge just yet.
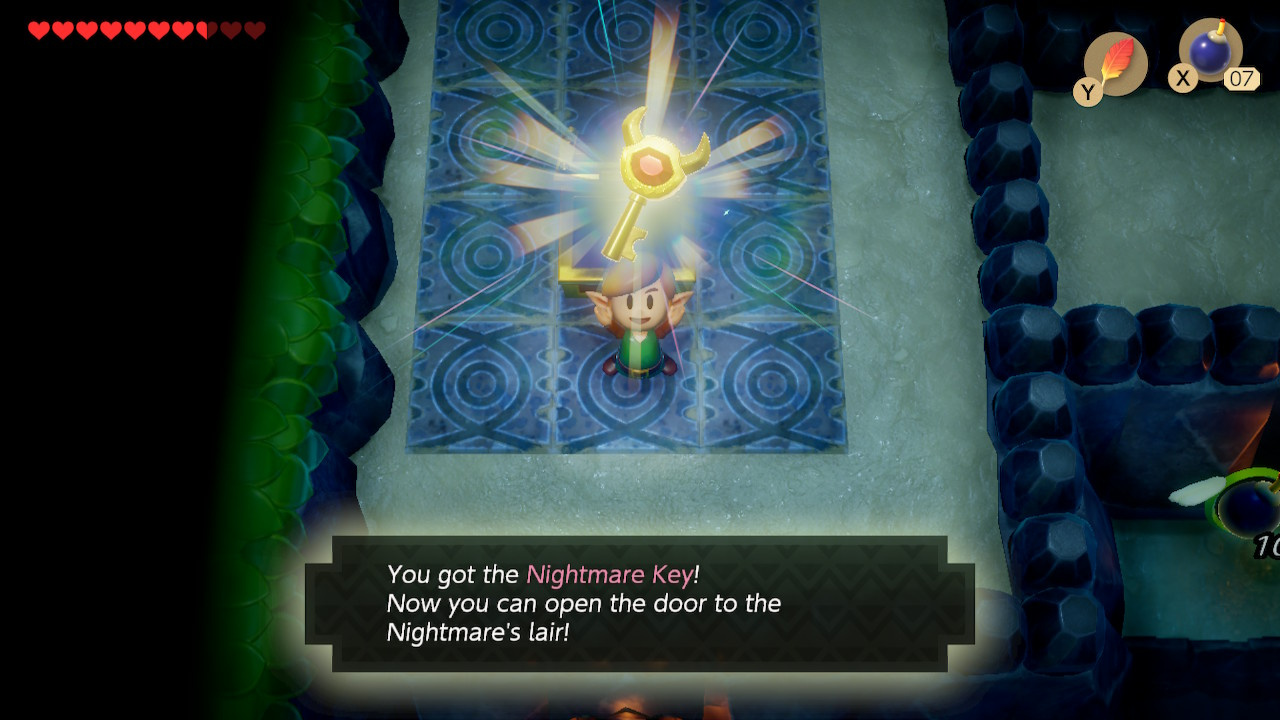
Head down a screen and the raised area continues, leading to a chest containing the Nightmare Key.
At this point there will be several unopened chests on your map containing useful rupees – there’s nothing special involved in claiming any of these – just use your new swimming powers to access them.
The way forward to the dungeon’s nightmare is still blocked, however, because we’re yet to pick up the Small Key that fell into the pit earlier. Go to the sidescrolling area into which the key has fallen (use the stairs one screen right of the room where you saw the key falling, which you may also remember as the room with the entrance to the earlier miniboss). Take a swim and grab your Small Key.
Angler’s Tunnel: Defeating the Nightmare/Dungeon Boss – Angler Fish
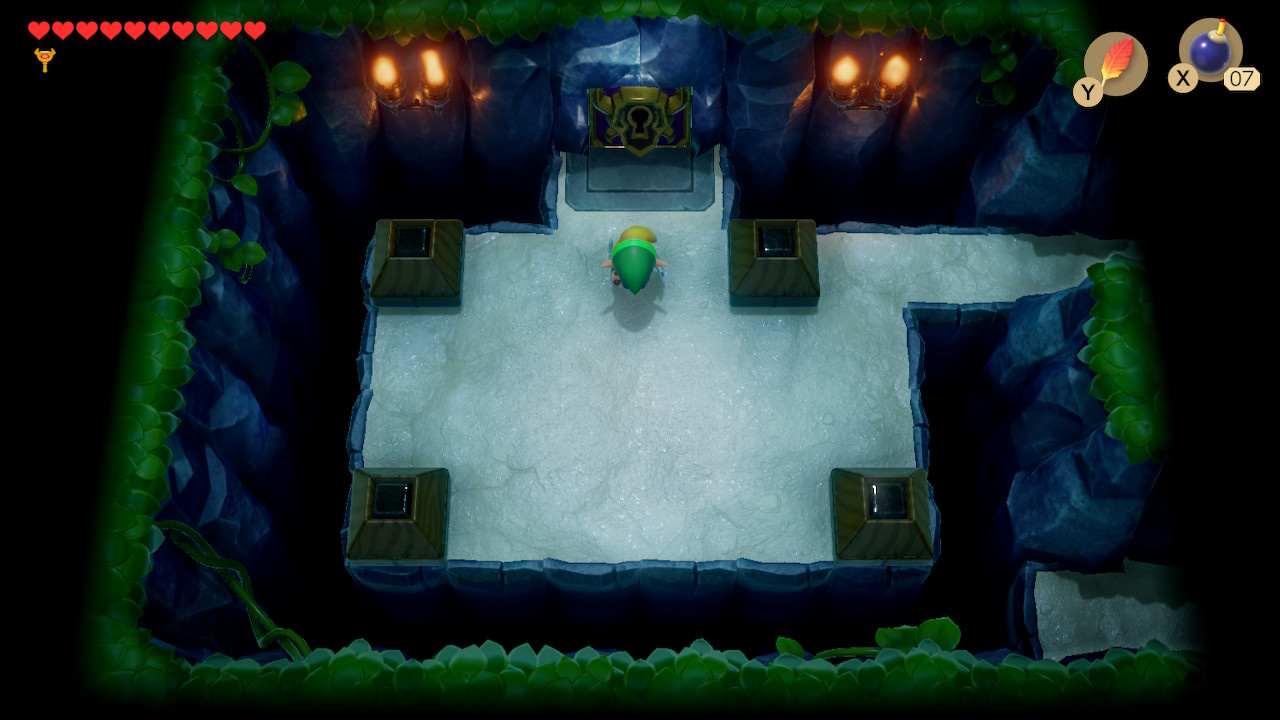
In the lower left corner of the large central flooded room there is a closed door with a large button beside it. Swim over the gap and press the button and the door will open.
Head through the door and use your key in the lock-block. Head down the stairs.
Swim through the sidescrolling area and climb back out – follow the pathway round and you will find the door to the Nightmare’s lair.

Unusually, the next room doesn’t contain the boss – instead you will have to descend the steps to a deep, side-scrolling lake.

Swim towards the lakebed and the Angler’s Tunnel Nightmare will make its appearance – this is the Angler Fish. Take heed of her words:
BLOOOP! BLOOOP! GLUB! GLUB! OGGGH! FOOOOD! BLOOOOP! GLUB!
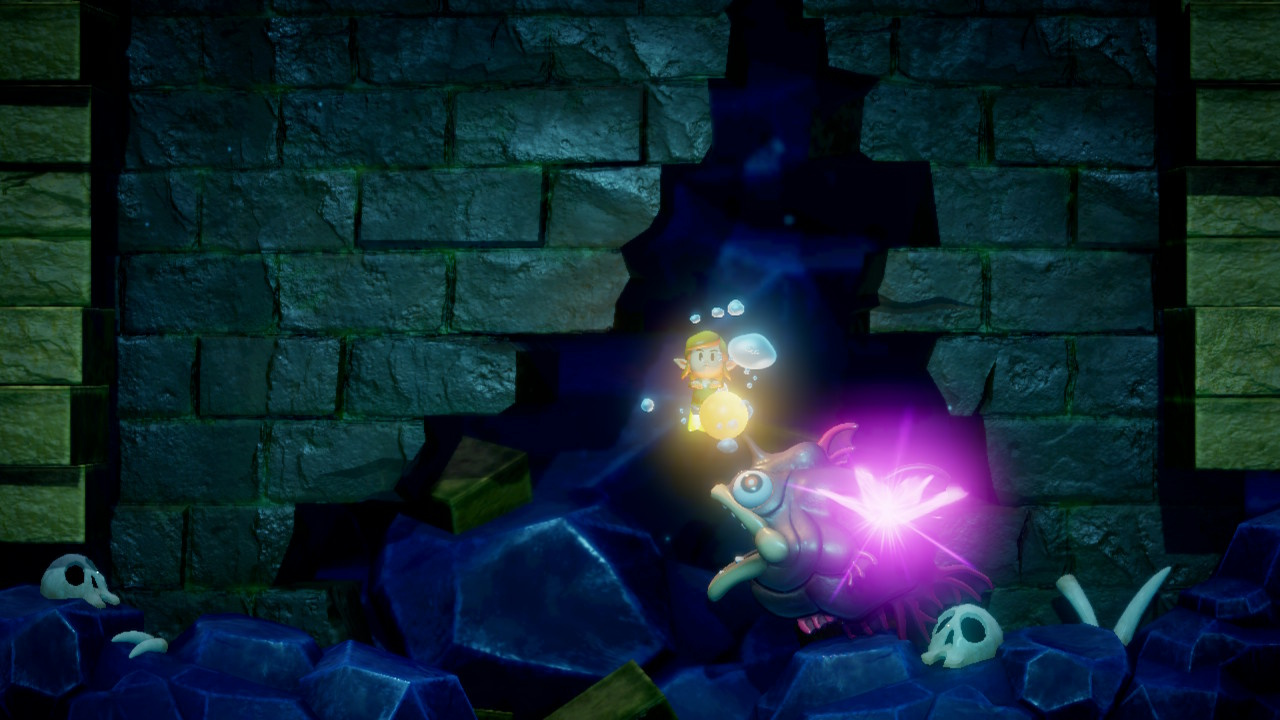
The Game Boy version of this boss is known for a being a bit of a pushover. The Switch version is about 99% as much of a pushover, though she is at least a little more mobile – swimming side to side and occasionally ramming the wall causing forcing you to dodge debris. Charge up sword attacks and hit the glowing orb protruding from her head* and she will soon implode, handing you a heart container and unlocking the treasure room above.
*Marine Biologists and other orders of reader/guide writer who can find Wikipedia articles will note that this feature is called an “Esca” or “Illicium”. Also, the Angler Fish is likely female because of the distinct and fascinating dimorphism evidenced in examples of the species. Or so we’ve heard.
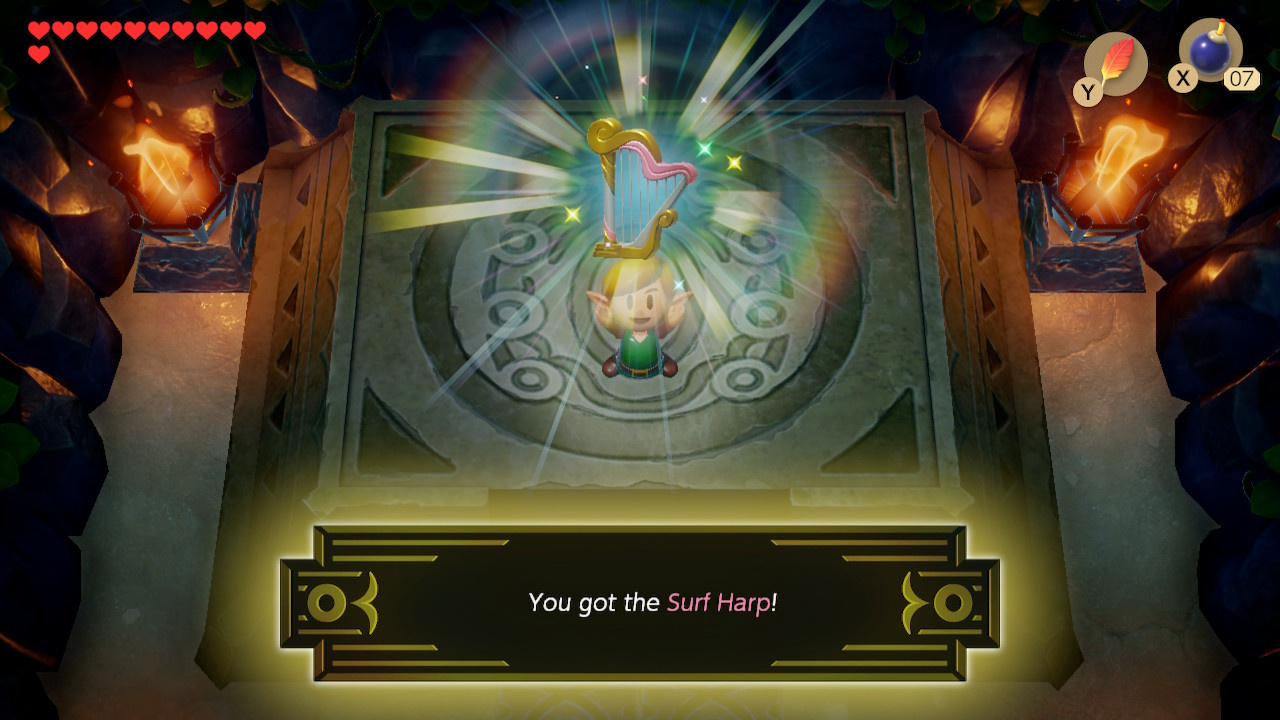
Head back to the treasure room and pick up your fourth instrument – the Surf Harp. Stay tuned for directions from the mysterious voice:
…BAY…
Your road goes in the bay…
<related tags=”Links Awakening, Guides”>Are you finding this guide useful? Let us know with a comment, and don’t forget to check out our other Zelda: Link’s Awakening guide content:</related>